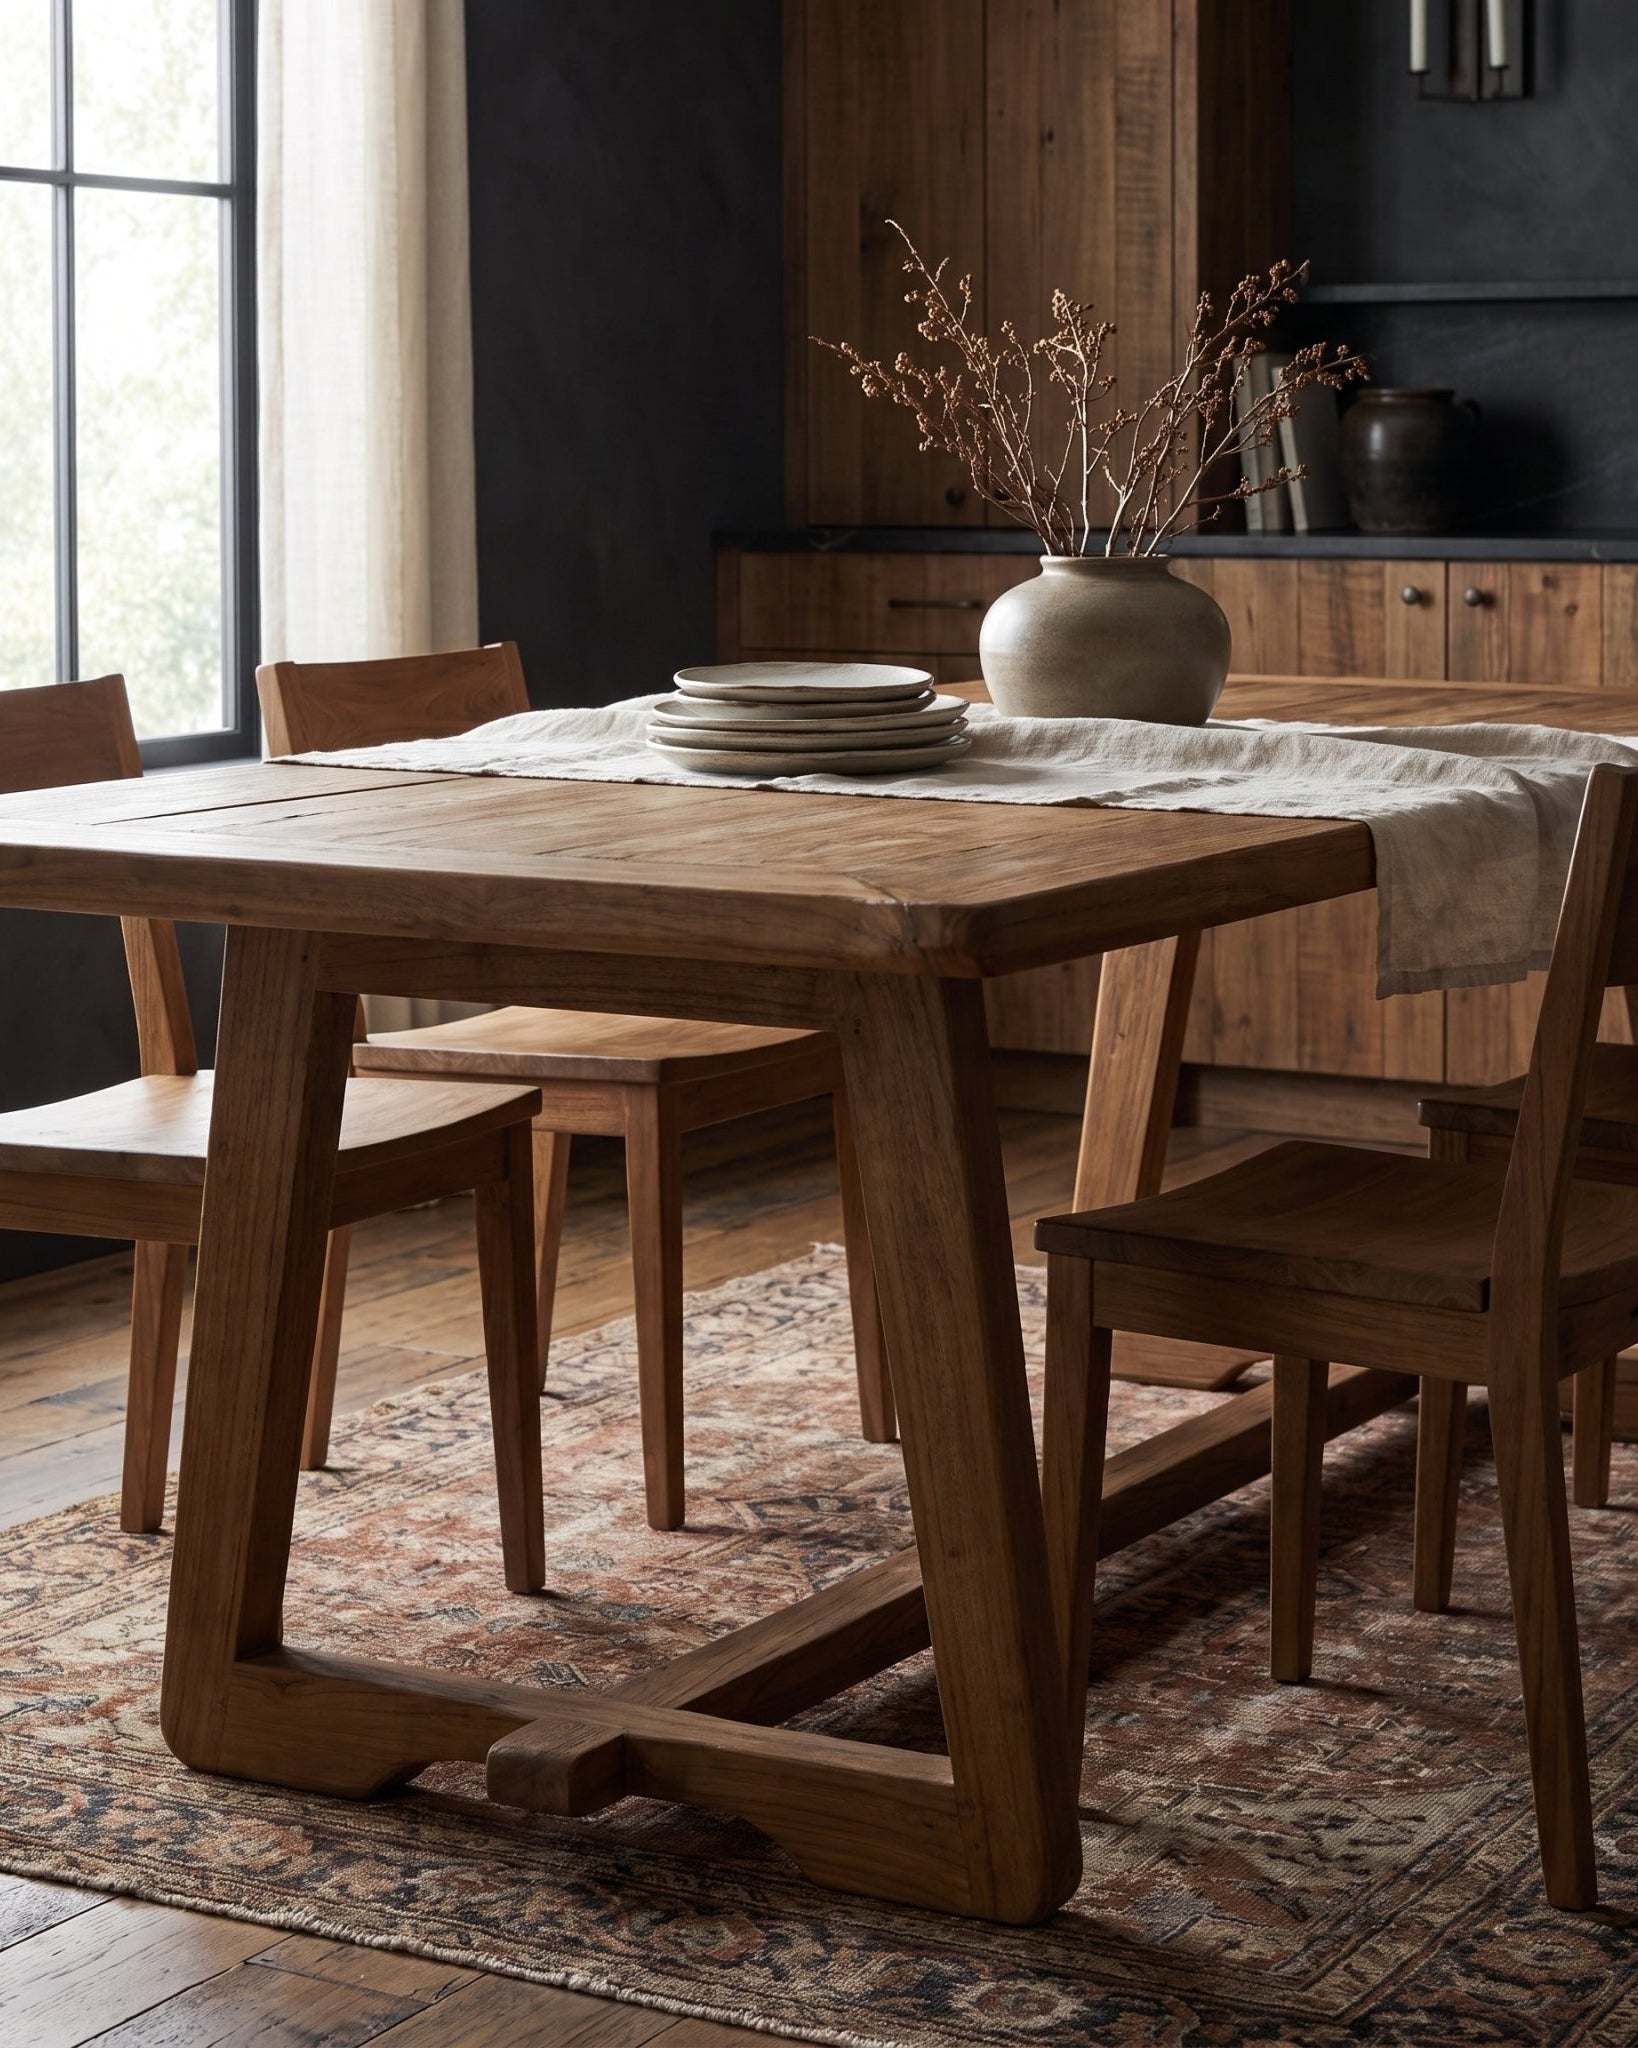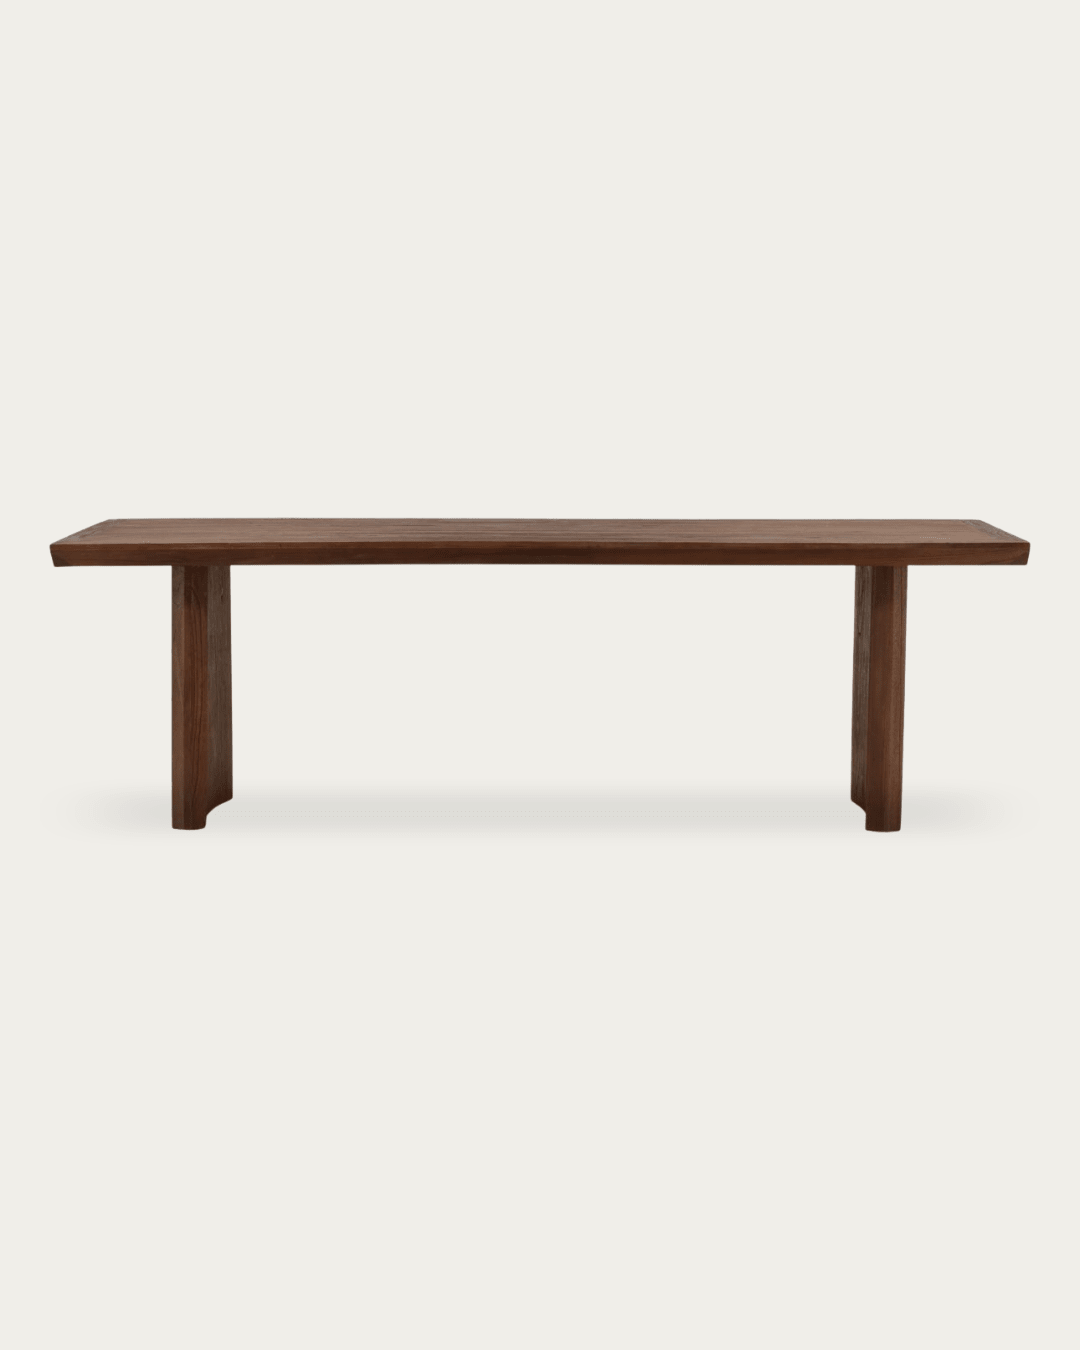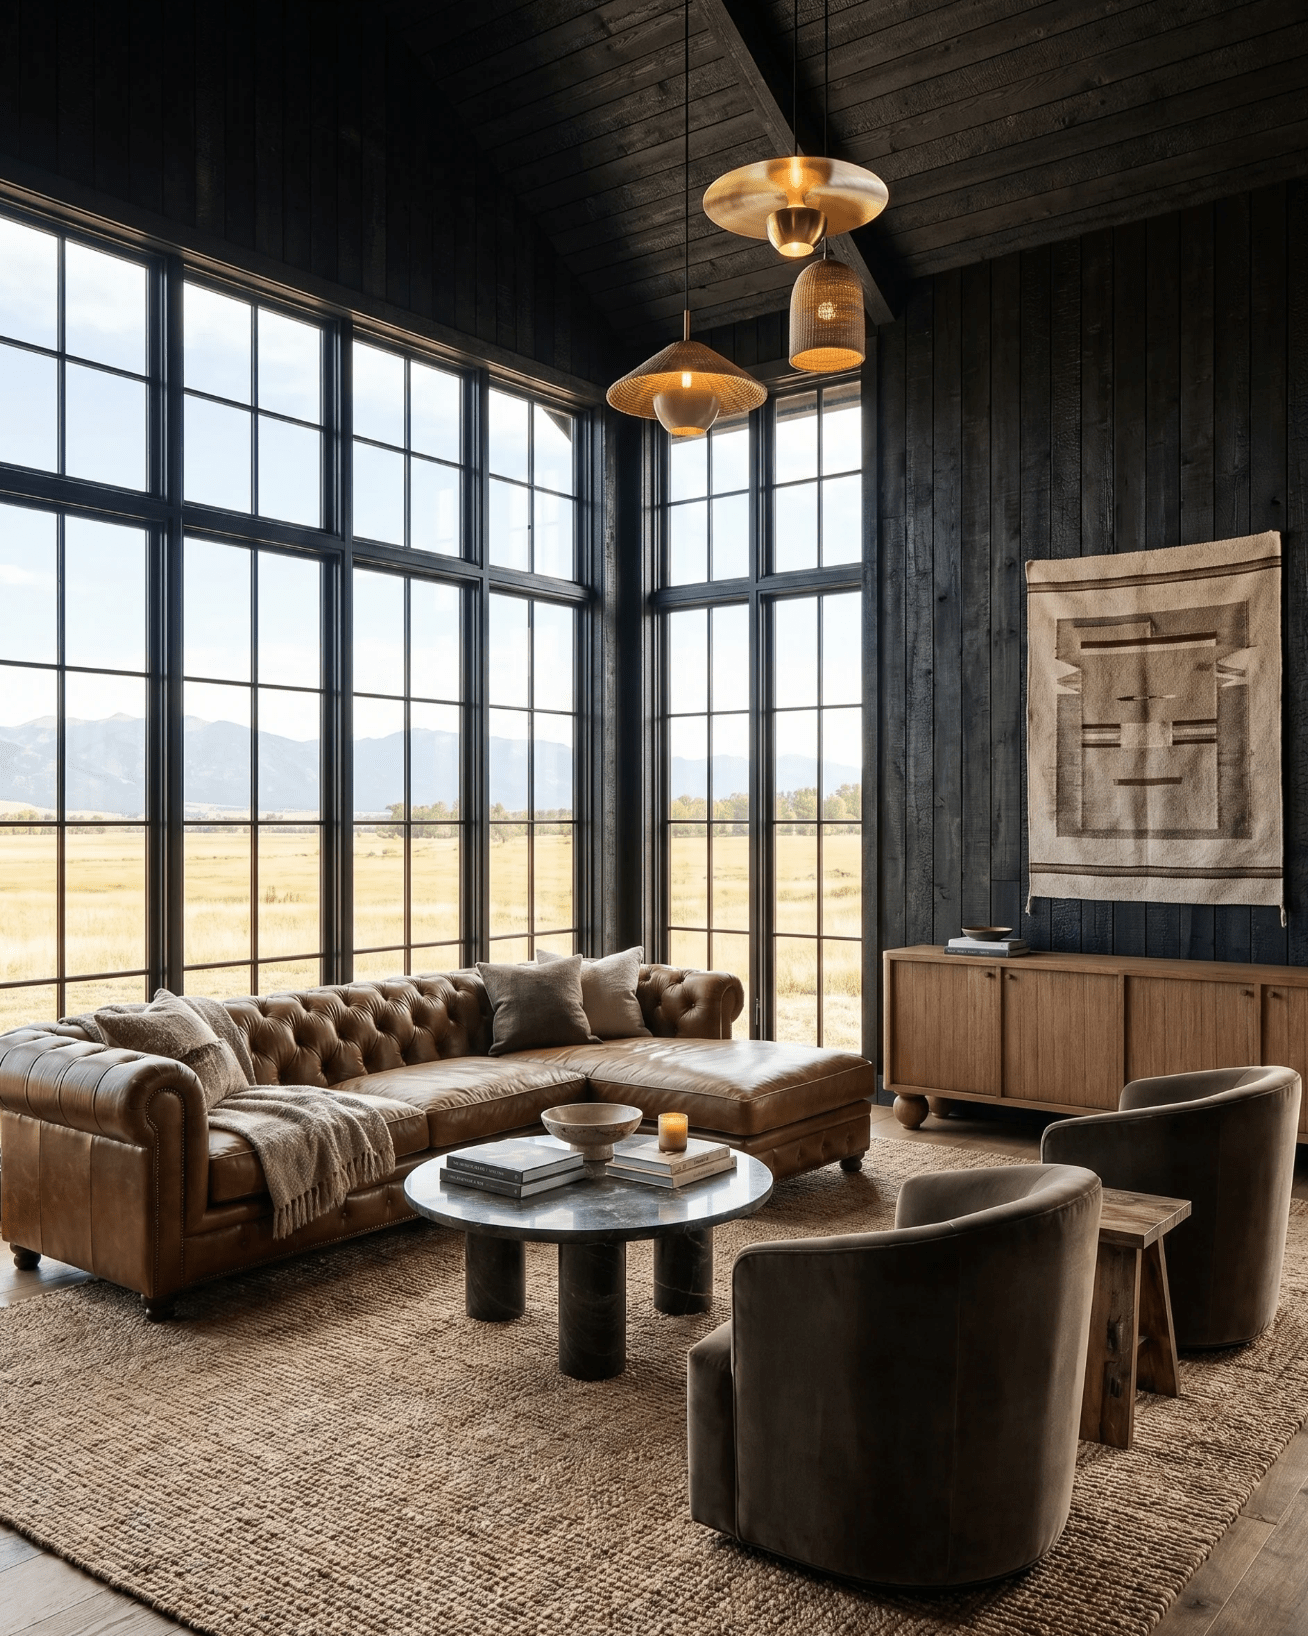


As part of our major outdoor renovation project we built our own modern rustic furniture out of reclaimed wood. We built a couch, chair, double-wide chaise and dining table with benches. Today I’d like to share the process of building the double-wide chaise with you. We decided to build our furniture because we wanted something high-quality and that fit perfectly in our space. And guess what, we couldn’t find ANYTHING that fit our requirements, so building it is just what we did.
Our first requirement was size. We couldn’t have something as long as many of them come. The second was that we wanted both ends adjustable so that we could position it facing the pool or the living space. And I couldn’t find a single double-chaise that was adjustable on both ends. My go-to cushion maker is Natural Home by The Futon Shop so I knew getting the perfect all natural cushions made would be easy. I made a drawing showing the length, width, depth and where I wanted the folds to be and within just a couple weeks they landed on my doorstep in the perfect outdoor black fabric. Everything they make is all natural and, when possible, organic. (NOTE: Since I love their products so much they gifted us the cushions in exchange for documenting our build.)
Let’s dive into the build, shall we?
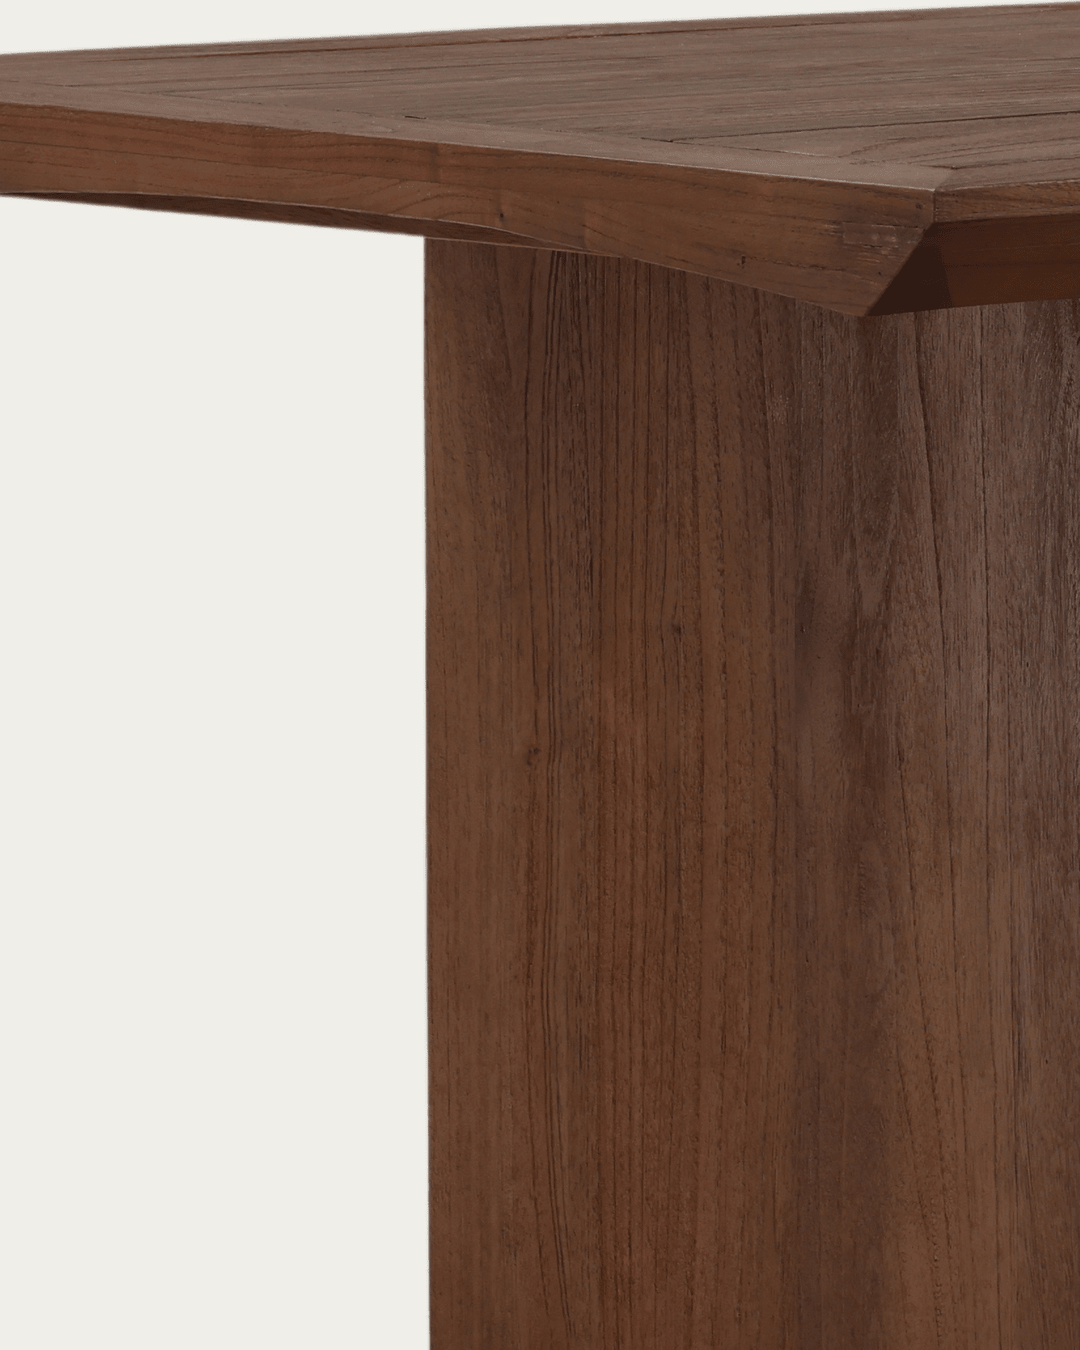
A few notes real quick. You can build yours any size so I will give measurements guidelines, not specifics. Next, we use a Kreg Jig for all of the screws so that they’re hidden, and glue every connection point to avoid squeaks. Once cut to size, and before assembling, we sand the wood so that we’re able to easily get everything sanded uniformly. Trust me, it’s a lot easier than sanding once it’s built. And lastly, we used all reclaimed wood so the measurements are actual (aka a 2x8 is really 2” thick. This is important for stability).
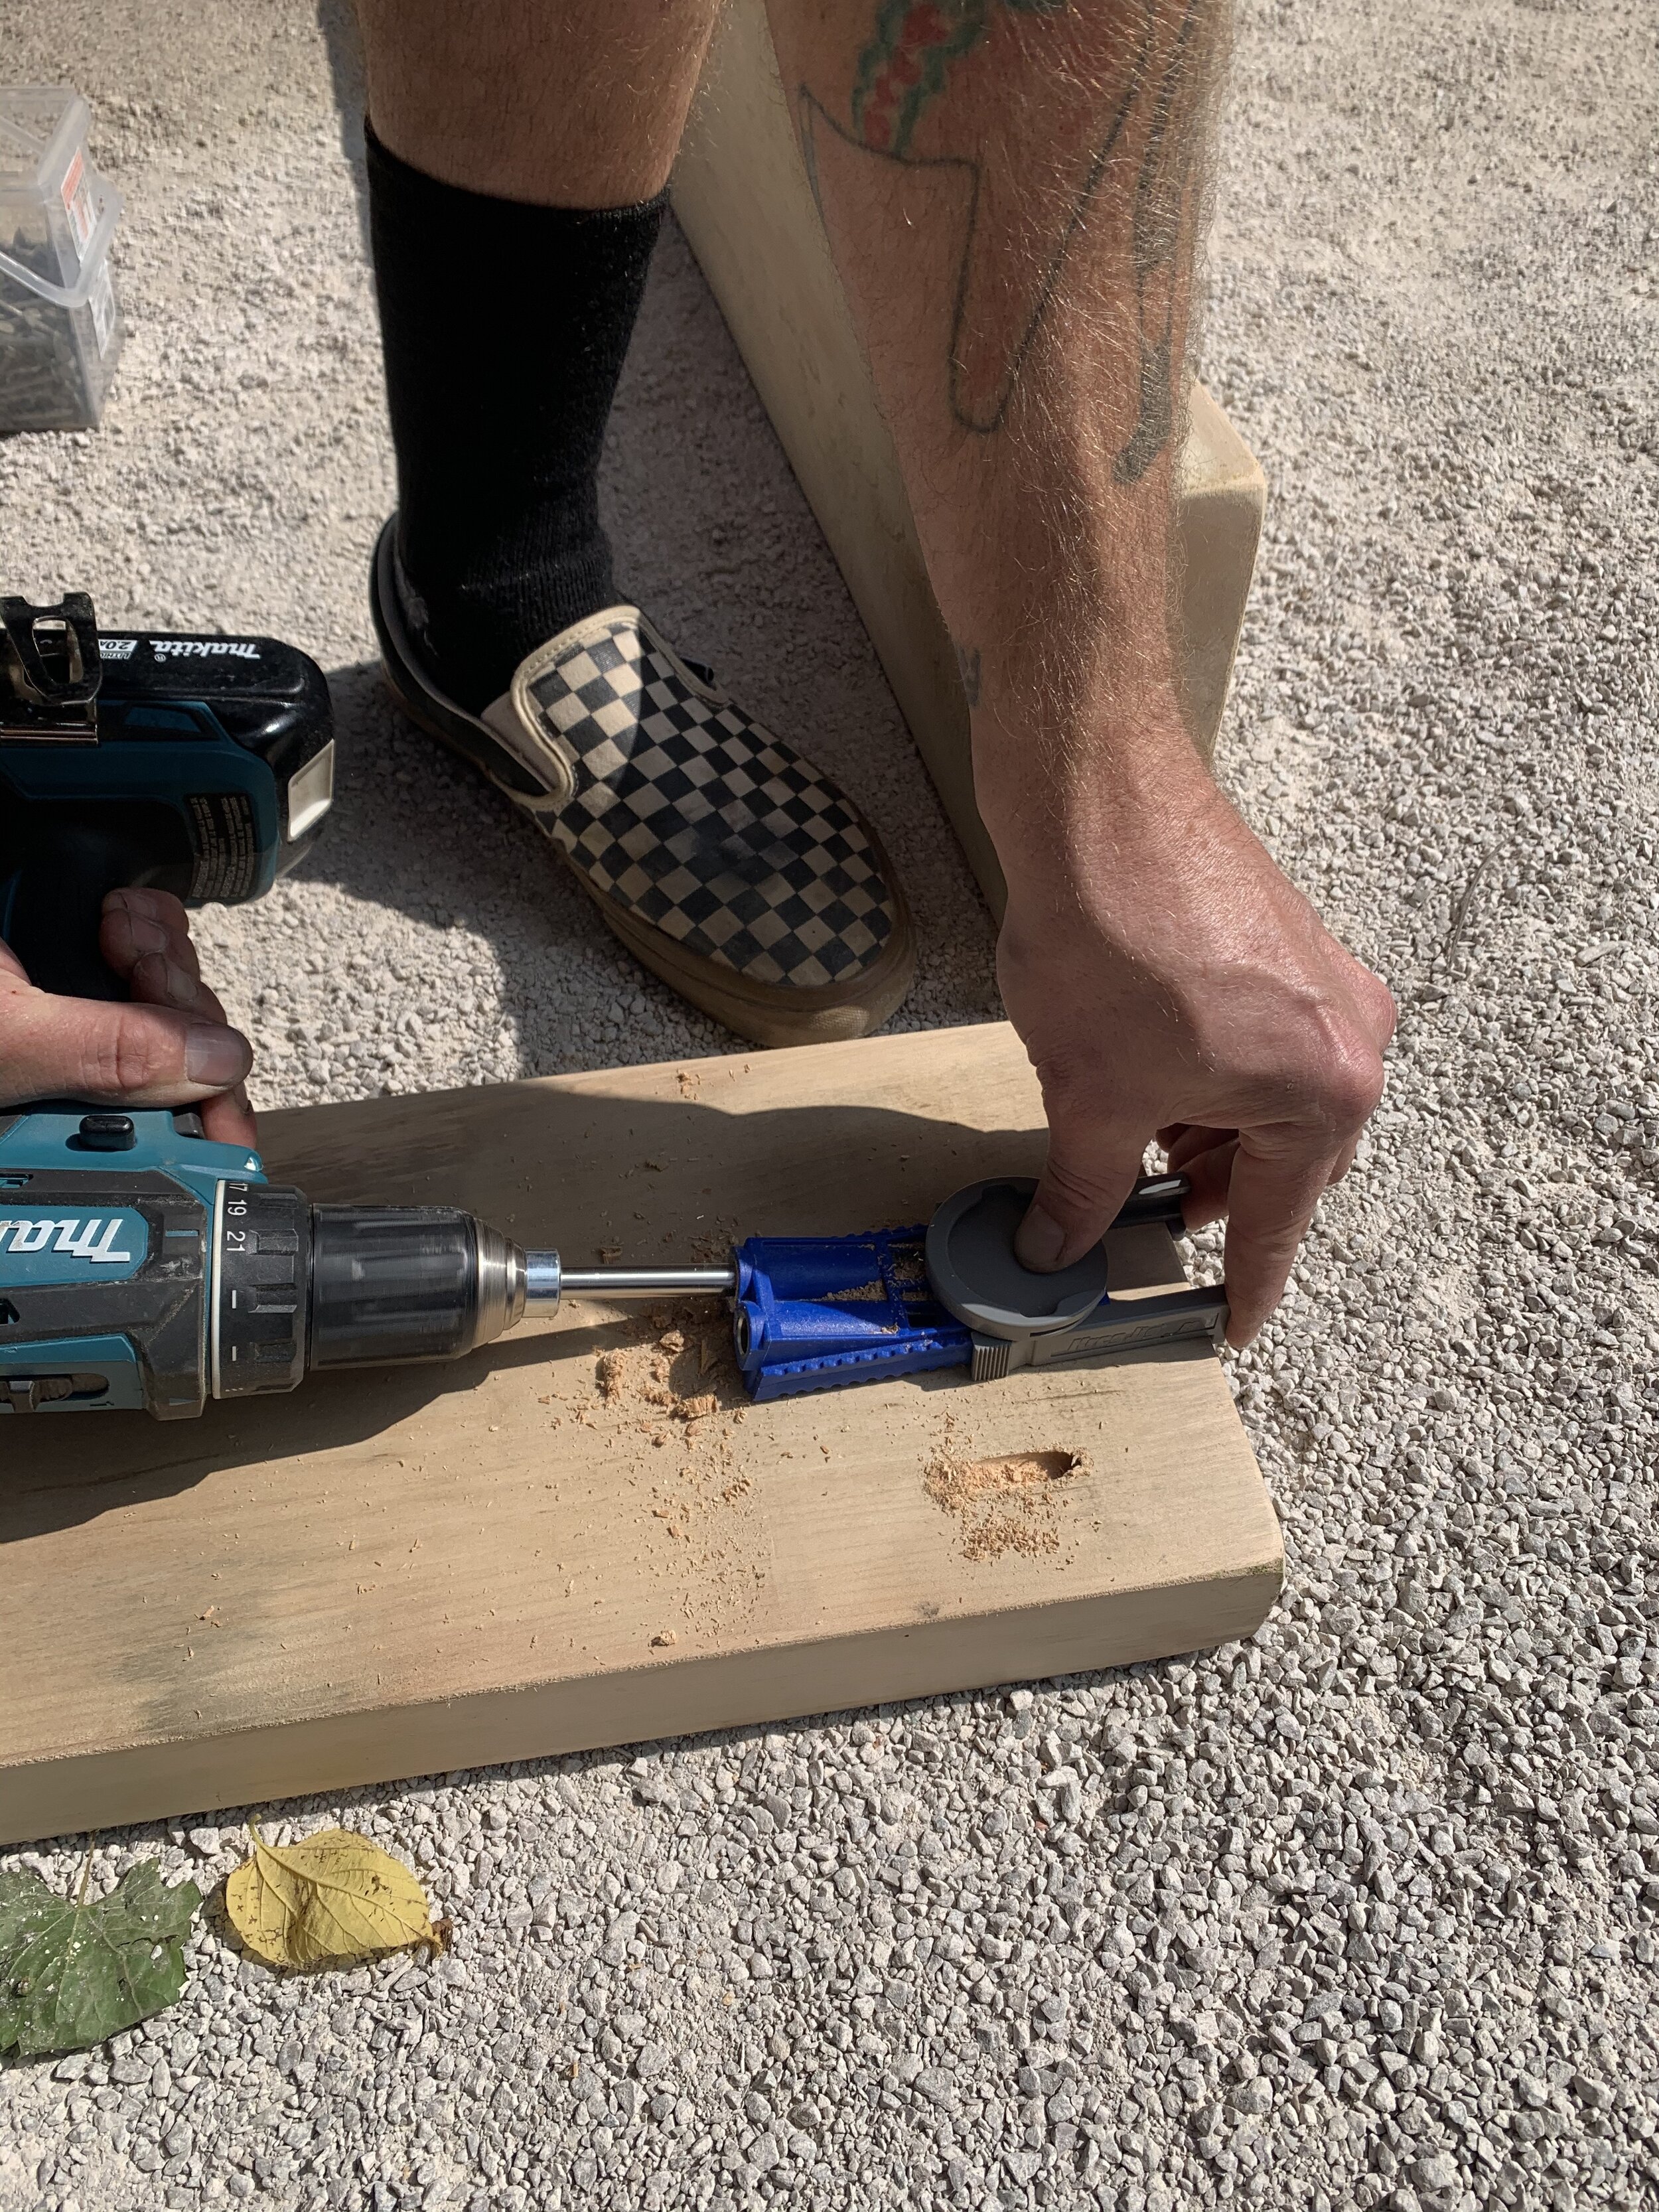

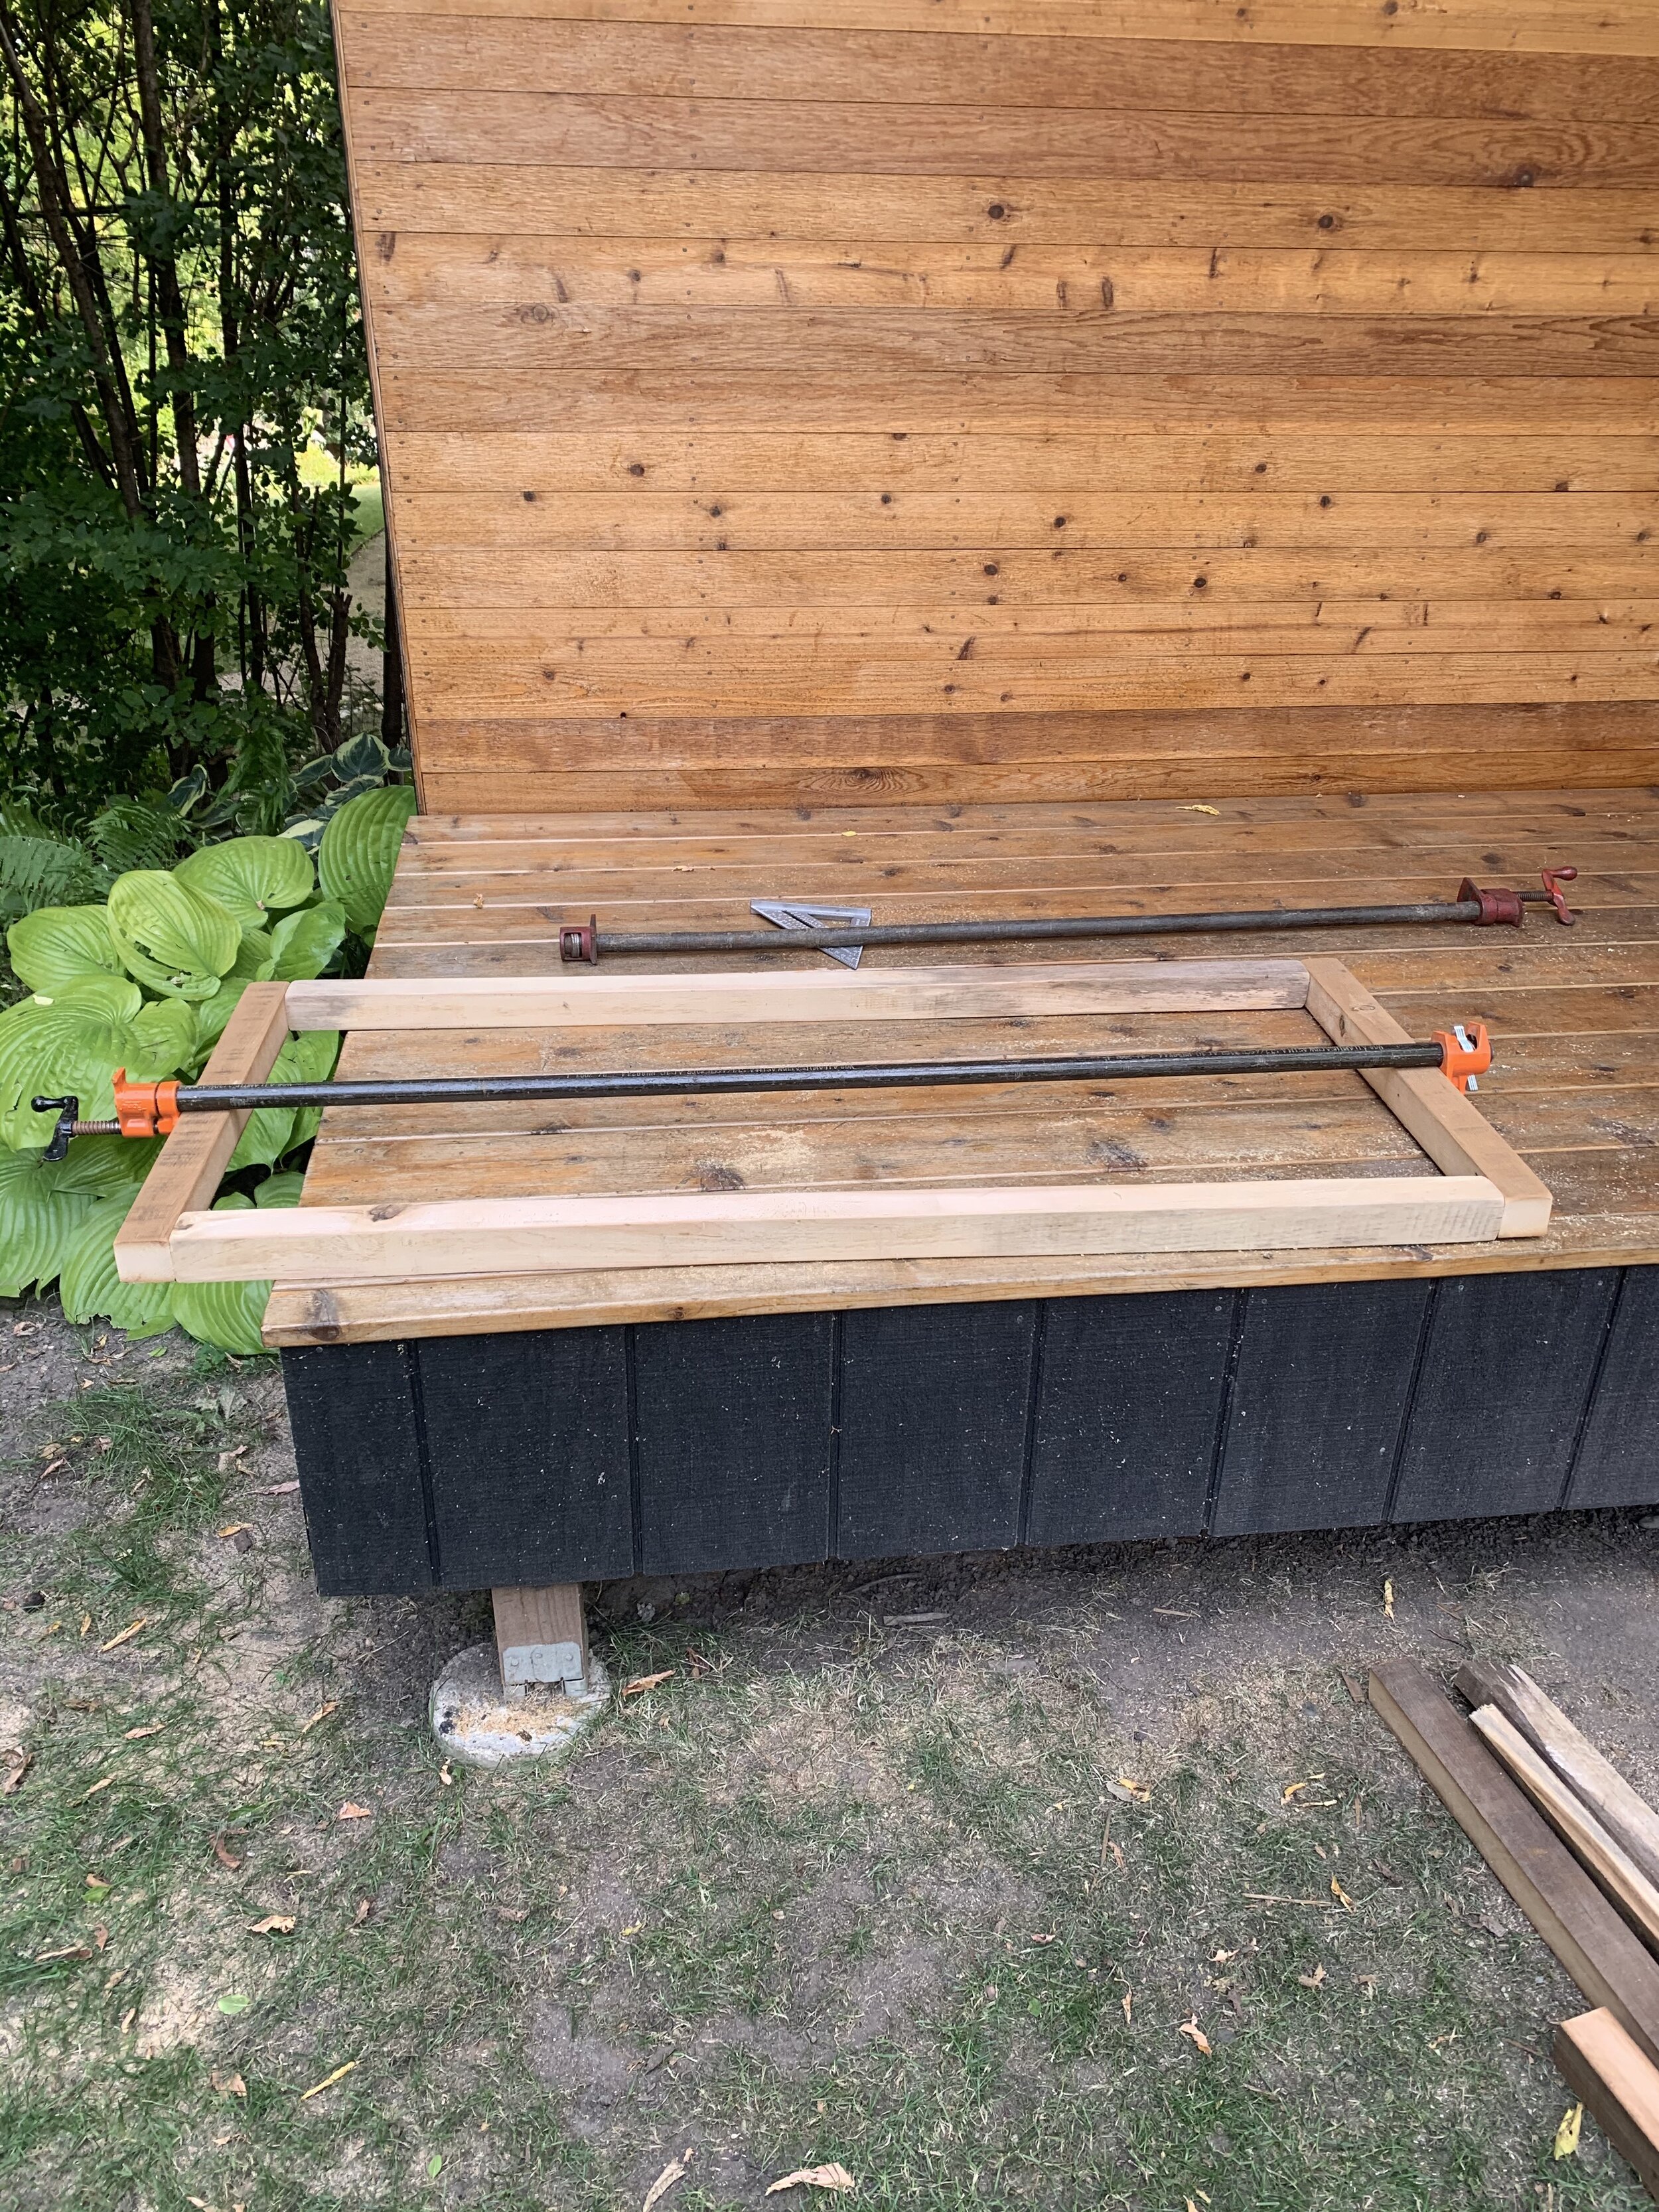
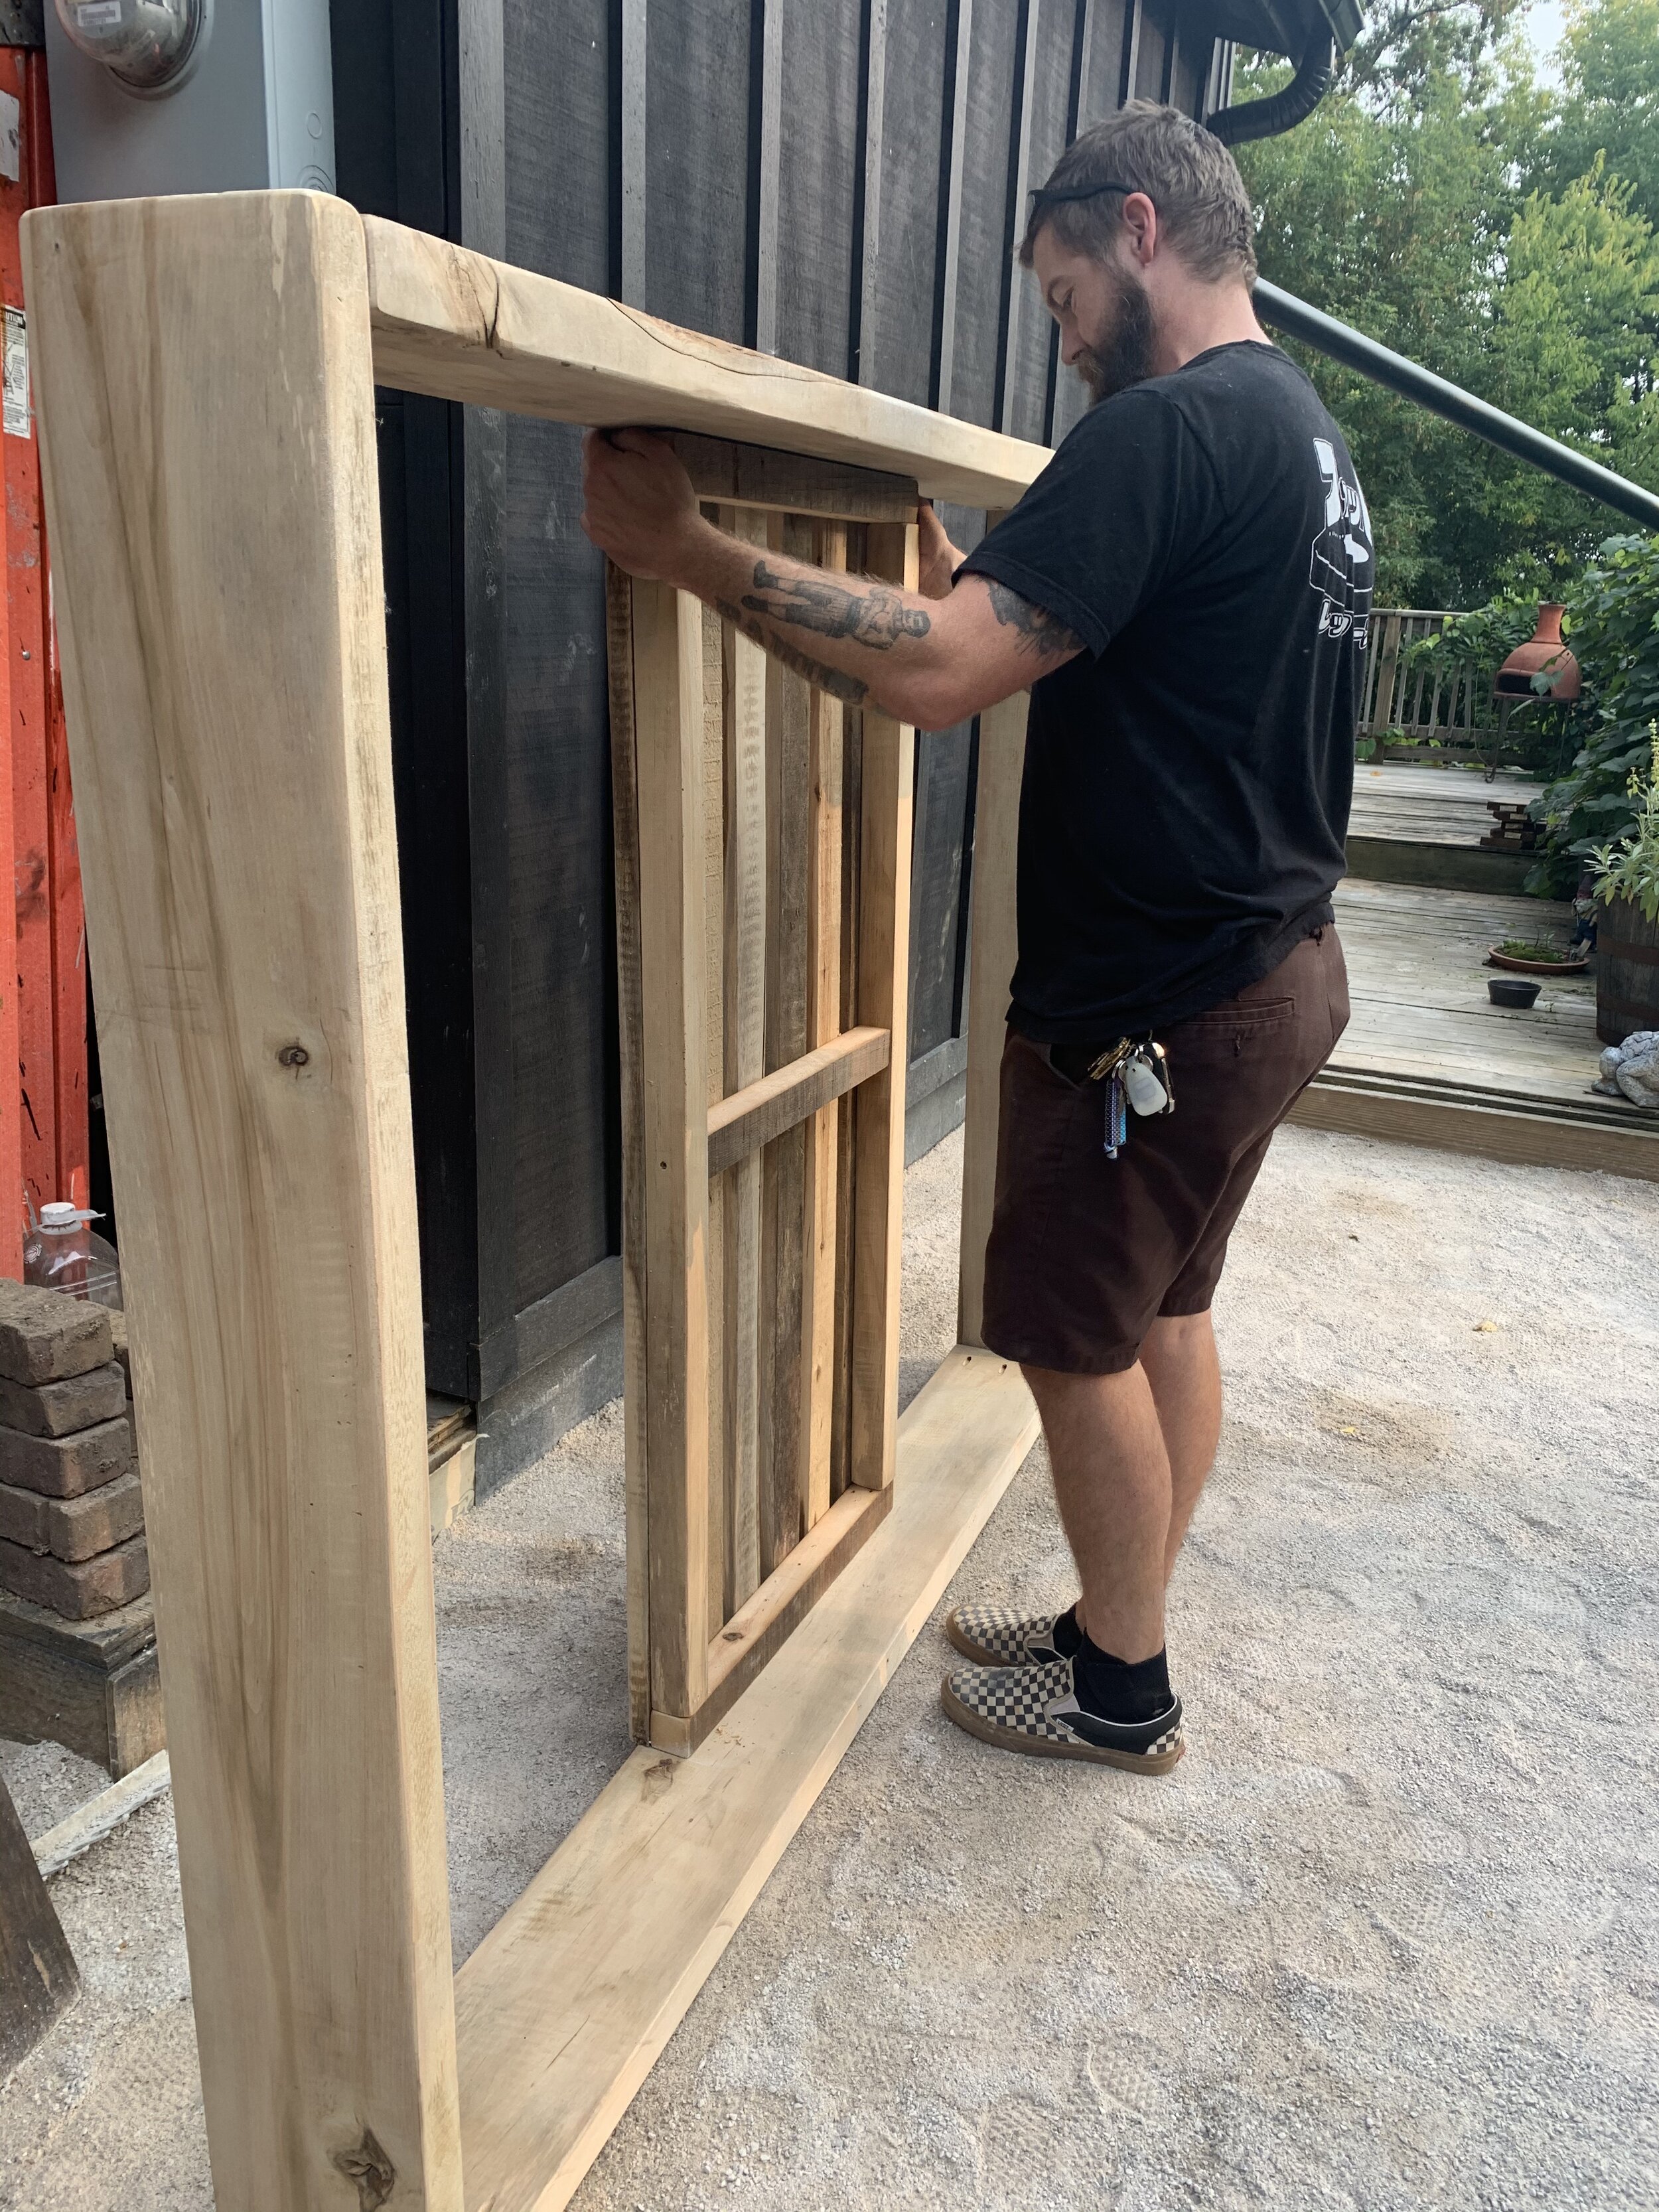
First up, build the frame. Inside the frame will sit the adjustable platform that you sit on. Think about what size you want that platform to be and make your frame fit around it with a 1/4” gap on all four sides. We chose the cushion to overlap the frame by 1/4” on all 4 sides so that you didn’t see the gap between the frame and platform. We used 2x8 reclaimed lumber and connected the 4 corners with wood glue and the Kreg jig using 3 screws (make sure they’re outdoor rated).

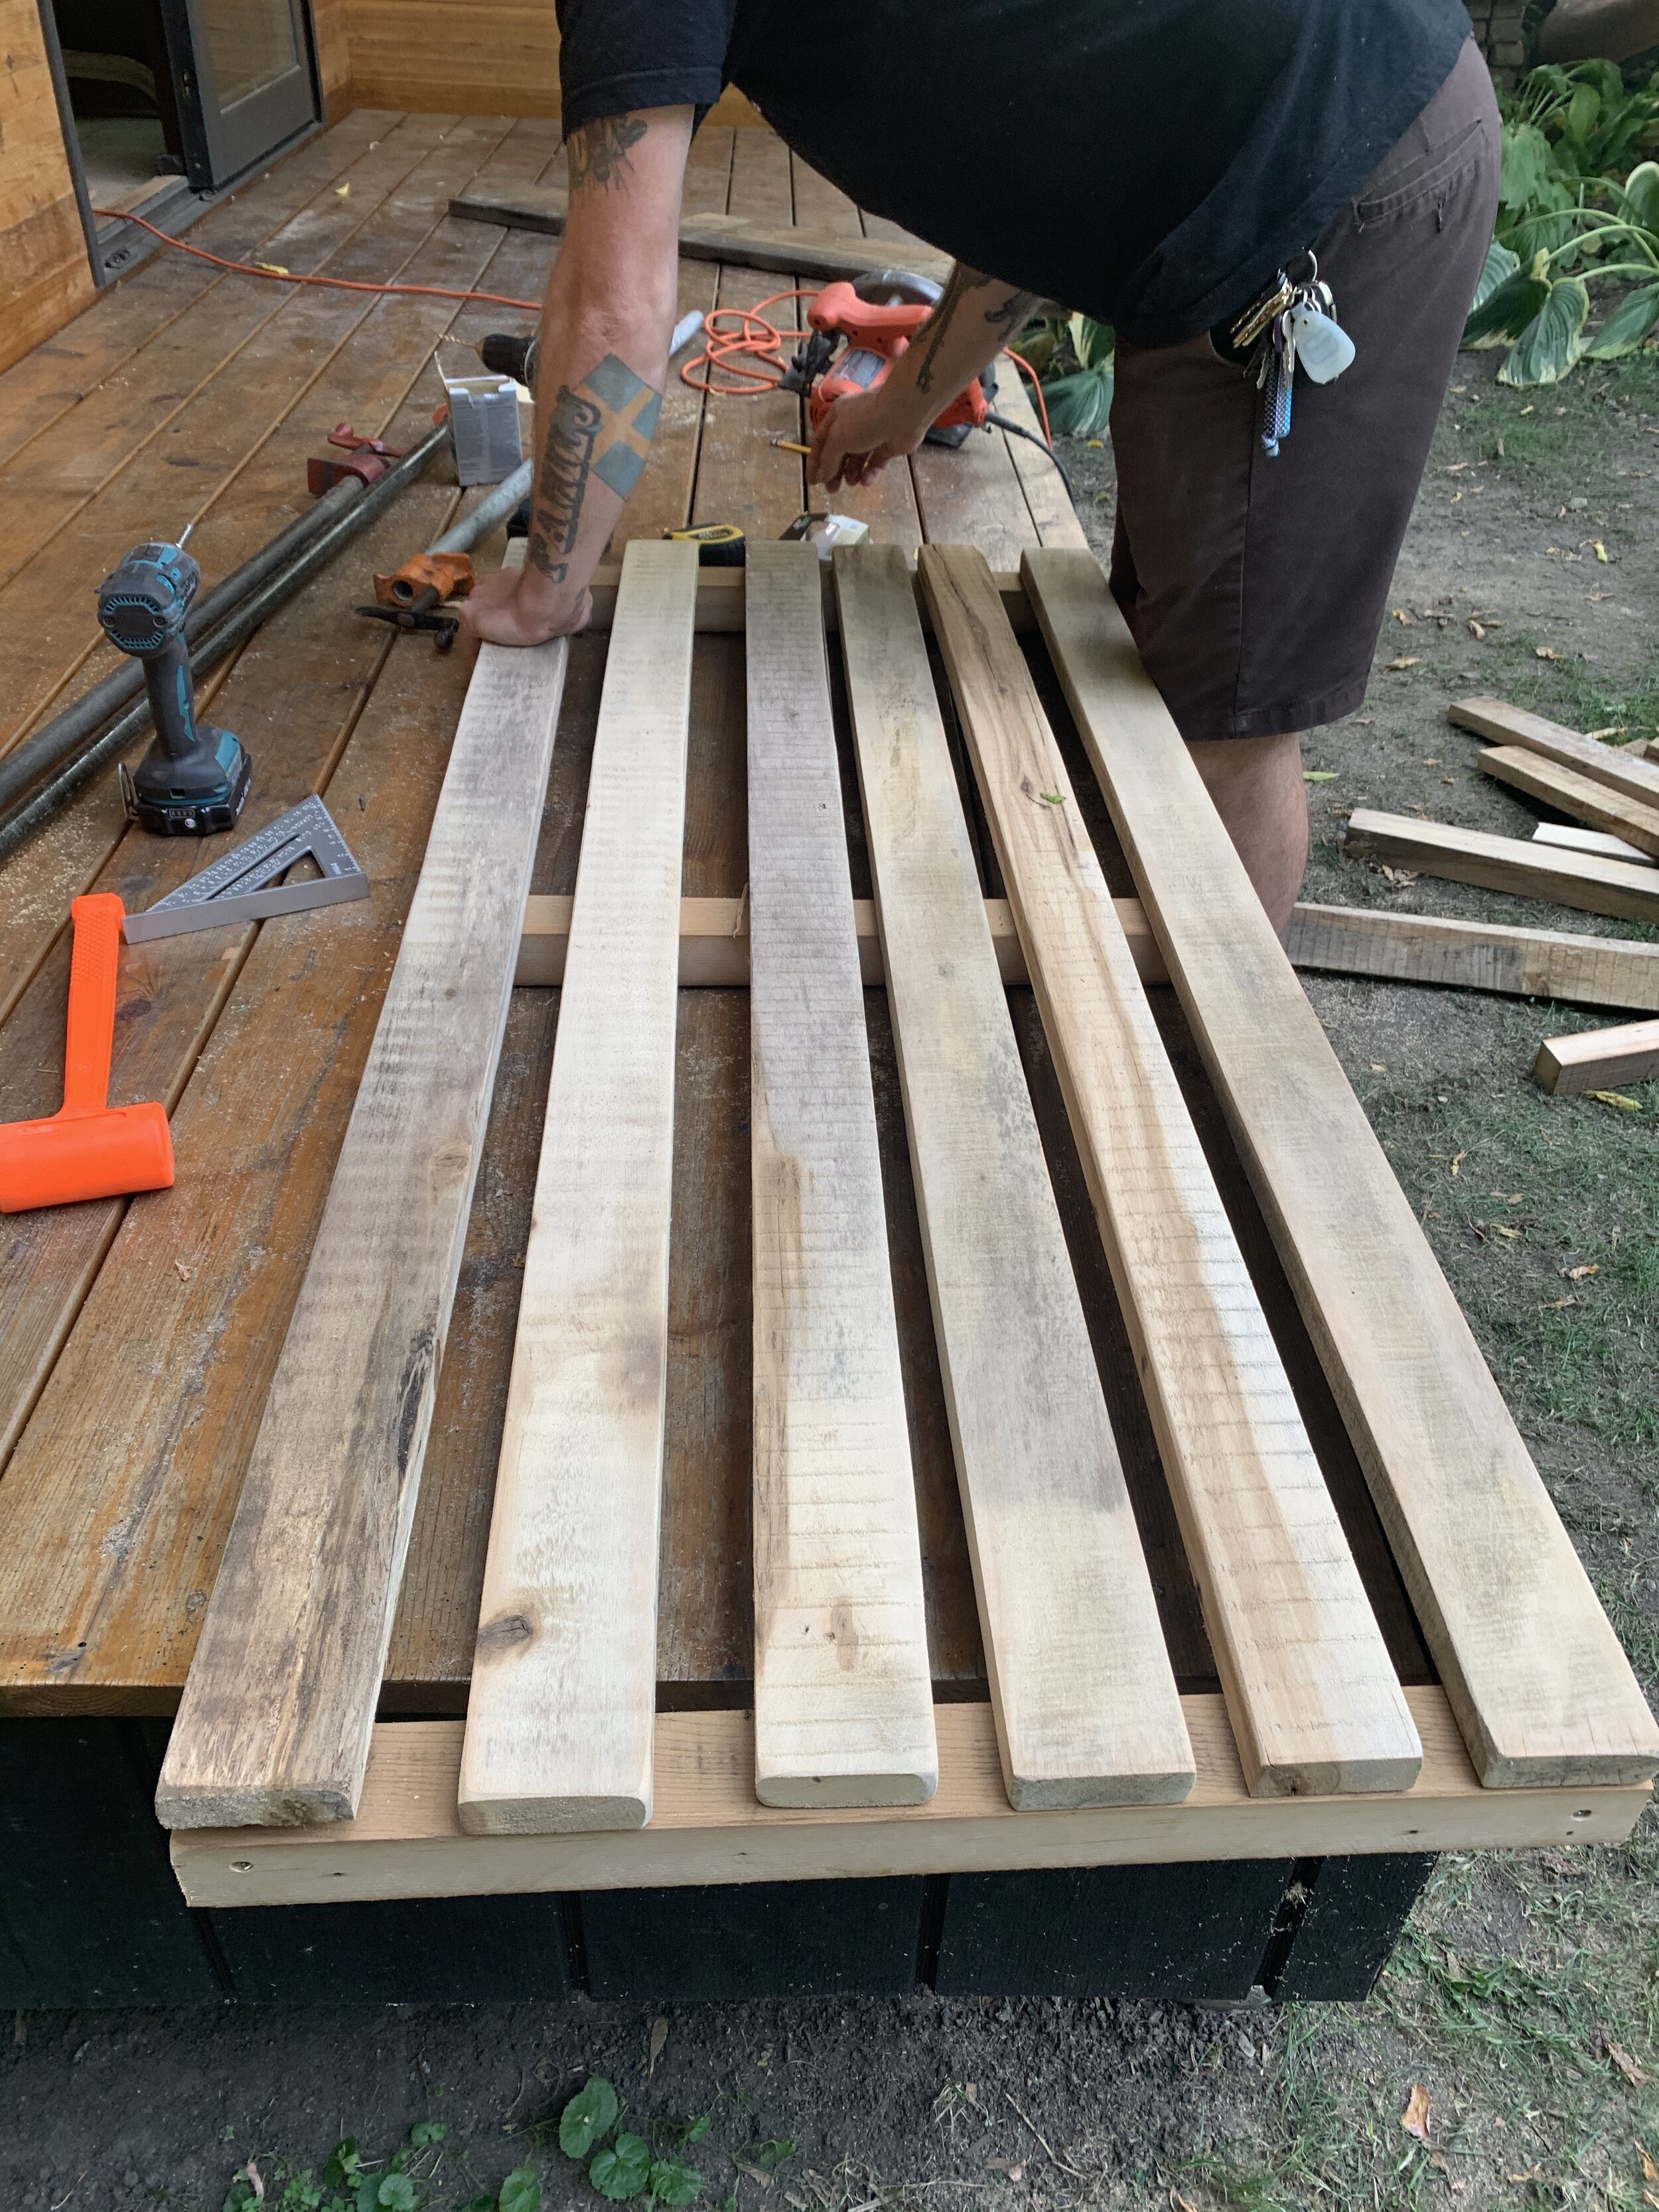
Second, build the platform that sits inside the frame. We wanted ours to be adjustable on both ends so built the platform in 3 sections. Make sure you have at least a 1/4” gap on the sides, 1/2” on the ends, and a space to attach the platforms to each other with the ability to move up and down. Keep in mind that when the ends go up and down they need more room than when they are down because of the angle. So the larger 1/2” gap is important. Start by building the perimeter of all 3 pieces and then dry fit them, practicing going up and down to ensure they don’t hit the outside frame. We used 2x6 boards ripped down to roughly 2x2 and put one cross beam in the middle for stability. Next, build the tops. Depending on the size you make your chaise, the dimension of the top strips will change. You will see we have 6, 1x boards that are just under 3” each (we ripped down 1x12s). Keep an inch or so gap between each board so moisture has a place to escape. Since the cushion sits on top of the platform we just screwed in the top boards from the top down. Don’t forget the glue! It prevents squeaking.
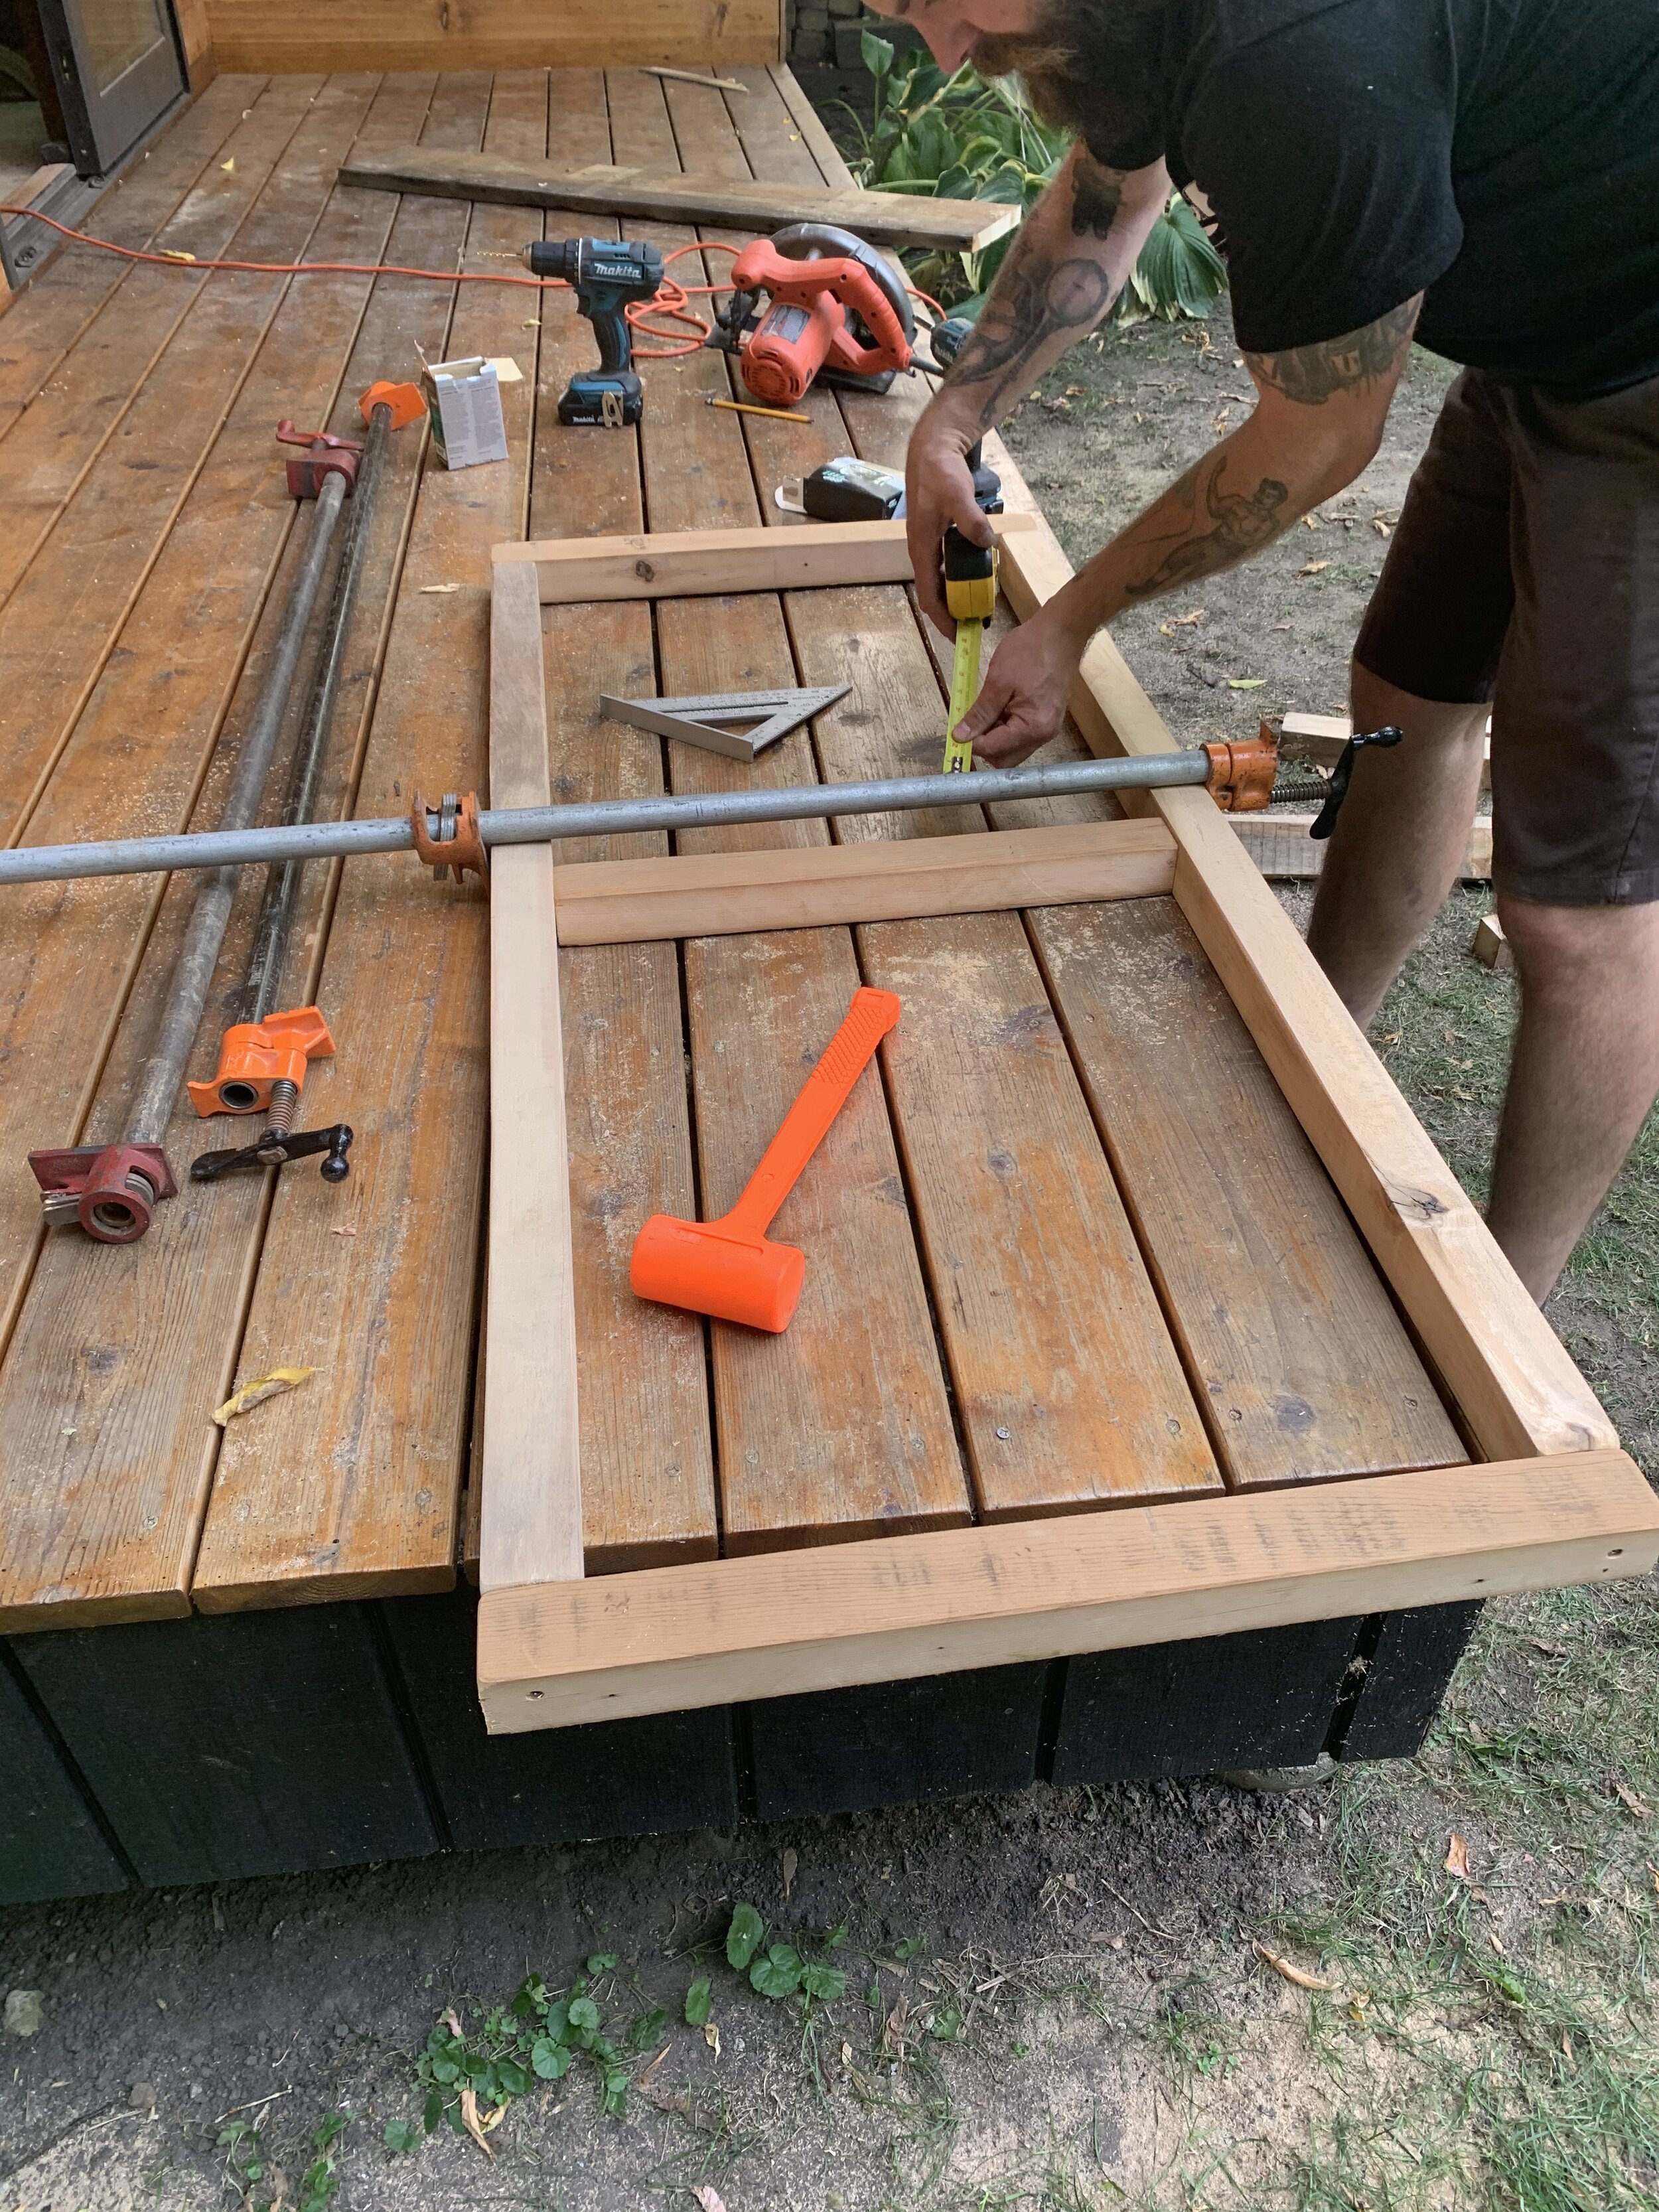
Third, attach the middle platform to the frame. The middle one is permanent so just pre-drill some holes into the side of the frame, then dry-fit the platform inside the frame to determine where to screw it in. You want the platform to sit flush with the top of the frame. Make sure lengthwise it’s perfectly centered inside the frame. Once you determined where it should go, glue and screw it in.
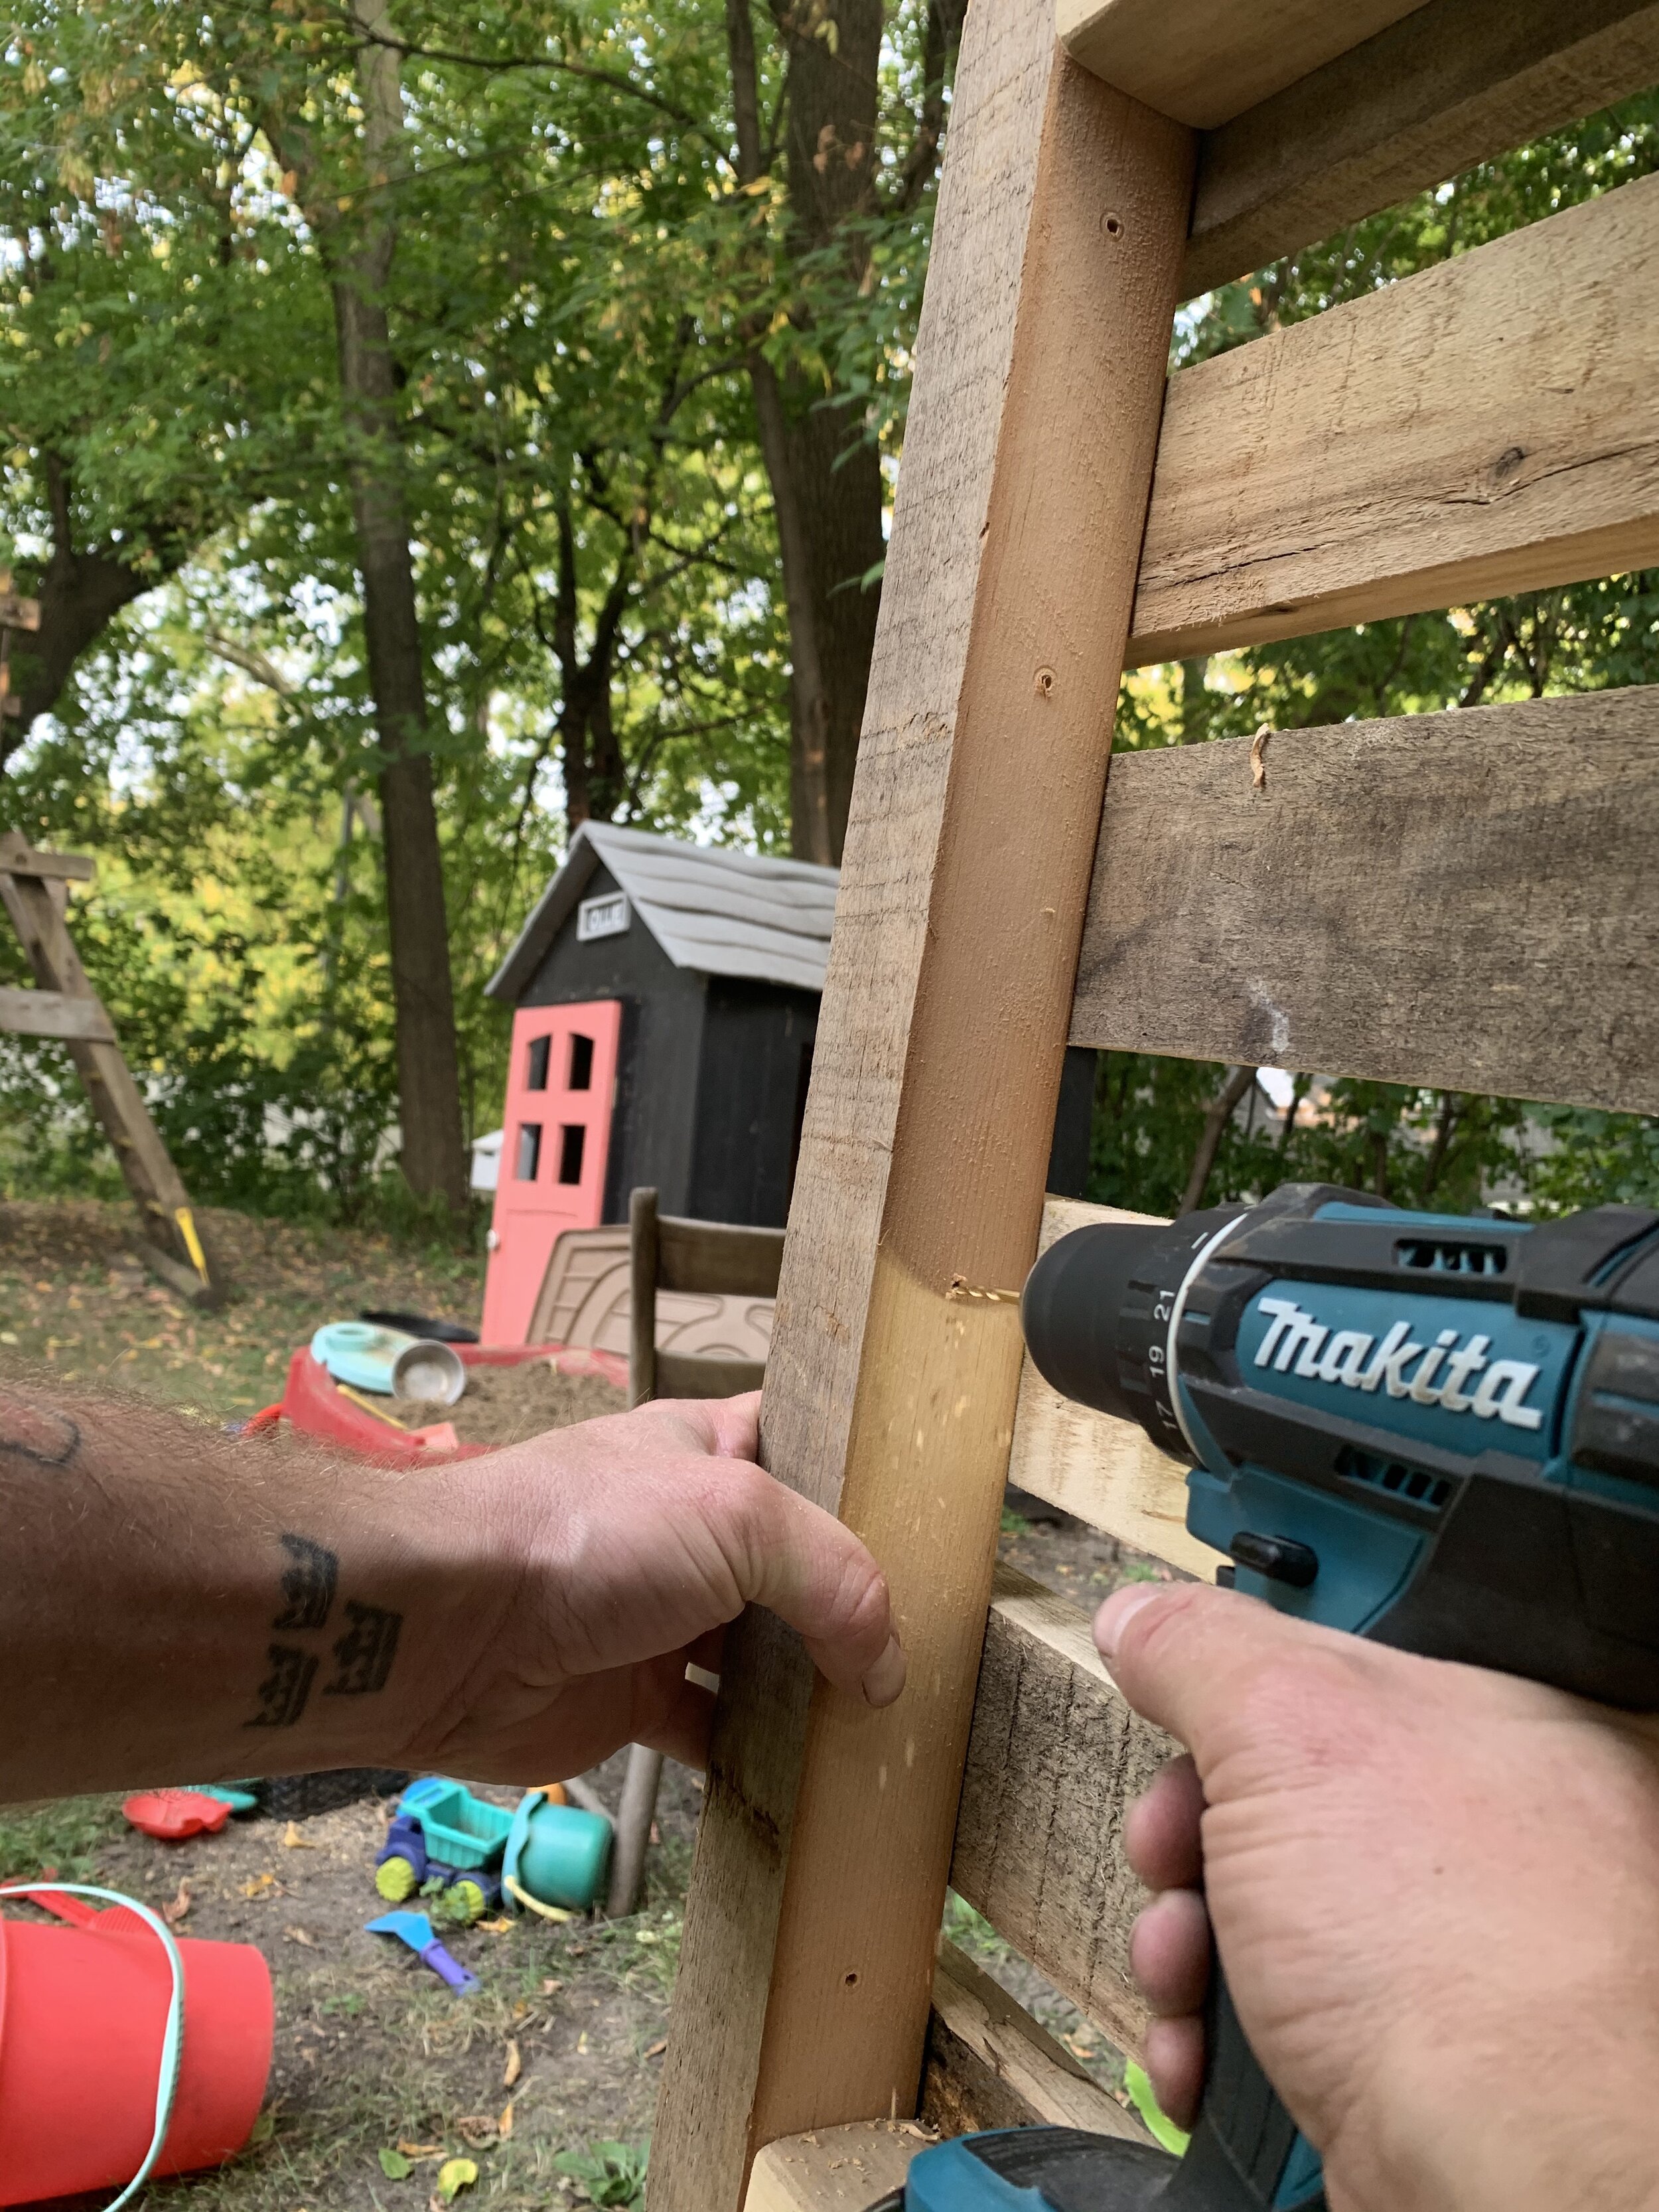
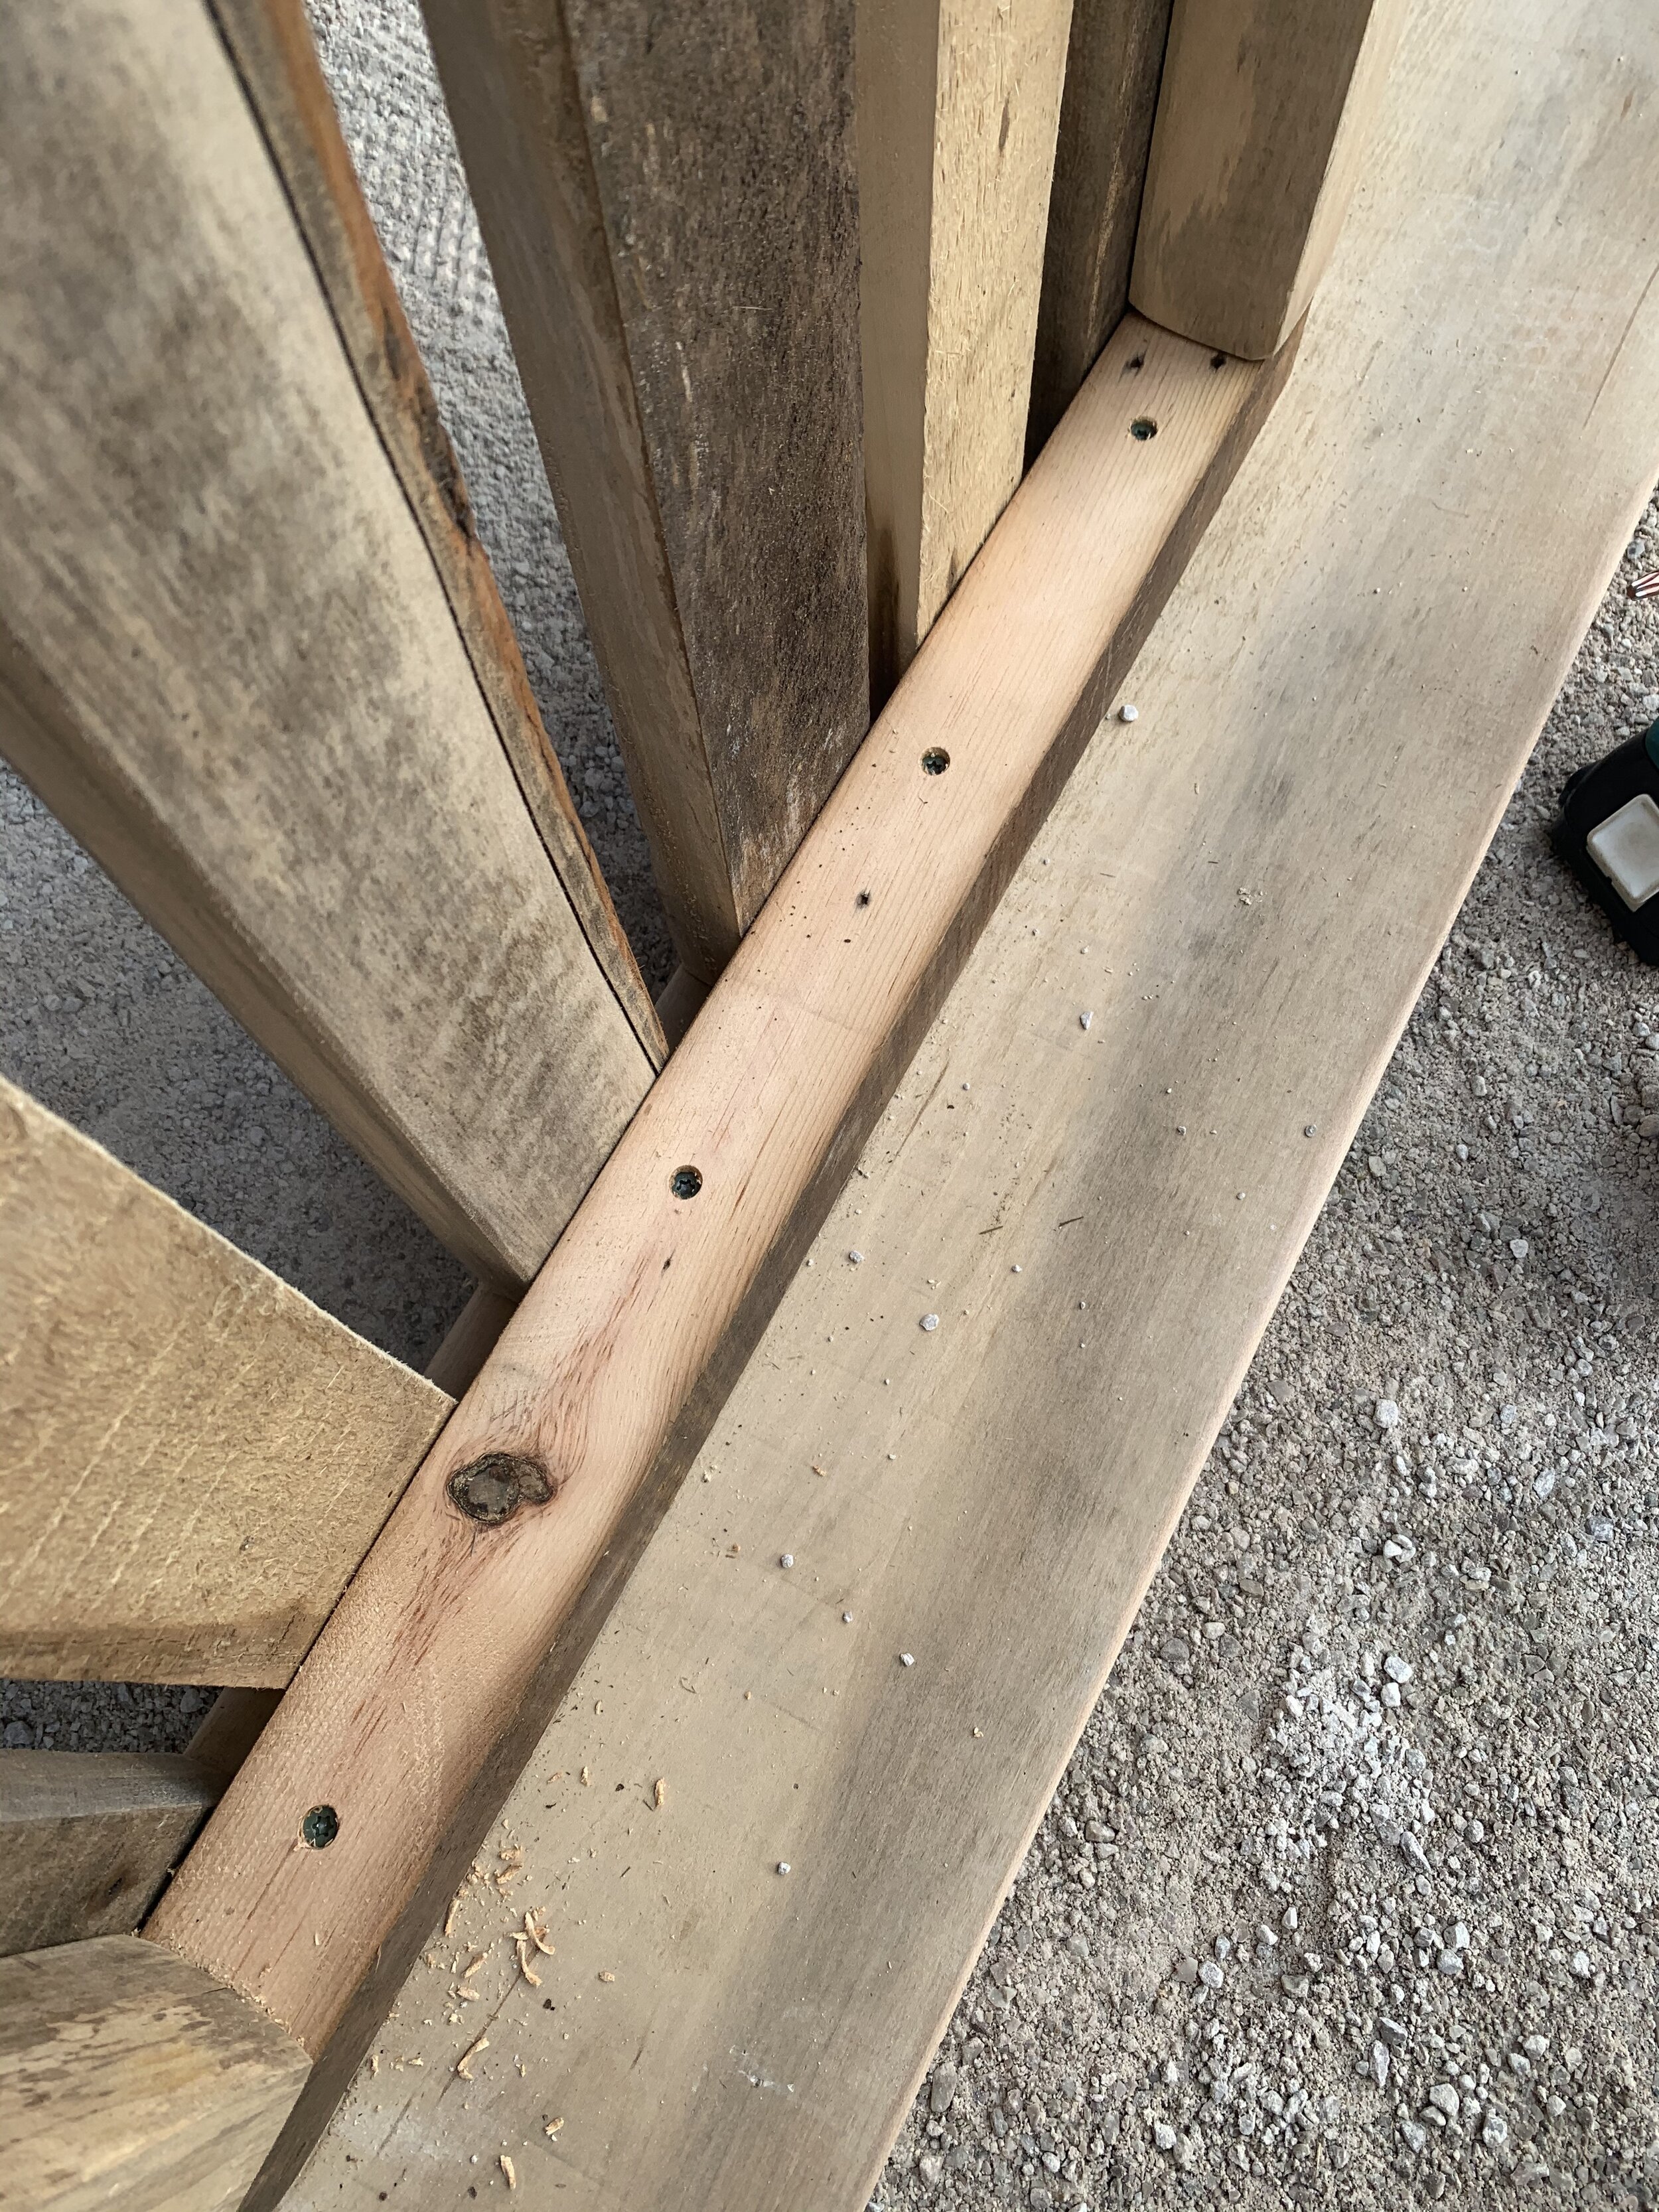
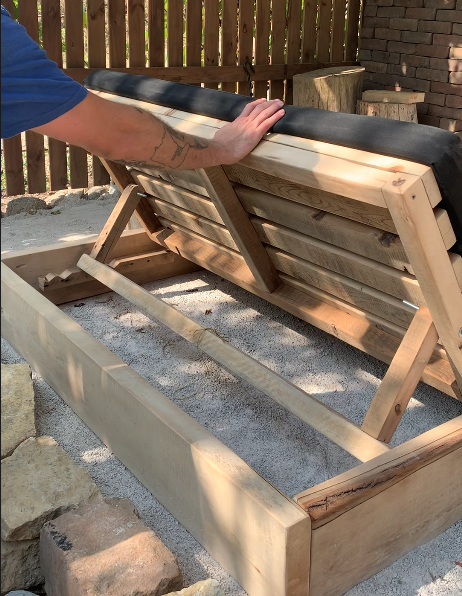
Fourth, attach the two outside platforms to the frame and build the hinge mechanism that let’s them stay propped up. This is where you’ll need to likely do some math and figure stuff out depending on the size you made your chaise. Rip down some 2x2 pieces. Halfway down the end of the platform you’ll attach 2 shorter pieces that I’ll call “legs”. Make it the depth of half the platform, minus a 2x2 (aka the piece that will go all the way across), minus 1/2” (to allow it to go up and down). Look, I get it, this math is a bit much. But look at the pictures and it’ll make sense. Screw the legs to the inside of the platform frame about 2” less than halfway. Pre-drill. Make sure to use washers and wing nuts so that it move fluidly. Once the two legs are on, attach the bottom. The bottom is another 2x2 board that extends the entire length of the chaise minus 1/2” on both sides. Attach that to the leg pieces. Voila, you have the mechanism that allows the platforms to go up and down.
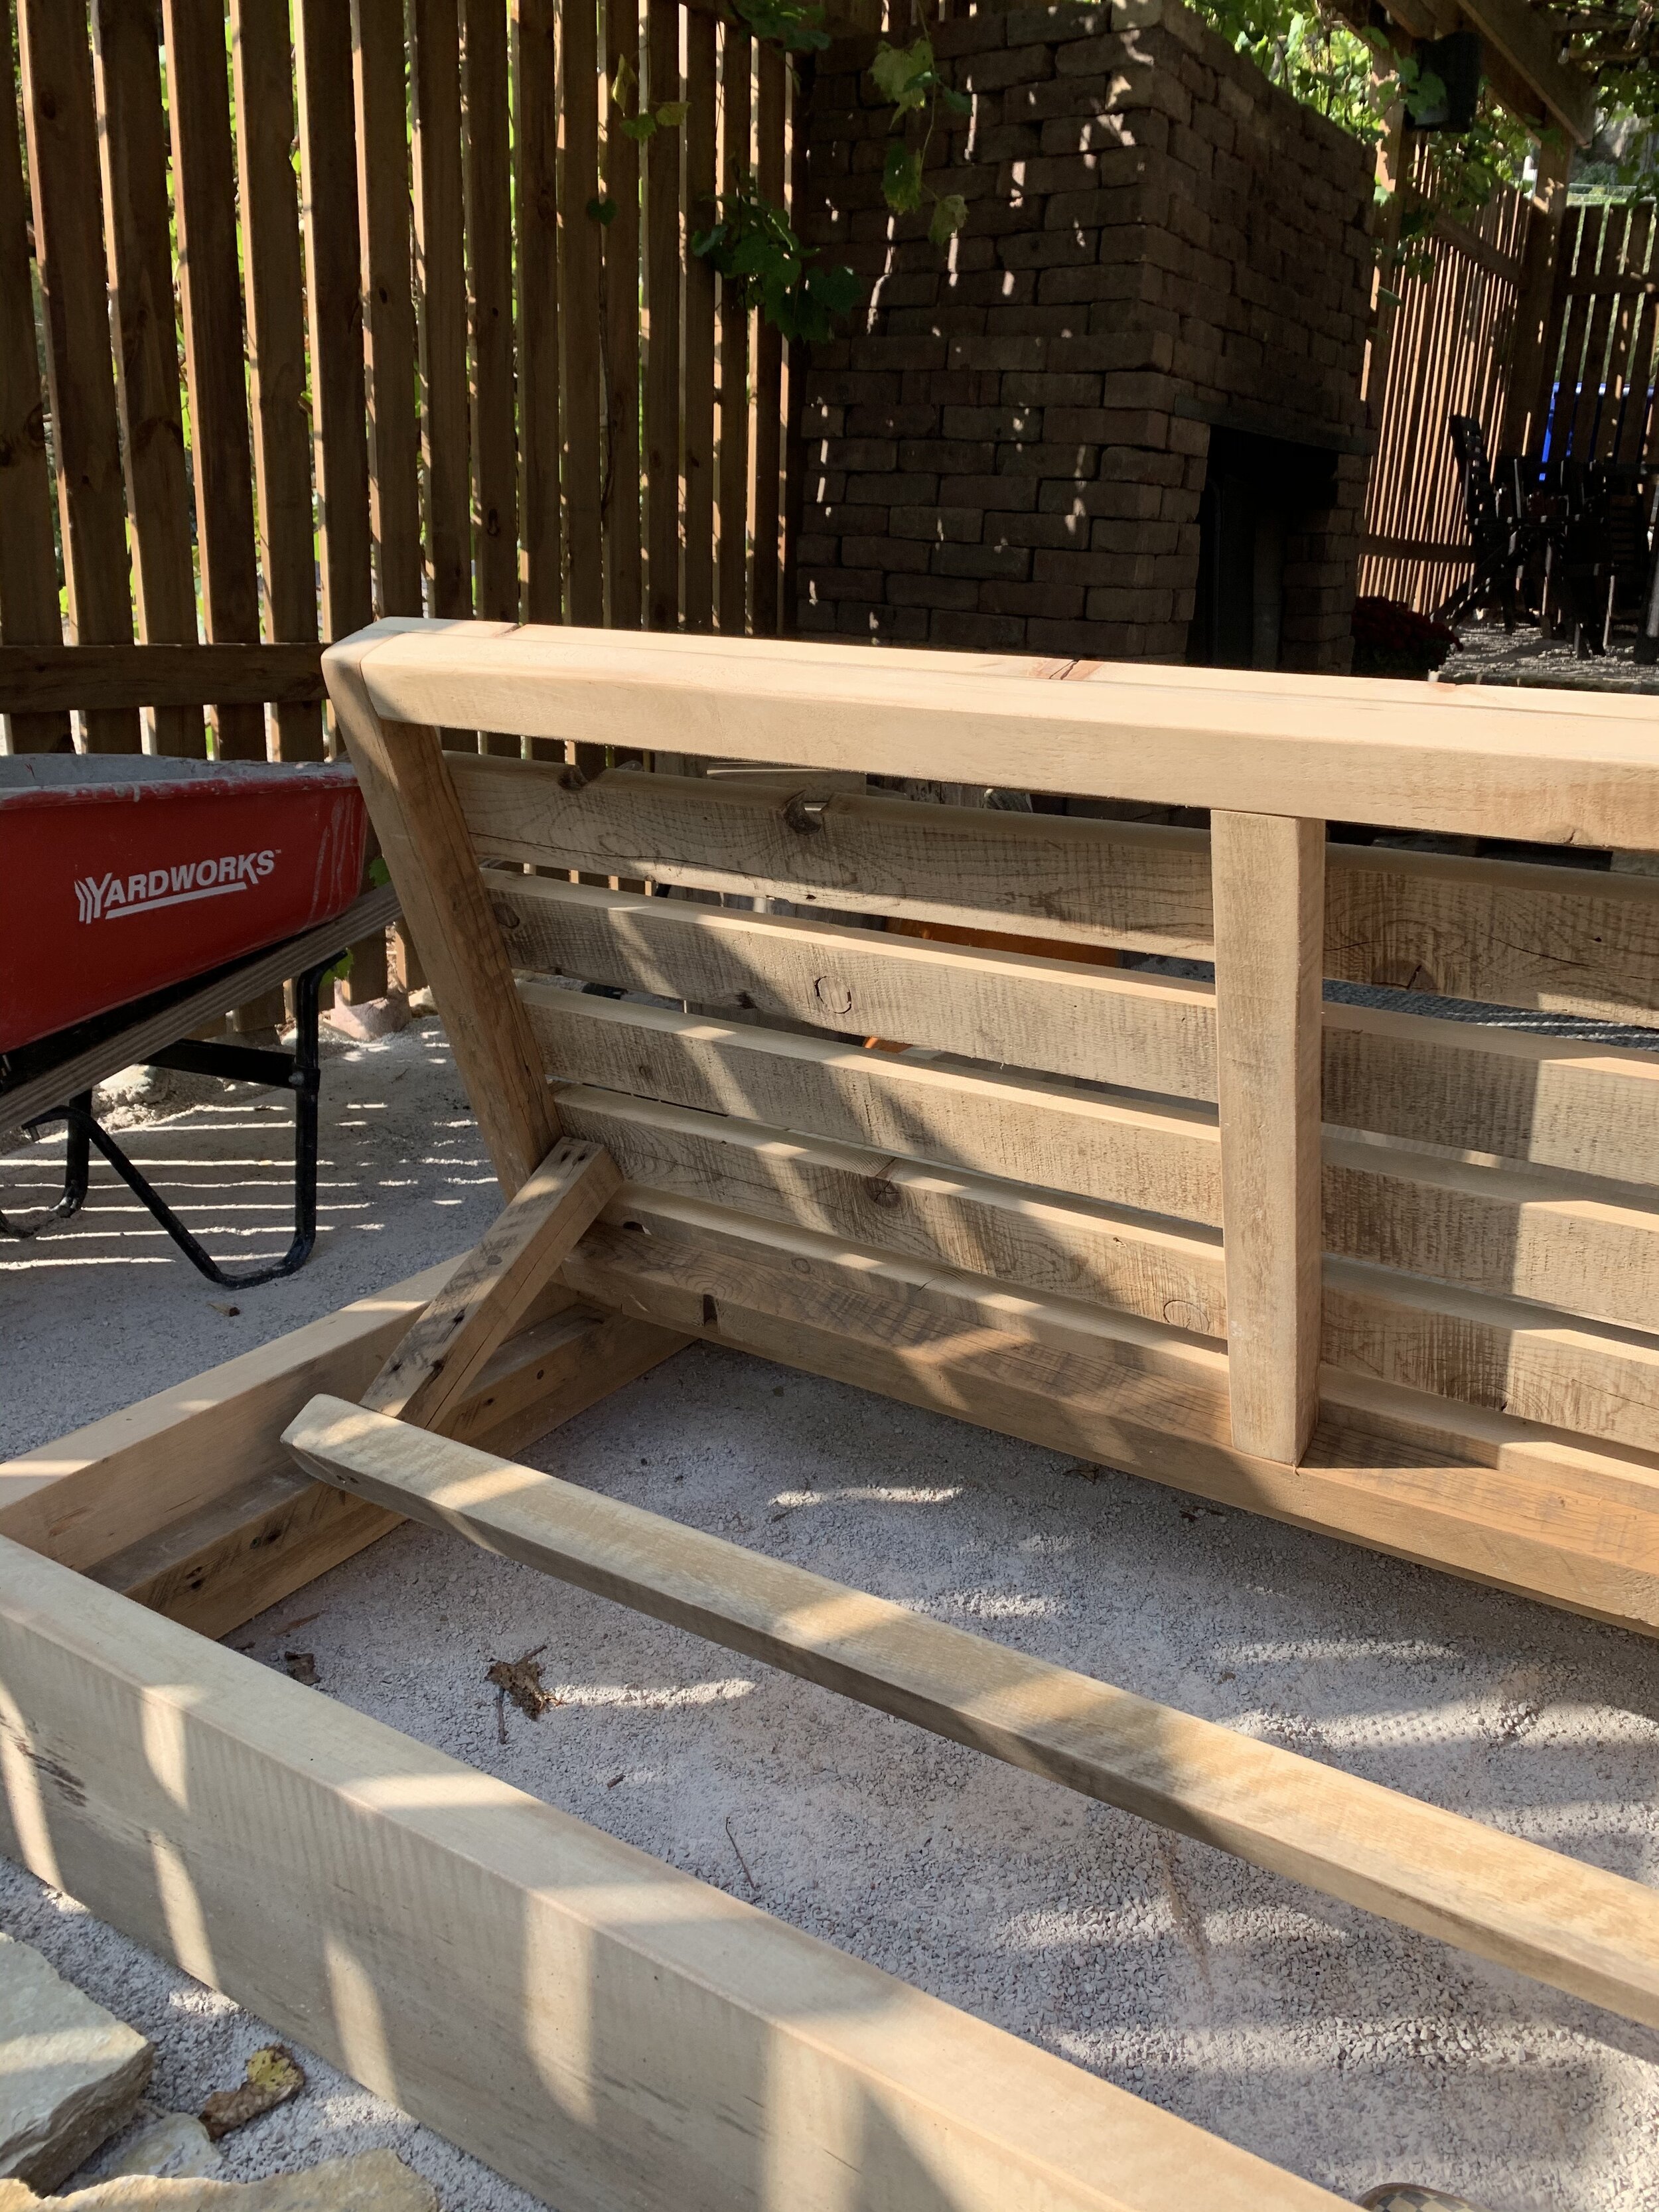
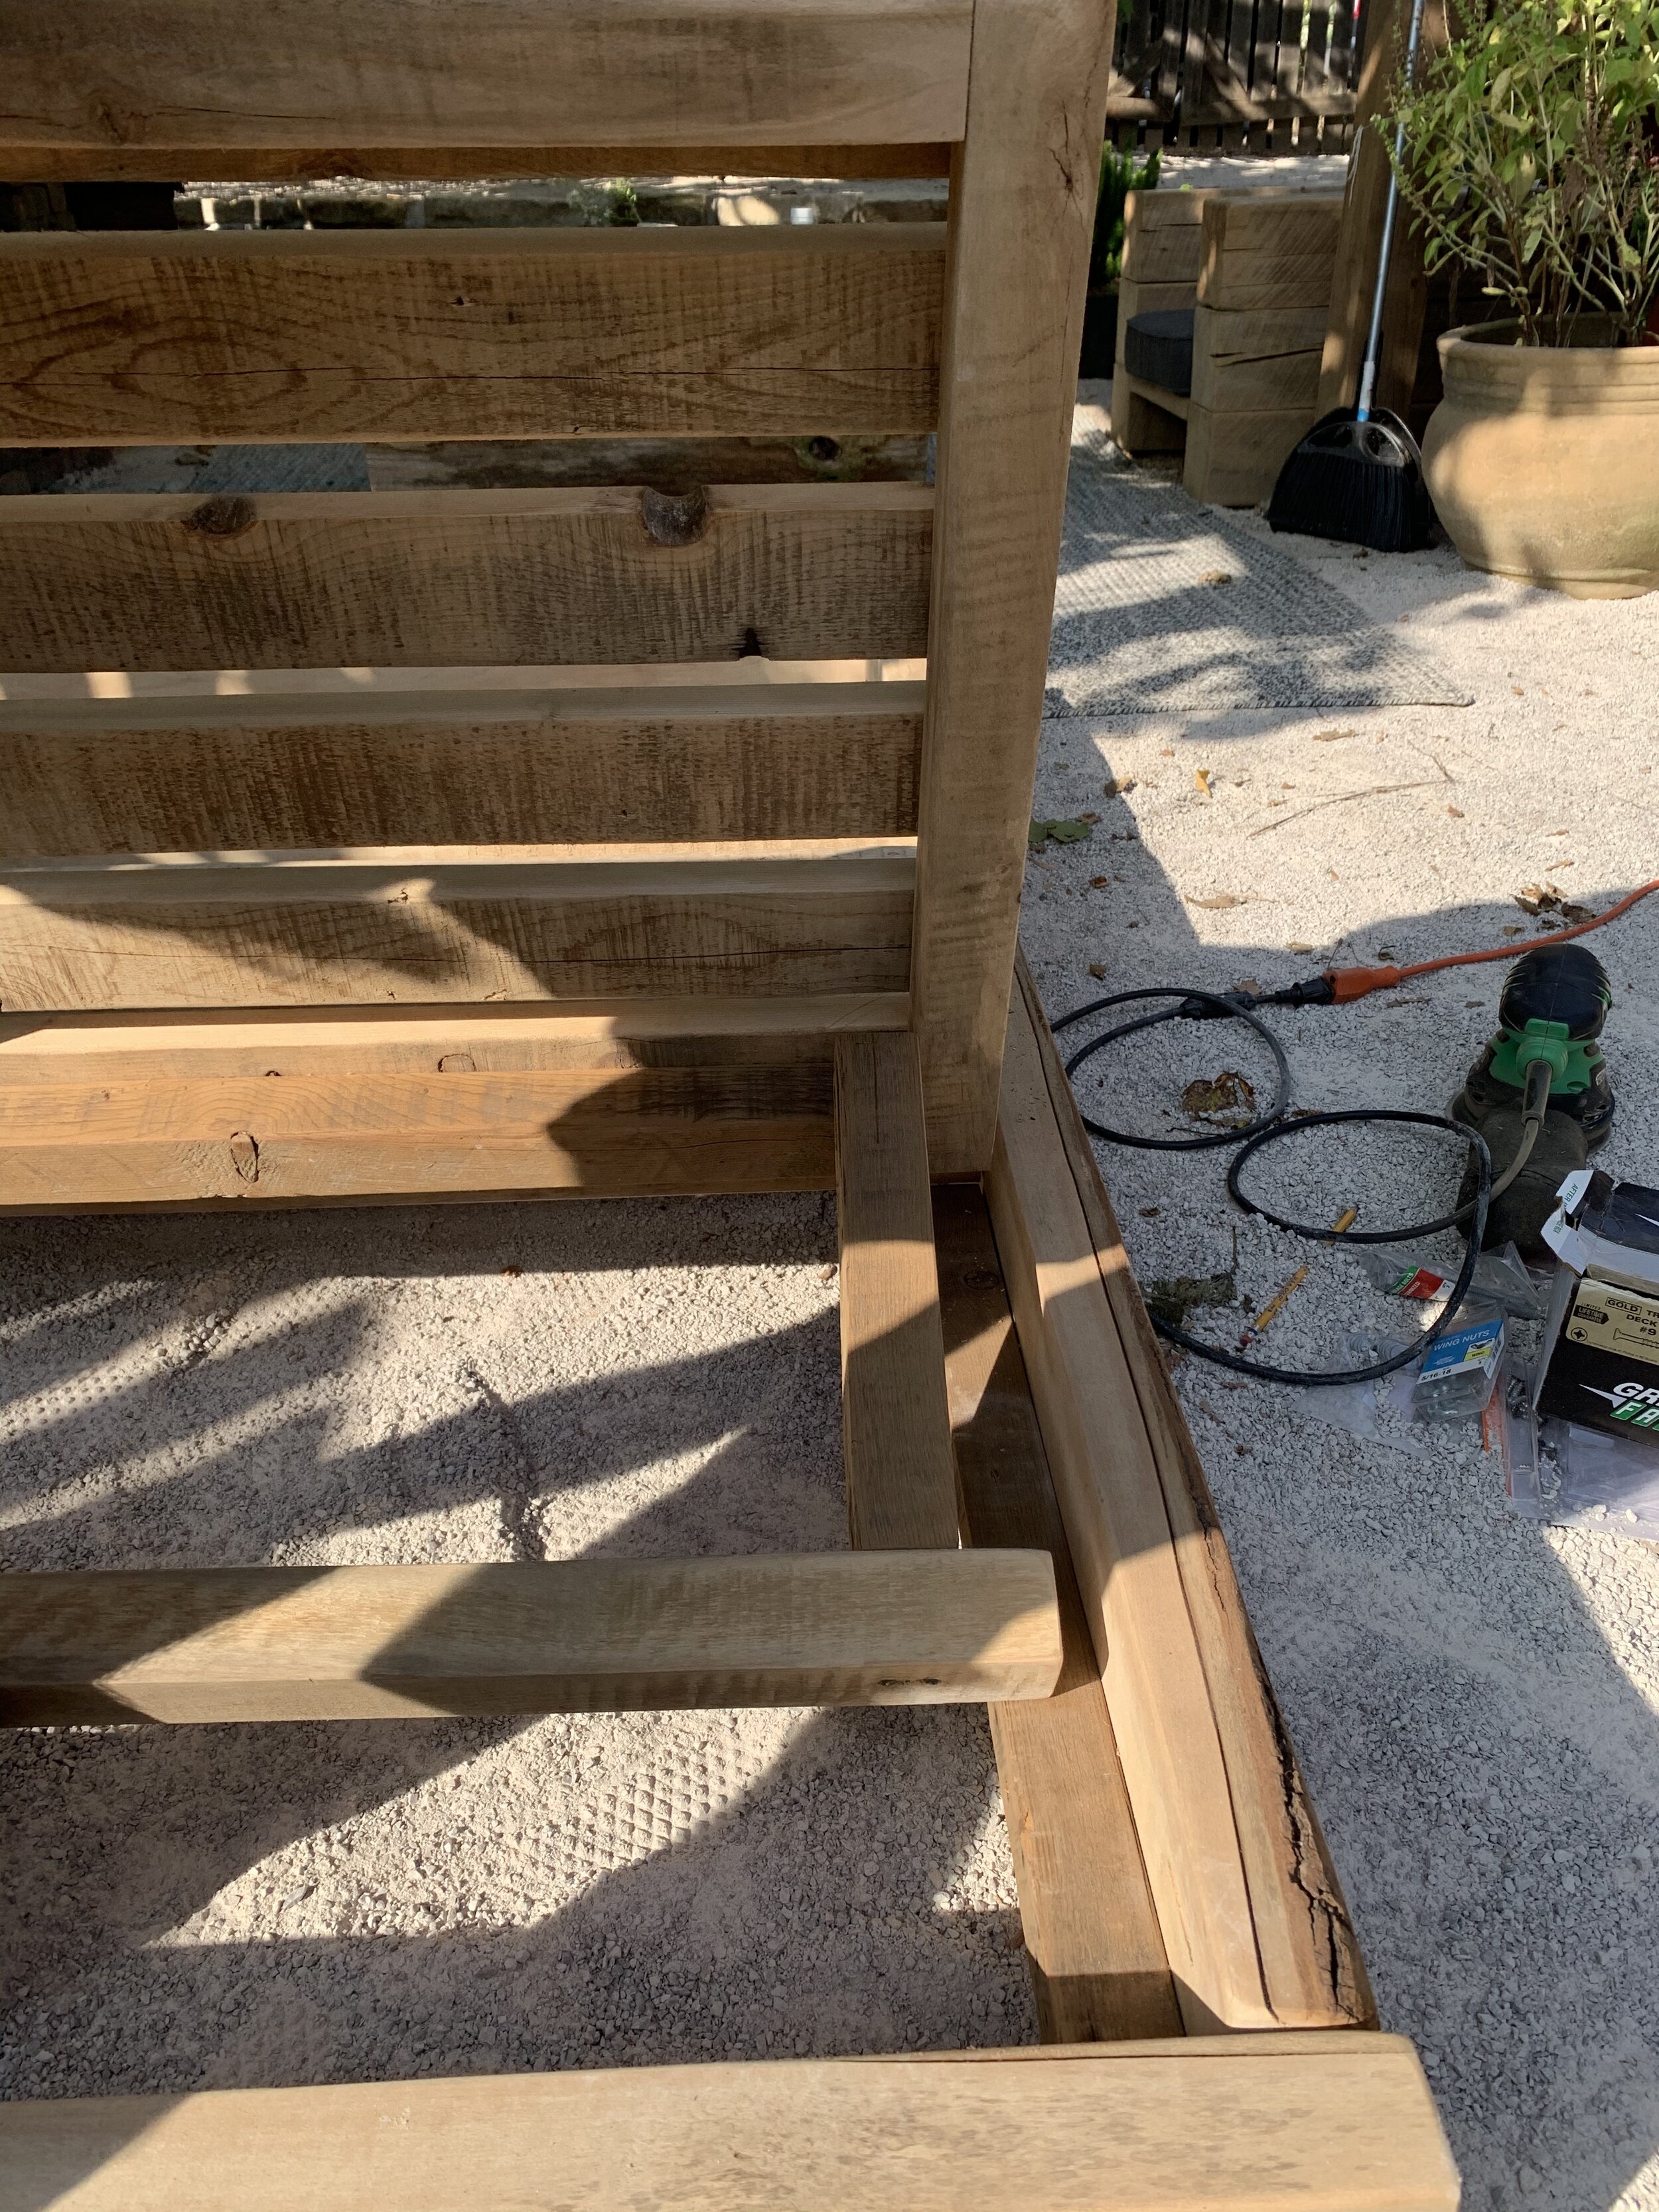
Fifth, make the notched side pieces to prop up the platform and attach the platforms to each other with hinges. Make 4, 1x2” pieces 3” shorter than length of the platform depth. Note in one of the pictures below how these side pieces don’t go all the way to the end. That’s because when the back is all the way down, the cross bar needs to sit there. So they need to be shorter by whatever dimension it is you’ve made that cross bar (in our case, 2” so we left a 3” gap). They’ll go inside the frame at a height that makes the platform flush on top. You’ll notice in the pictures above that we made and attached these pieces before notching them out. We did that so we could test out the up-down process and to ensure they were installed at the proper height. Once you’ve dry fit them, go ahead and notch them out. To create the notches just cut out a V in the wood that’s about 1.25” across. We have 3 notches. Know that you’ll likely scrap one or two of these until you get the positioning just right. Attach those to the inside of the frame with just screws for now so that you can test out the notch locations.
Next we do the hinges. Place 2 galvanized or painted hinges on each side of the top of the two end platforms, then join each to the middle one. We placed our hinges on top so that when the chaise was propped up you didn’t see a hinge. Make sure they’re outdoor rated so they don’t rust. Place them 1/3rd of the way in from the outside so that they’re equally spaced.
OK, now you’re ready to test out the lifting! Make tweaks as you see fit. Once you’re happy with the appropriate notch spacing, go ahead and glue and screw the final boards to the inside of the frame.

And that’s it! You have yourself a double-chaise perfectly suited to your outdoor space. We take custom orders so if you’re interested please reach out to design@hellonorden.com for a quote. And don’t forget to reach out to Natural Home by The Futon Shop to get our cushions made, and tell them Hello Norden sent you!

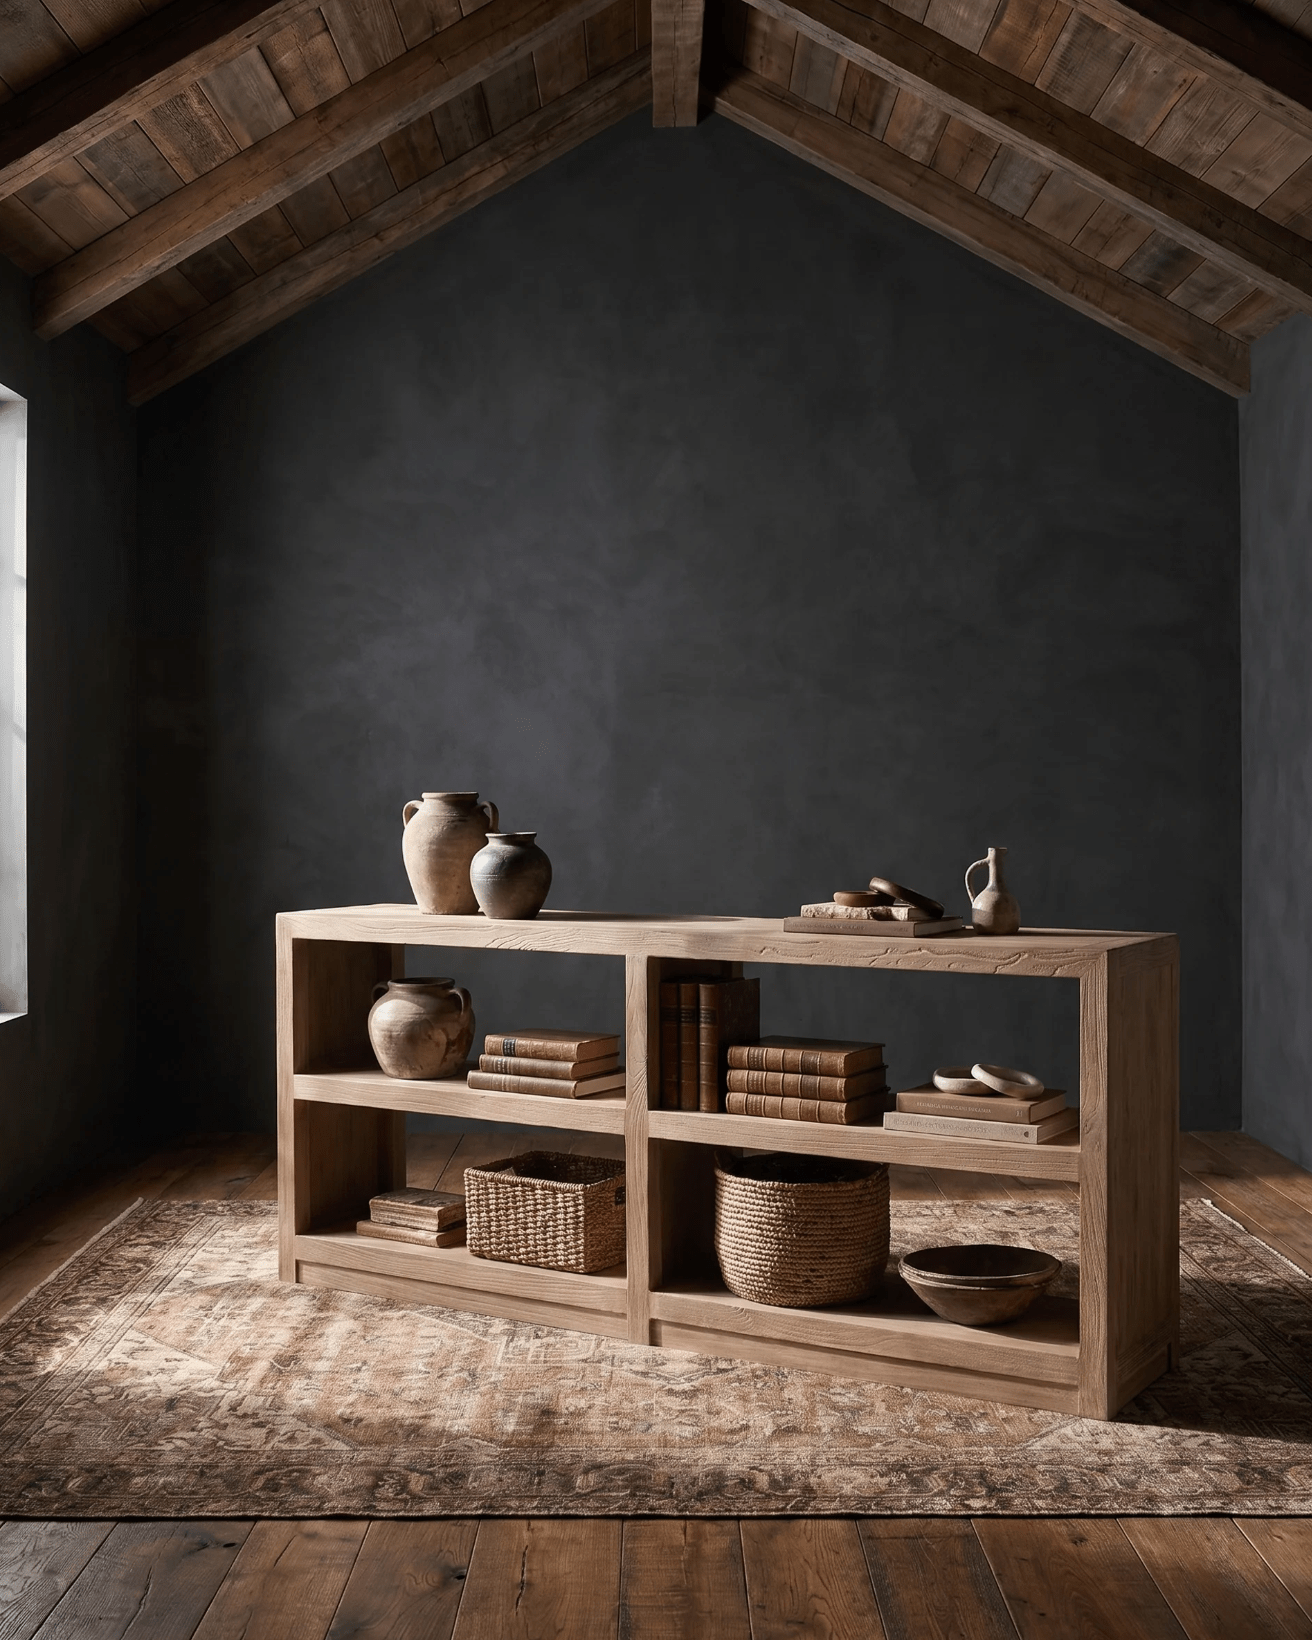
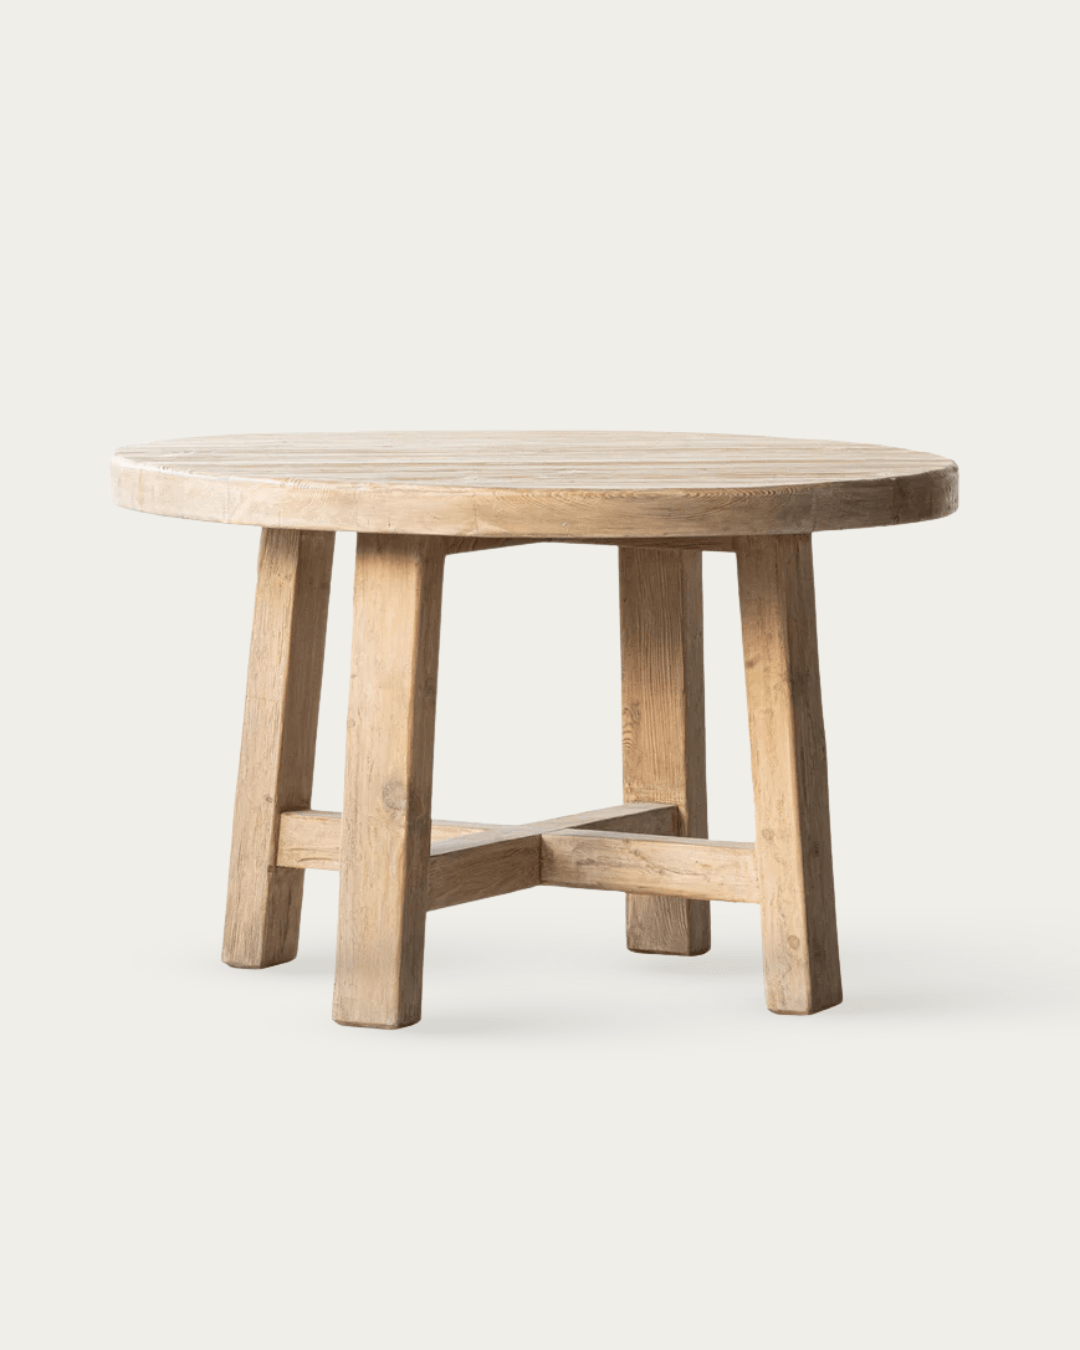
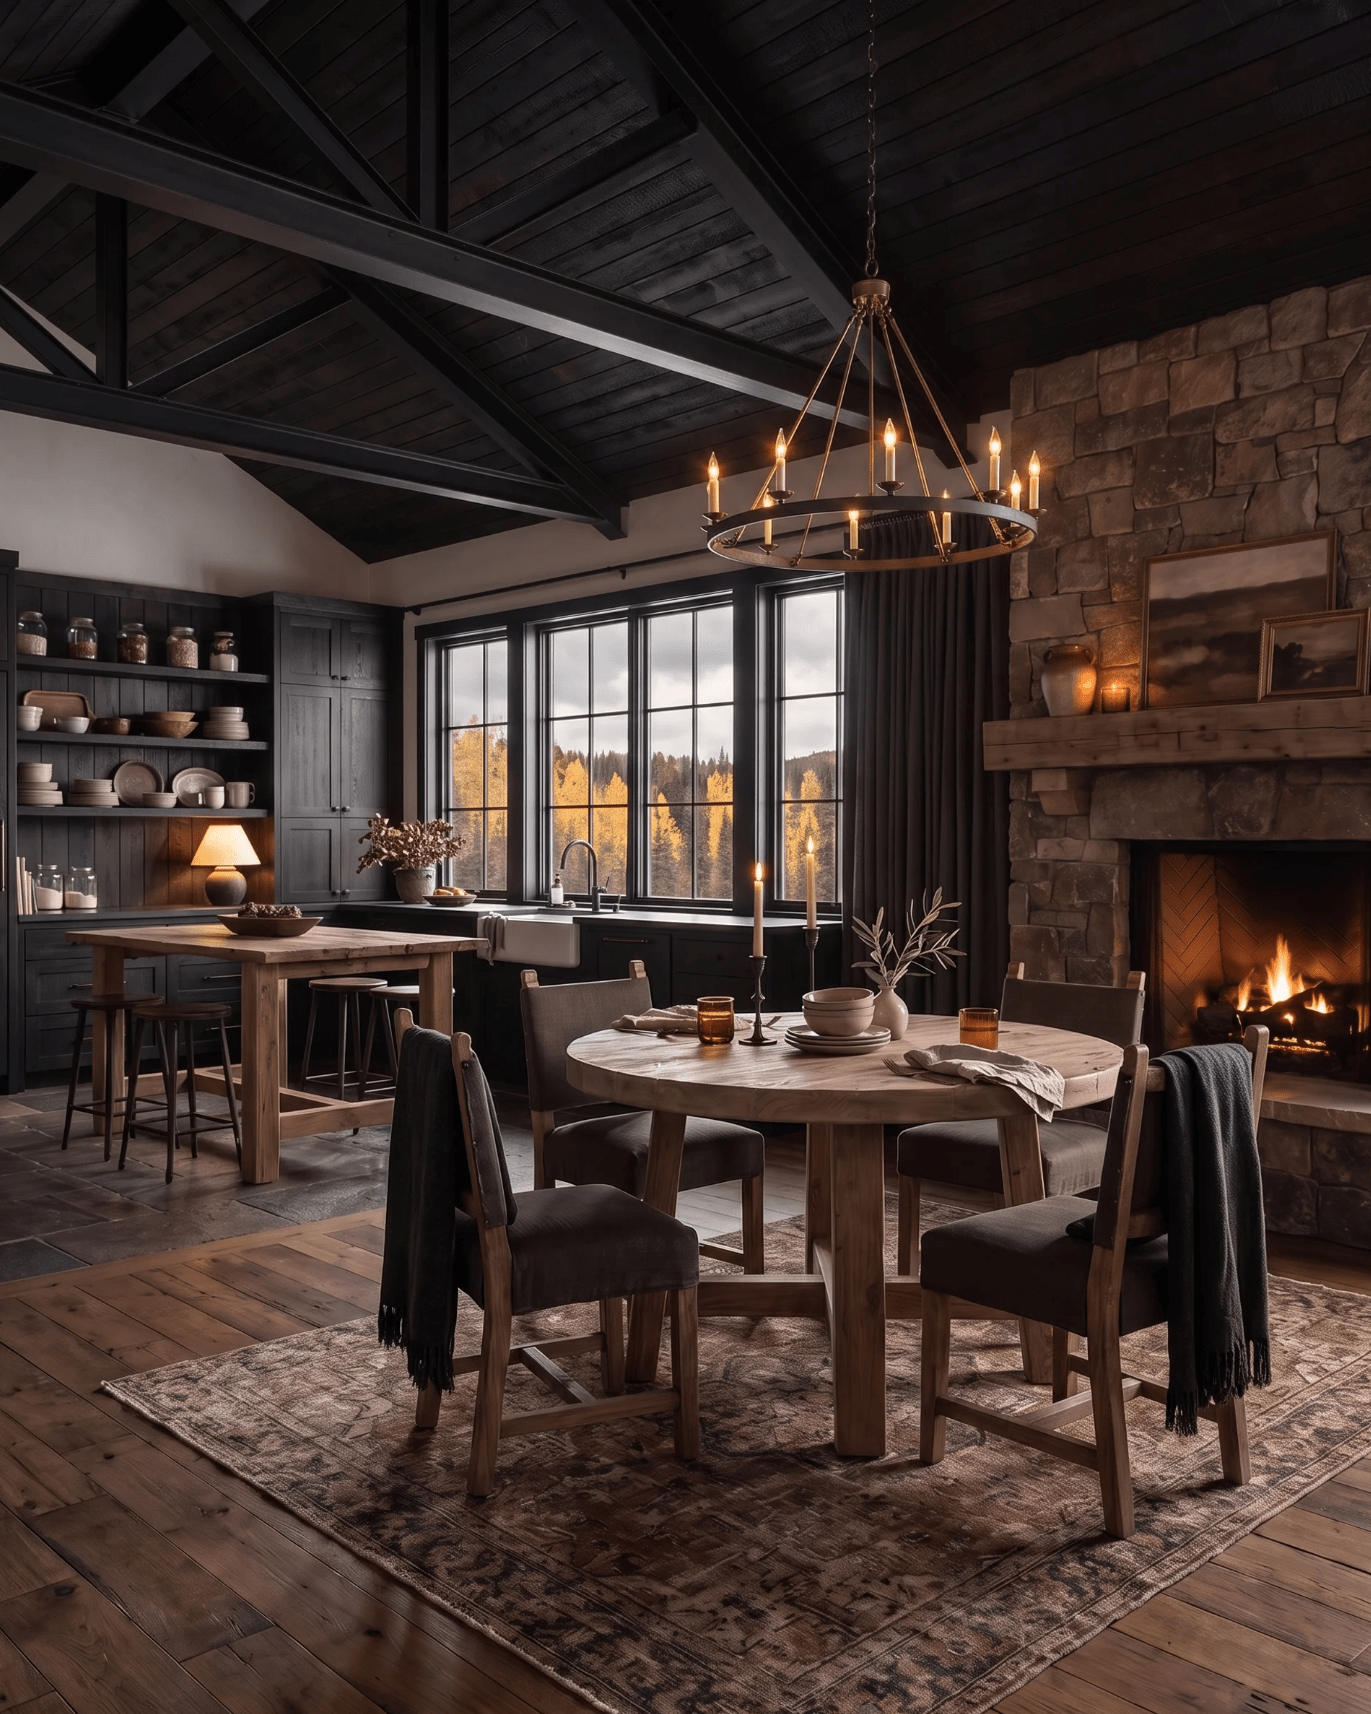
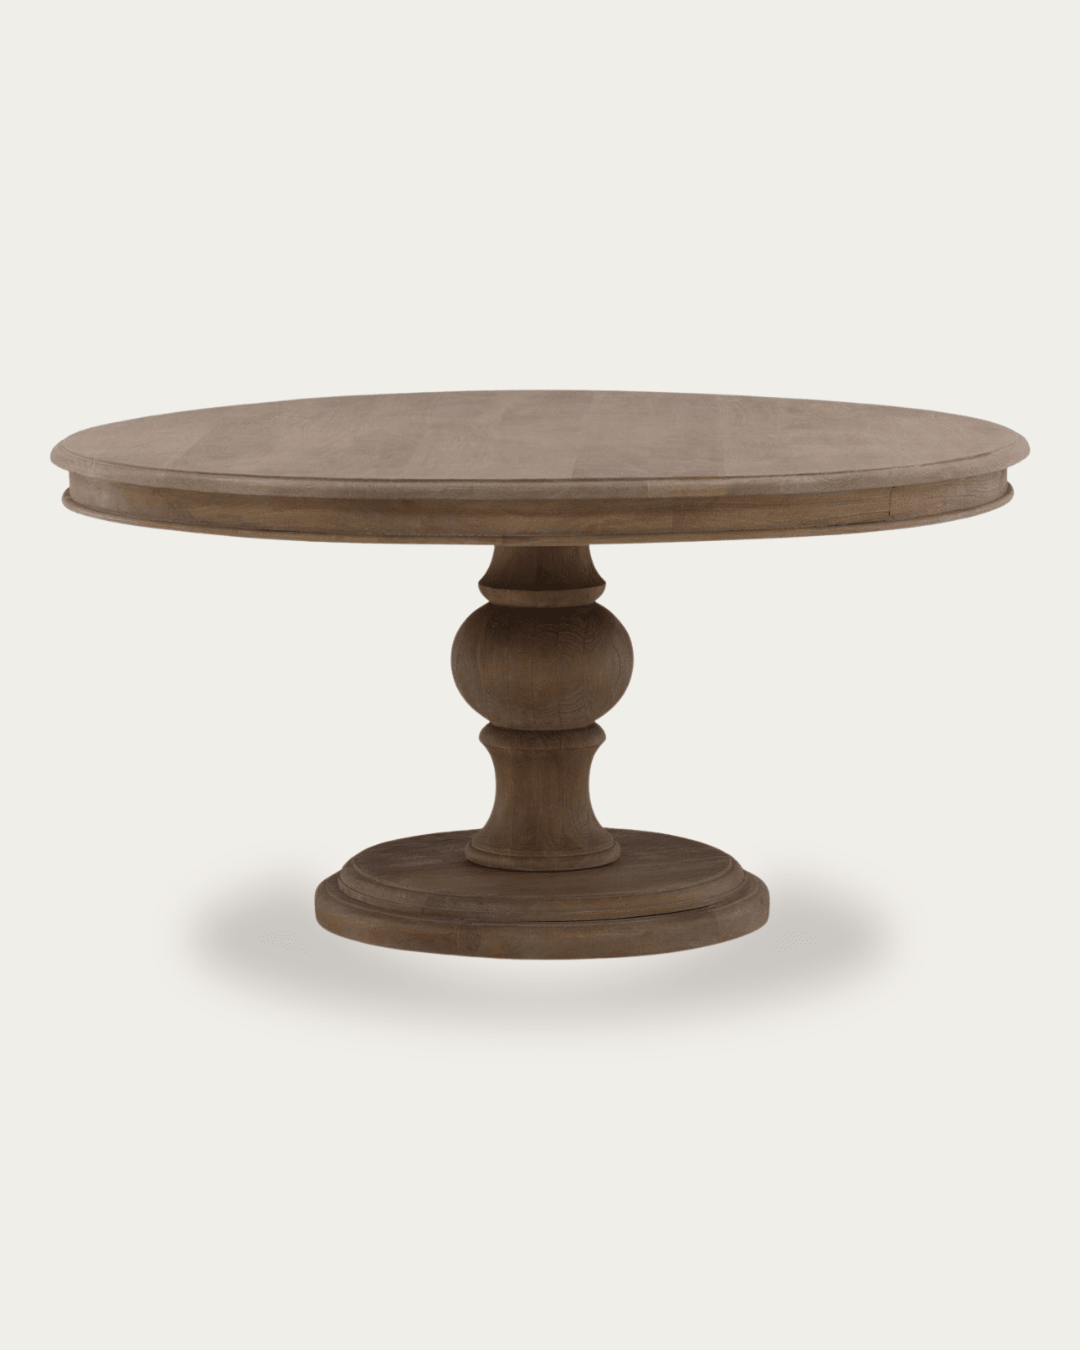
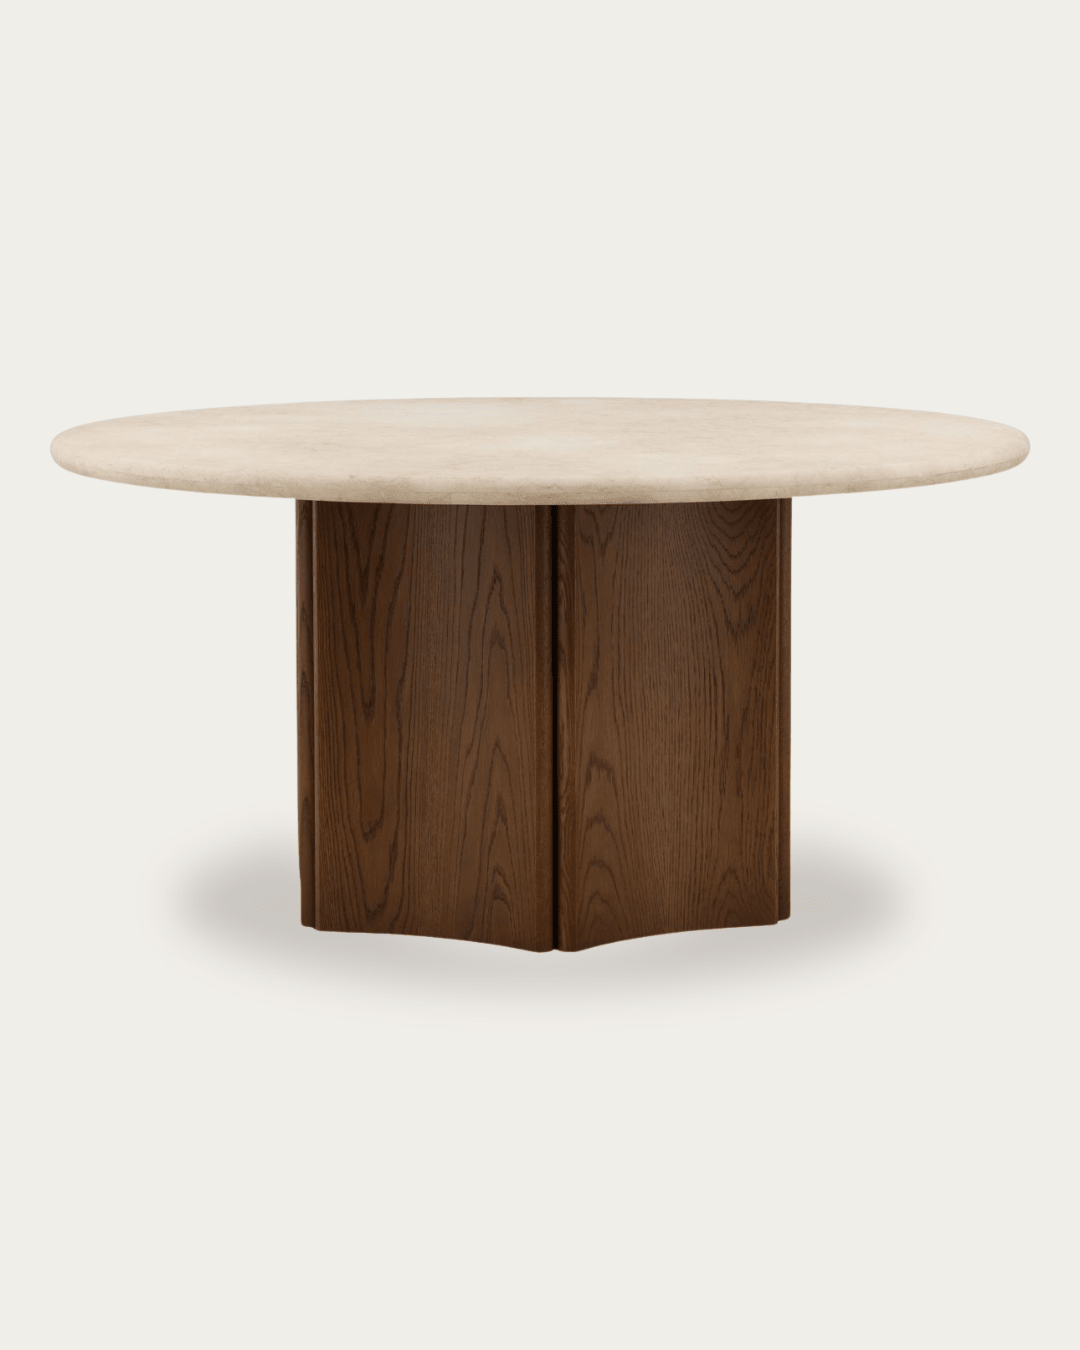
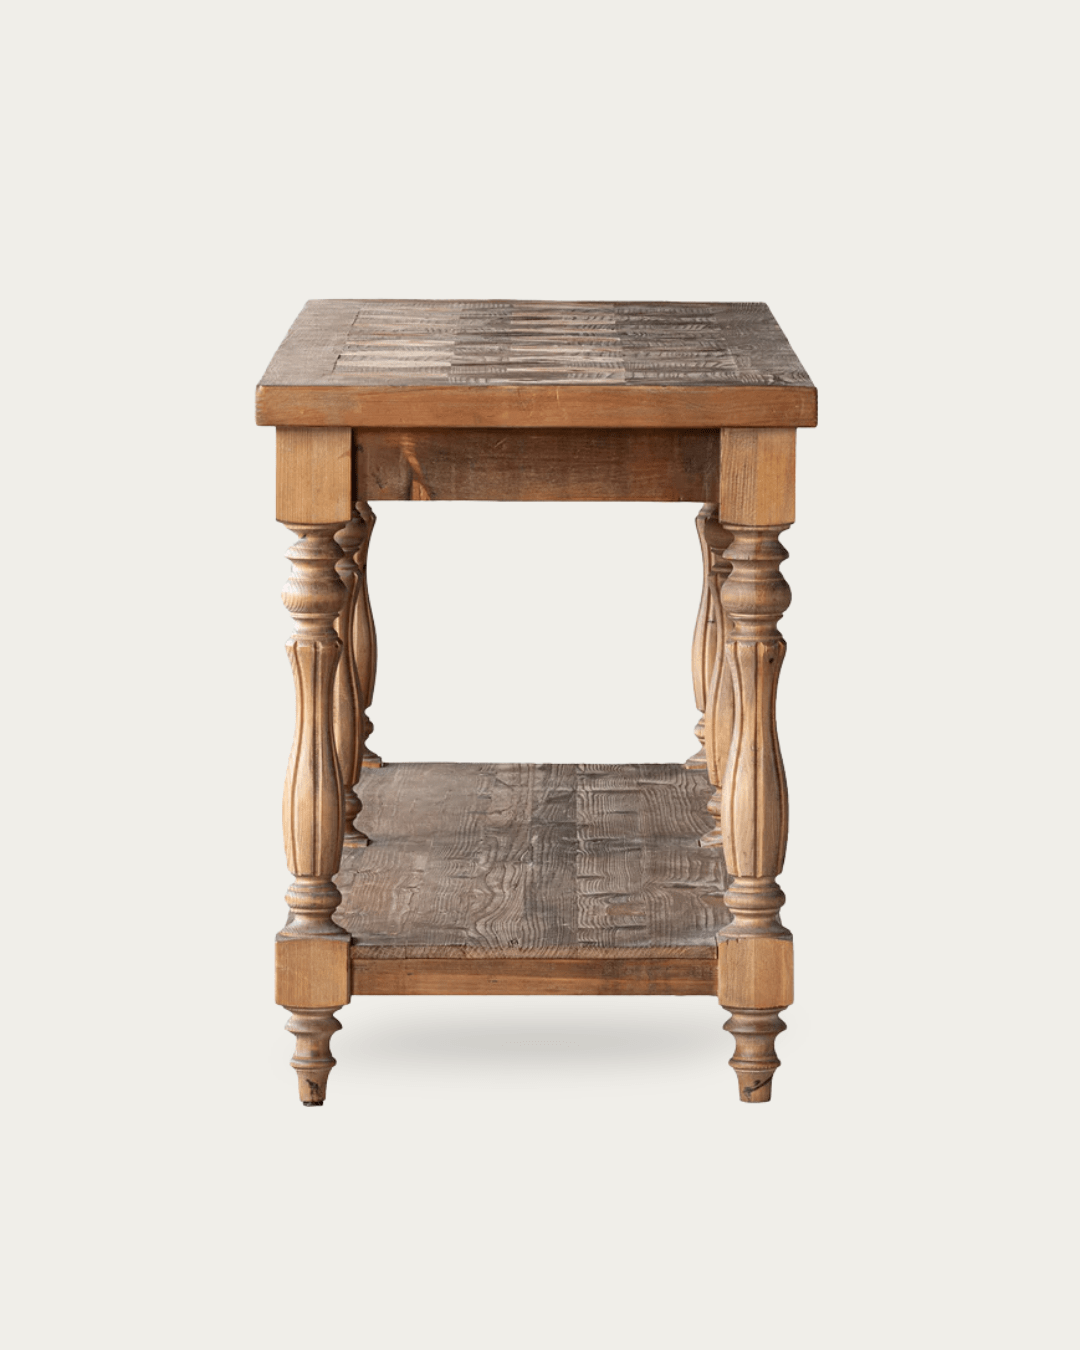
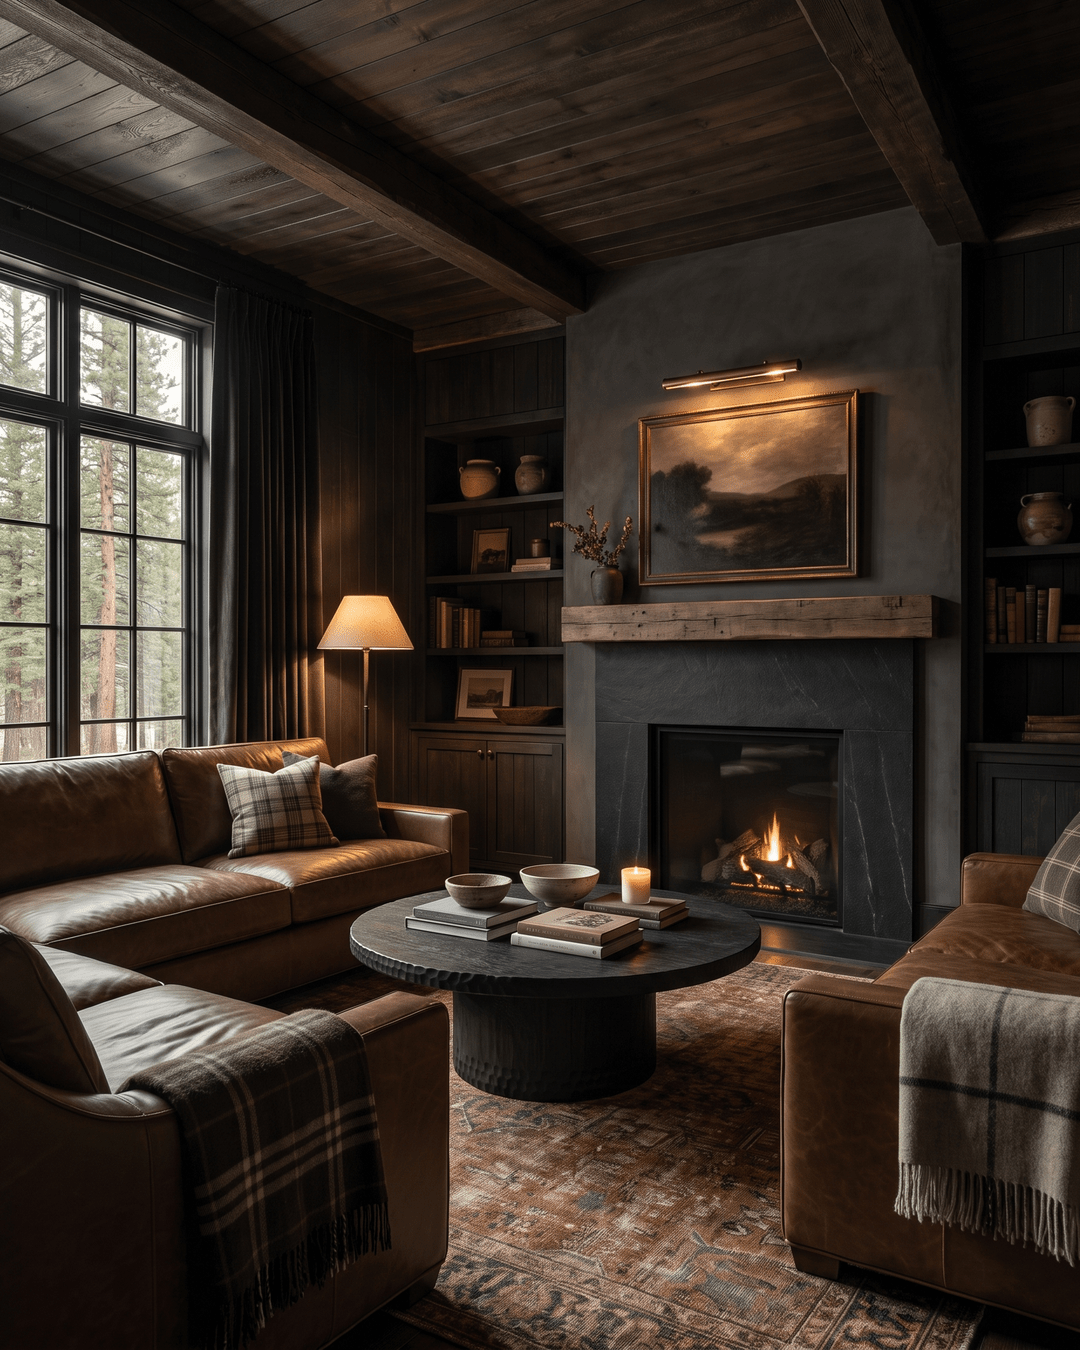
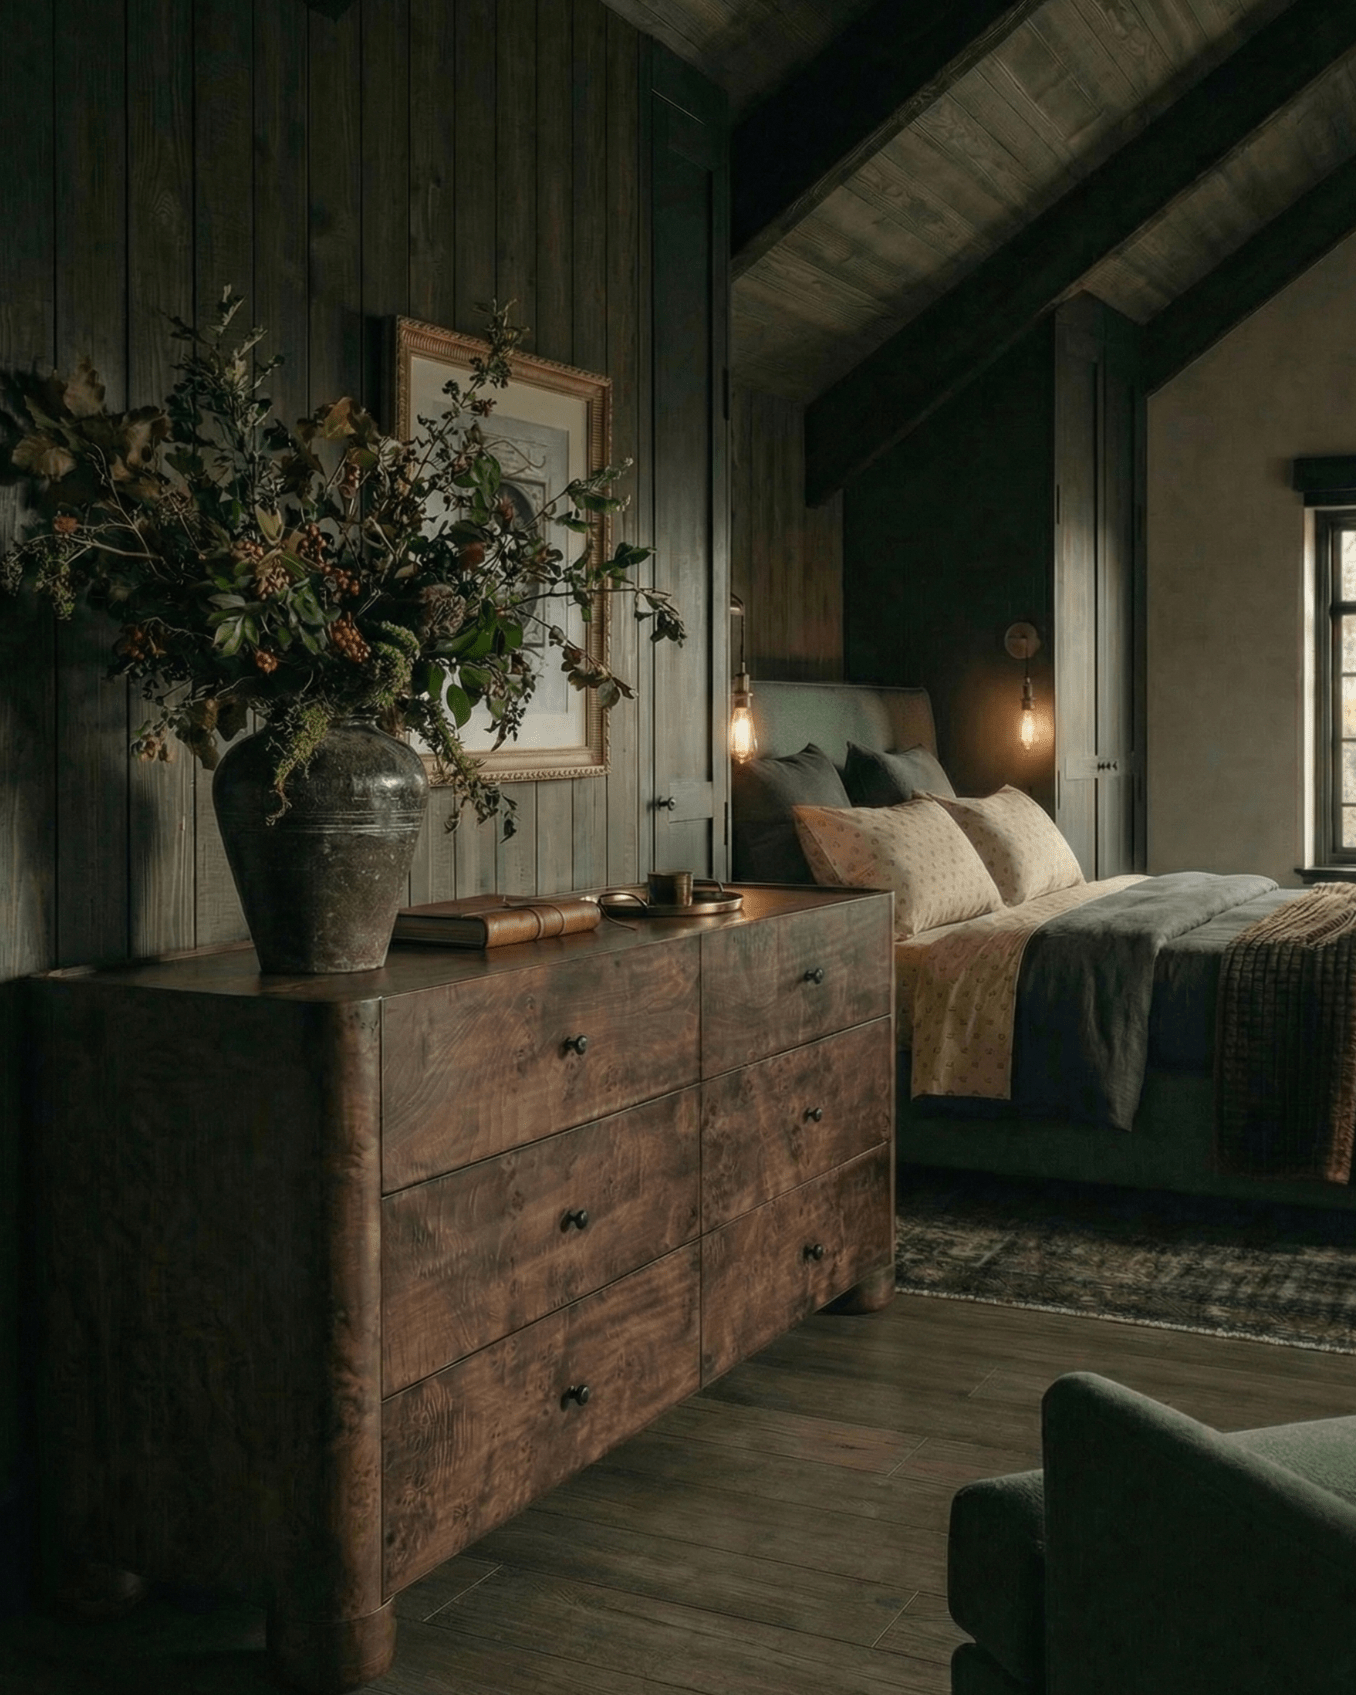
Image by Sage E Imagery
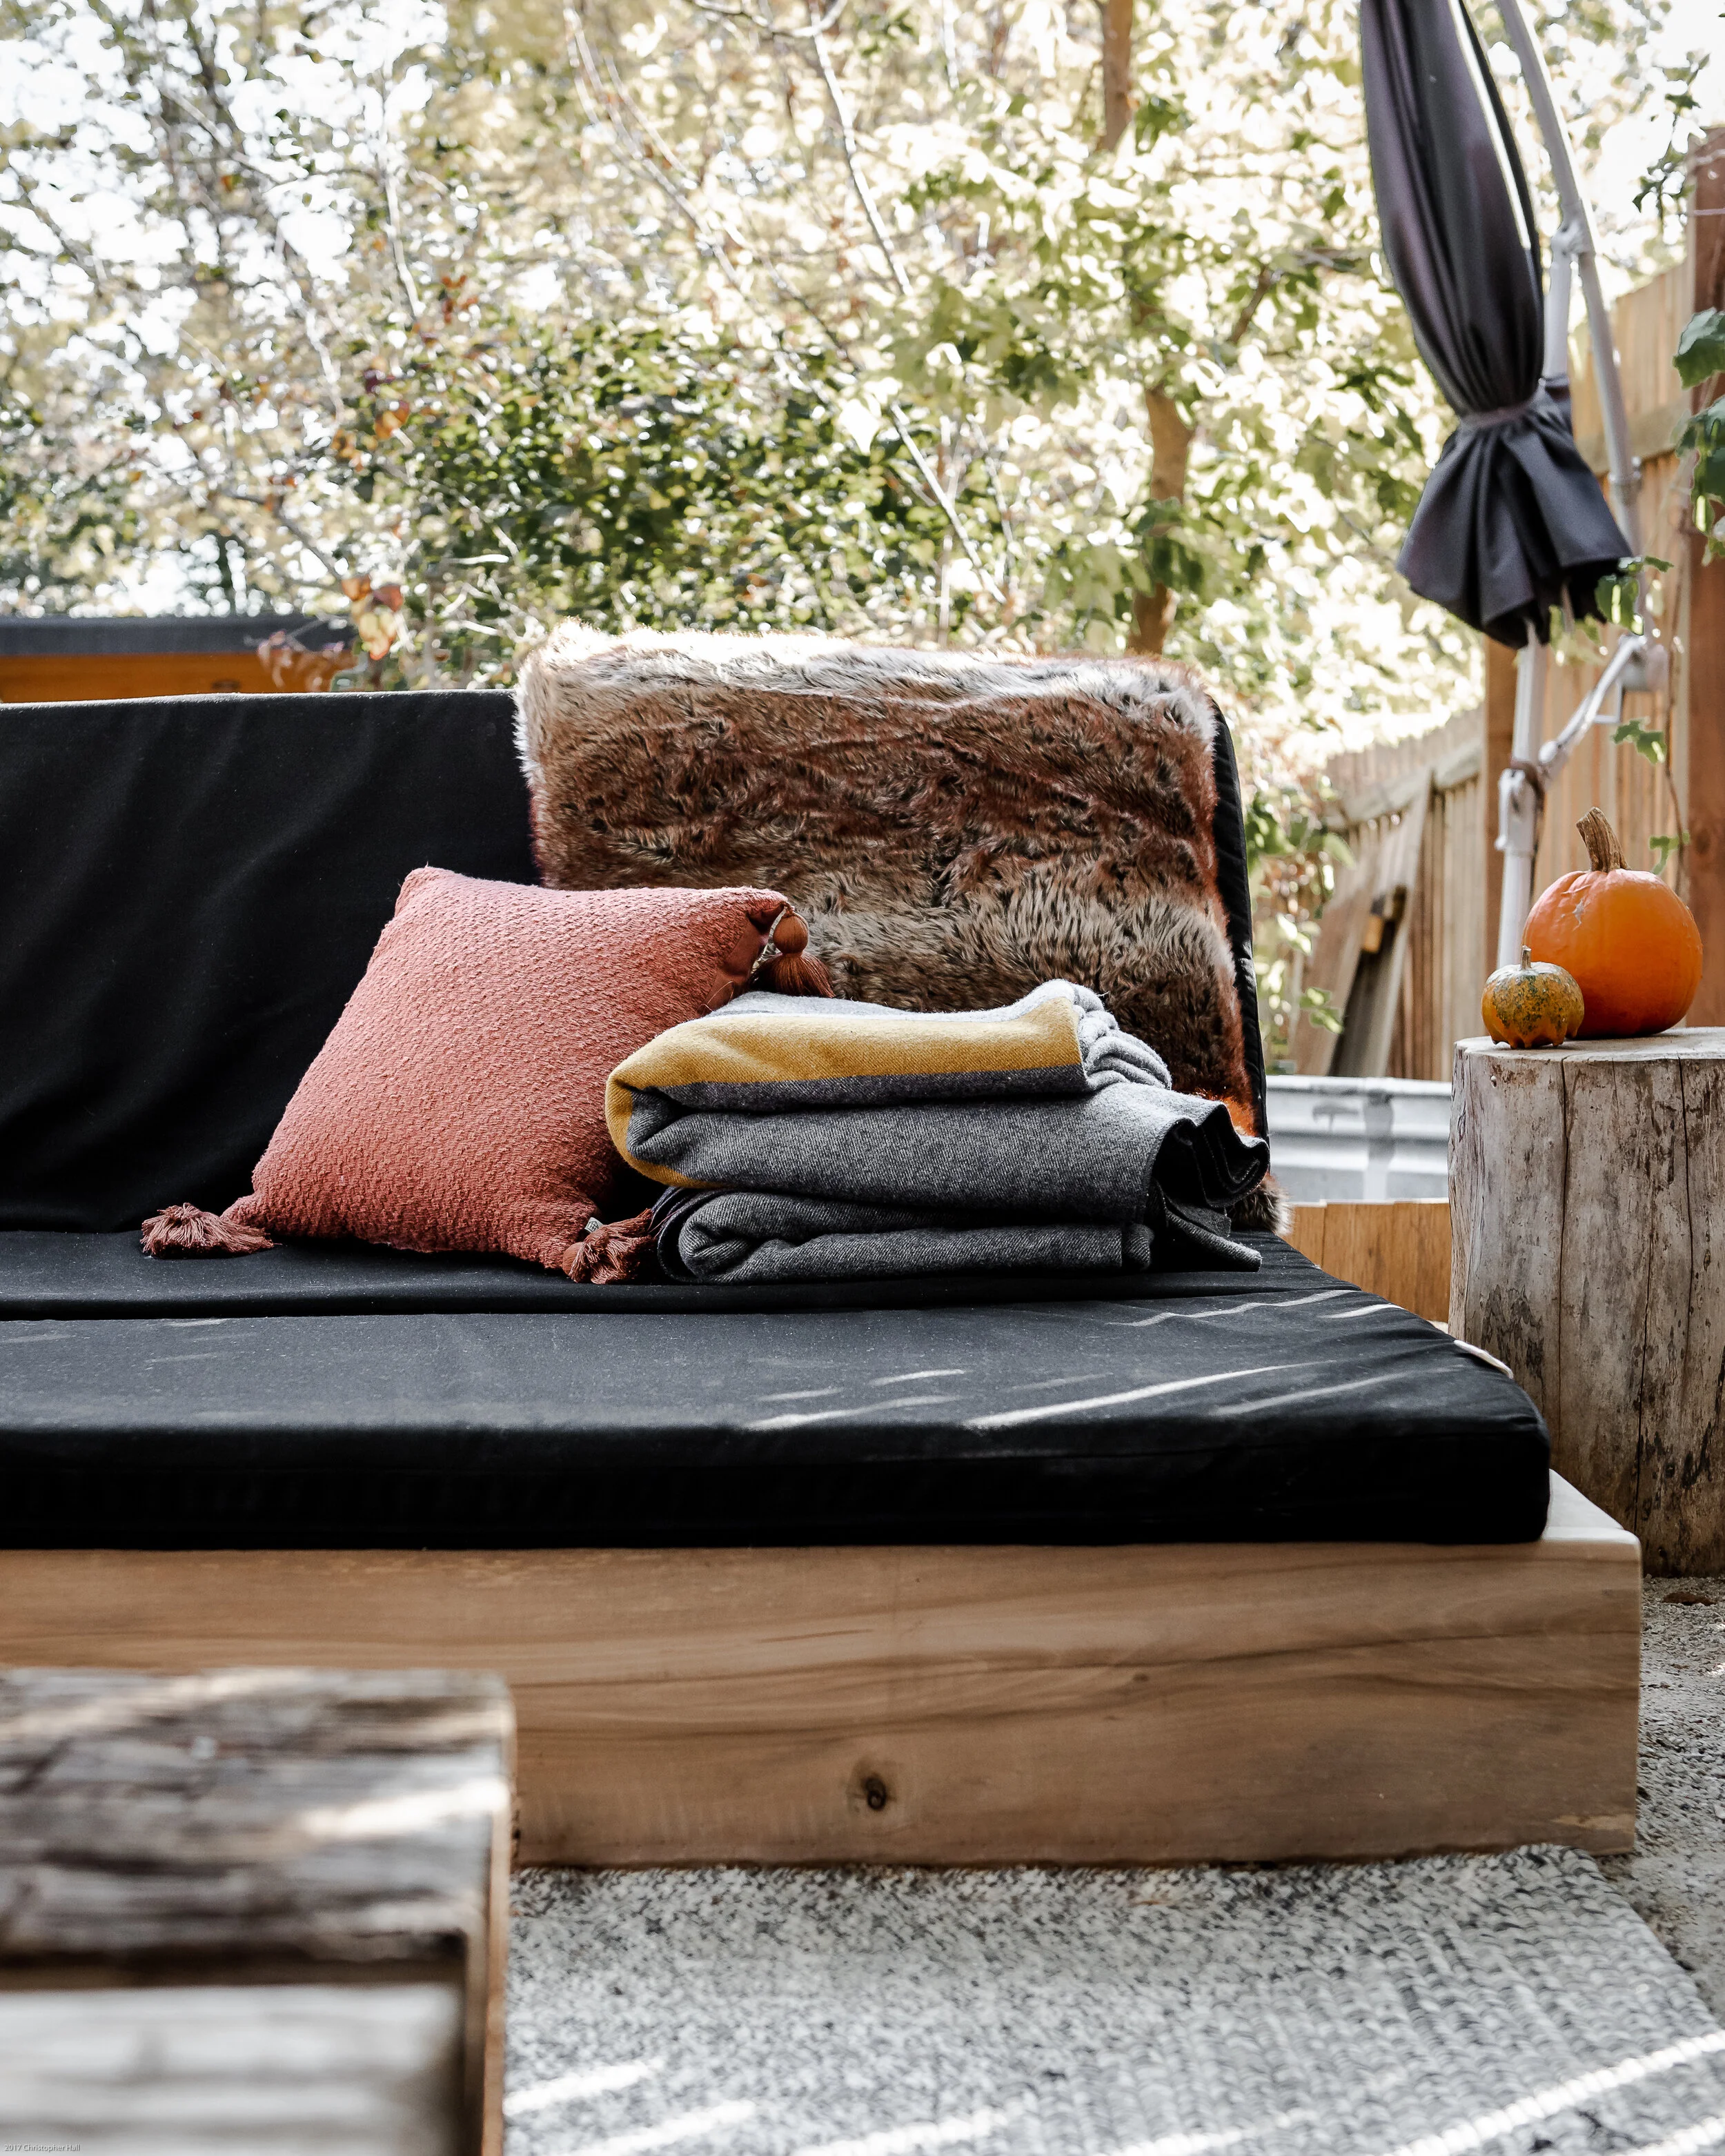
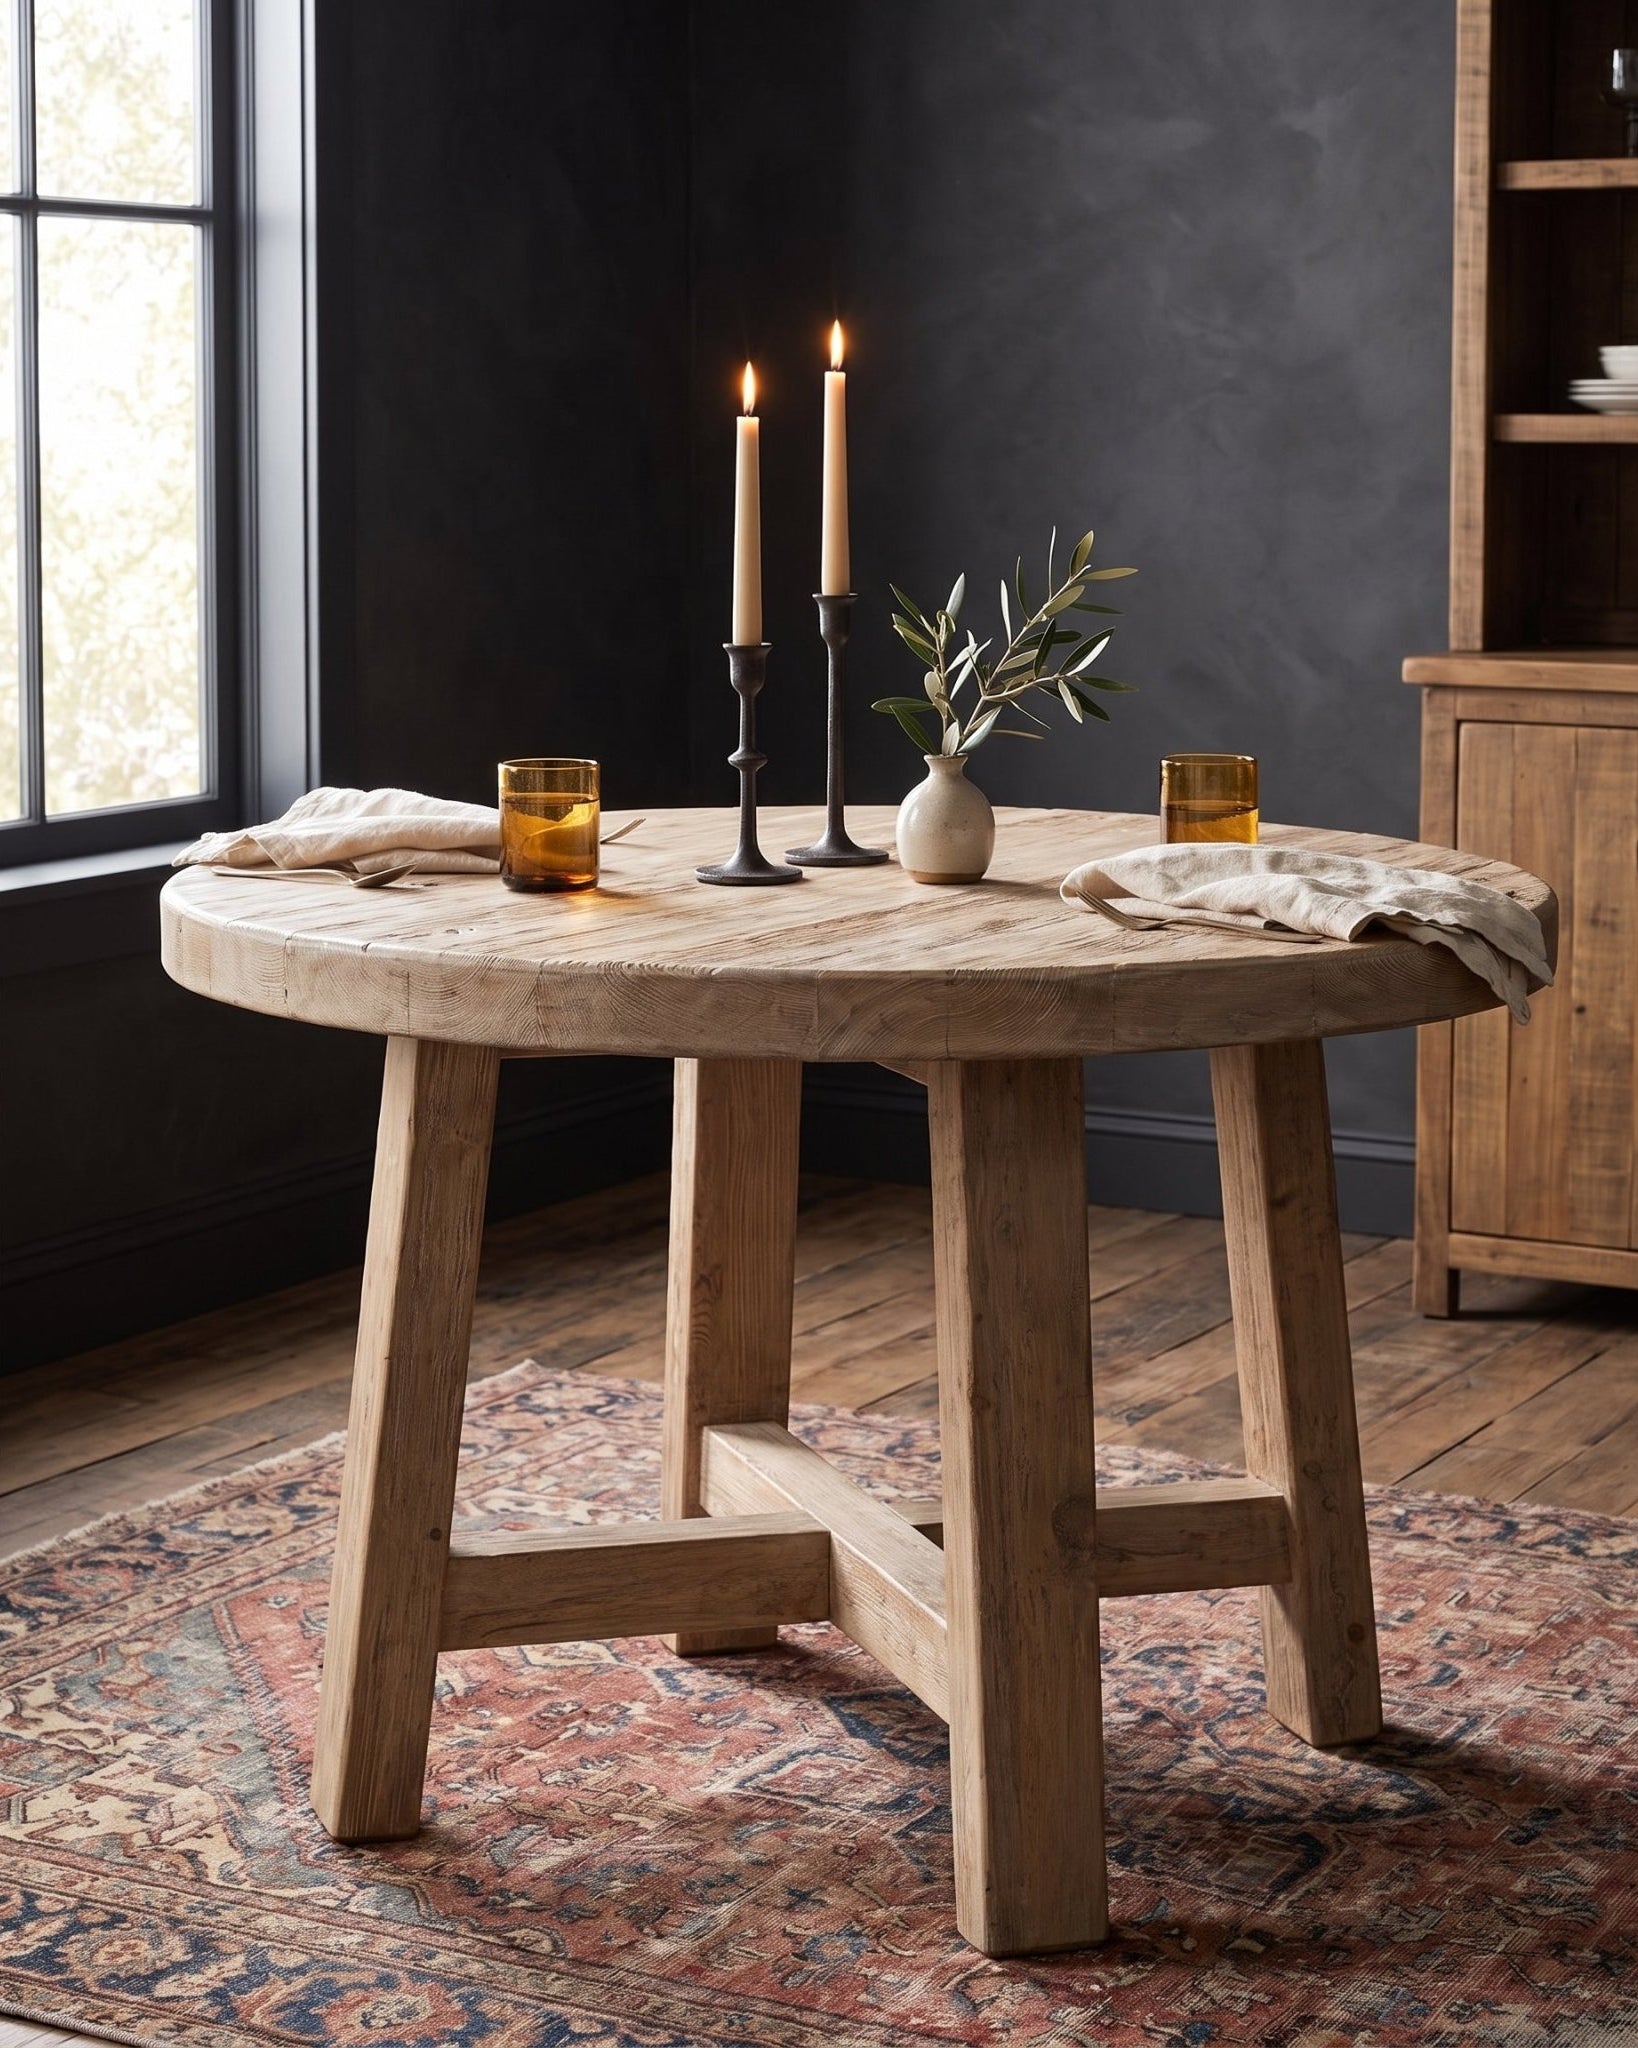
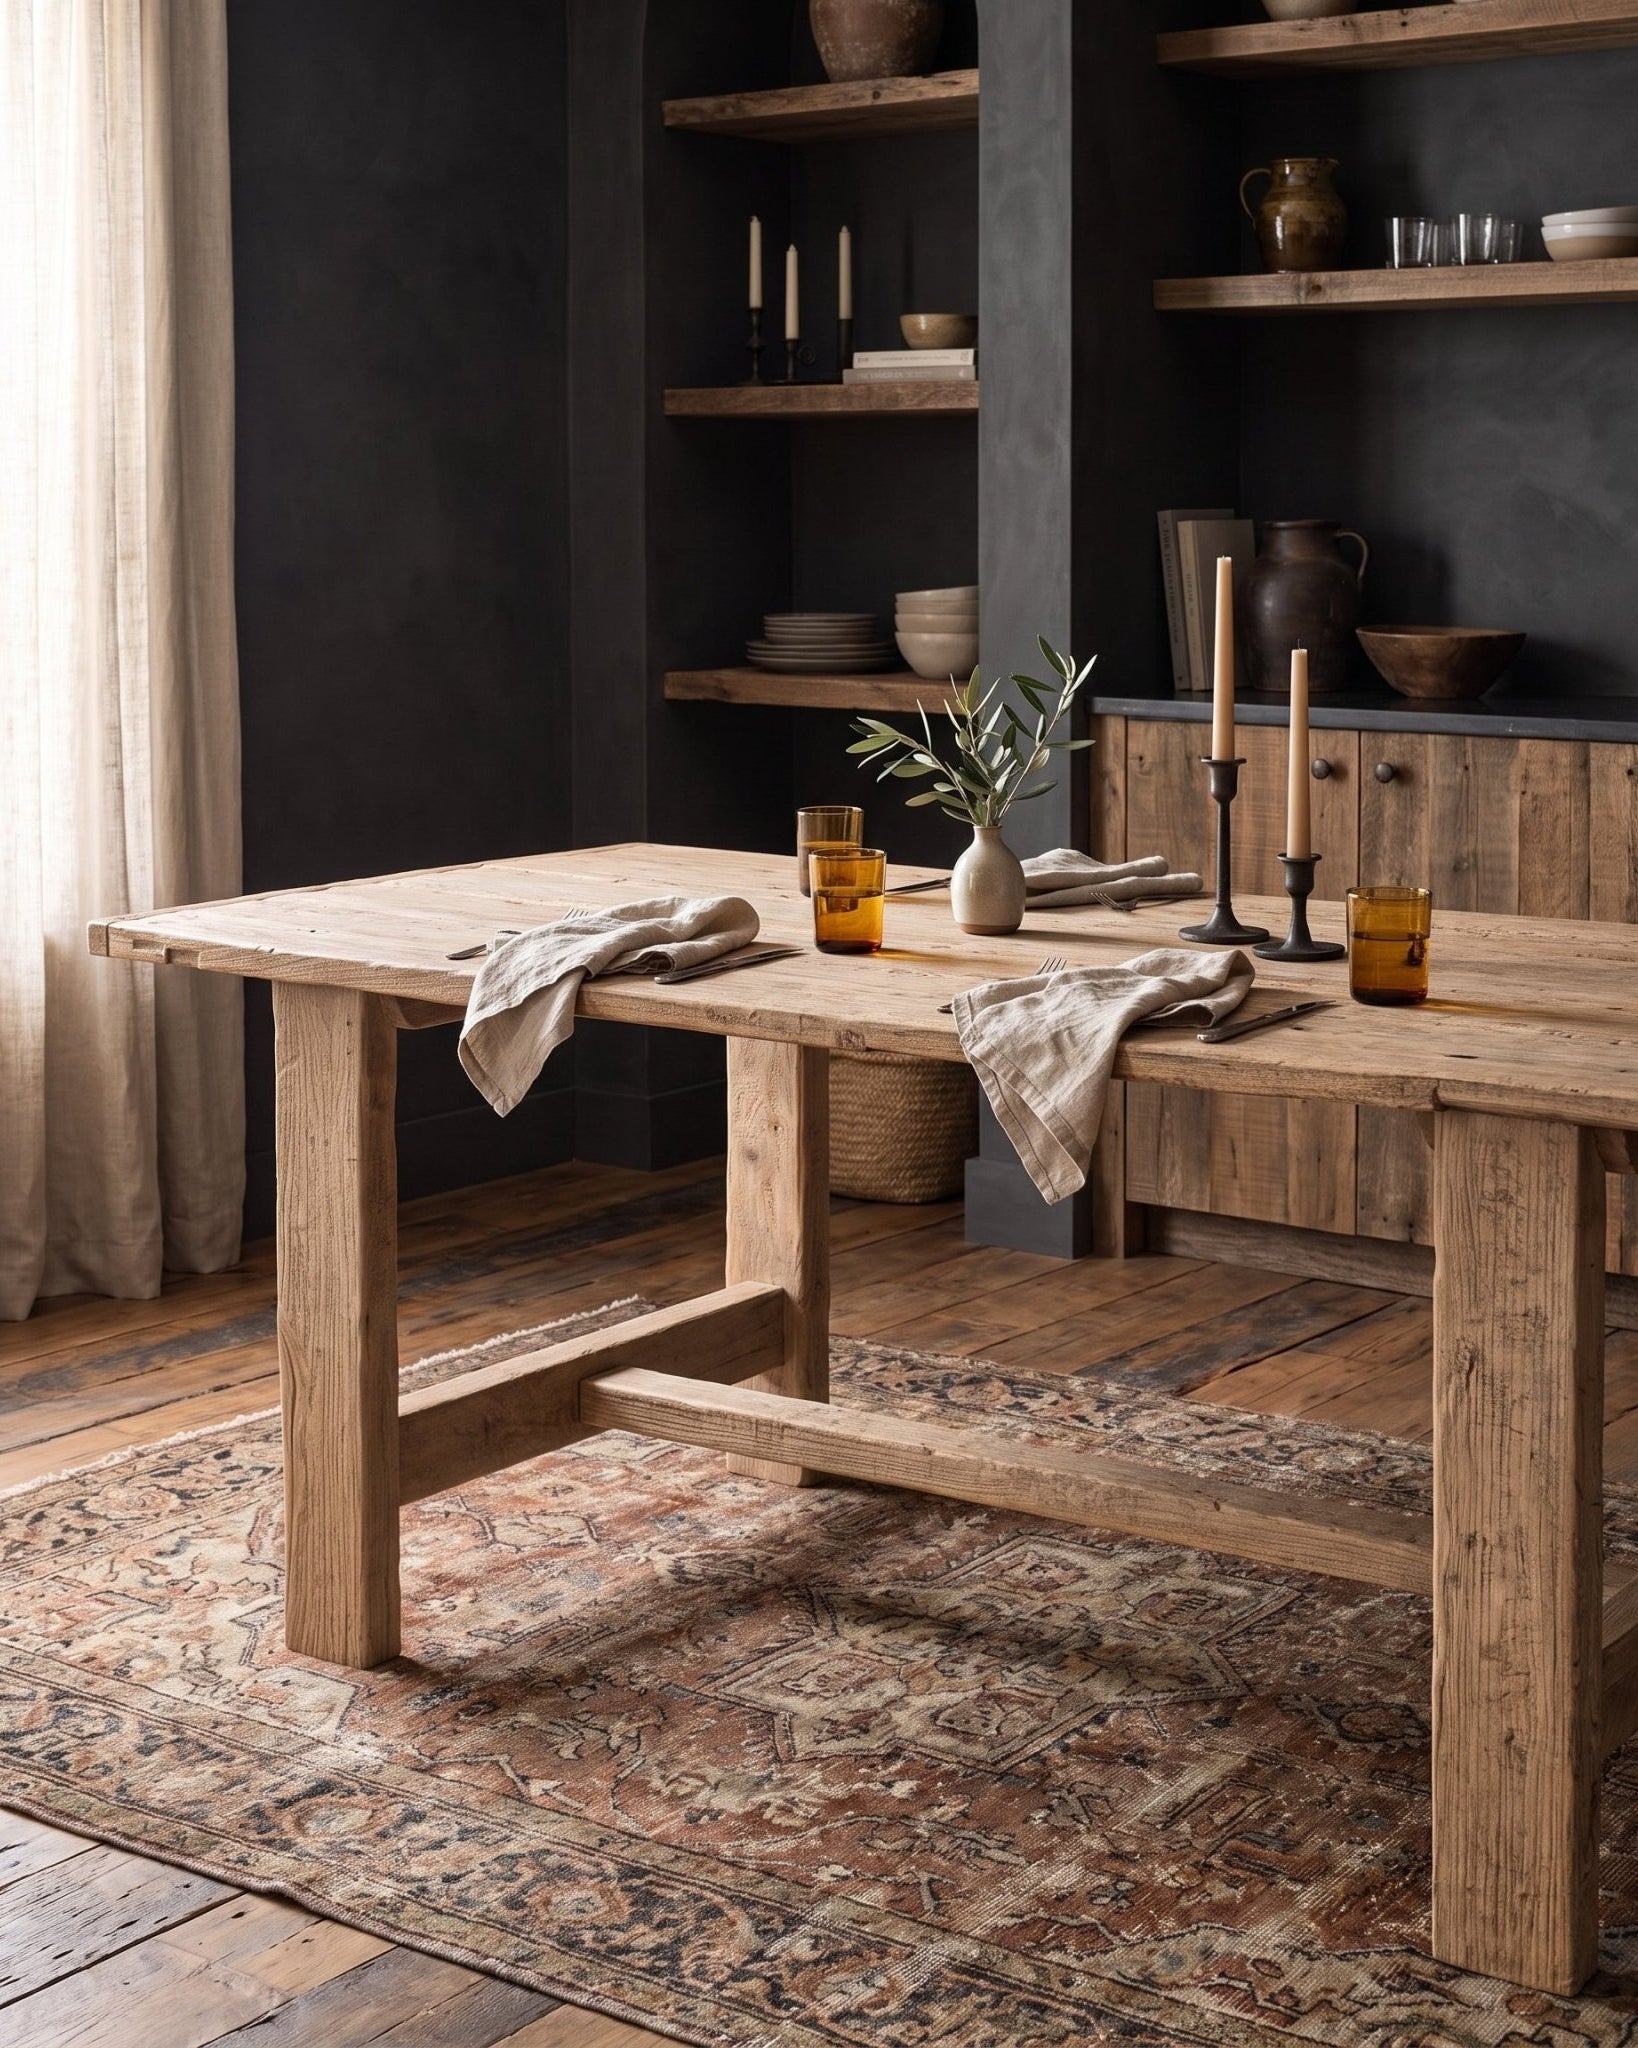
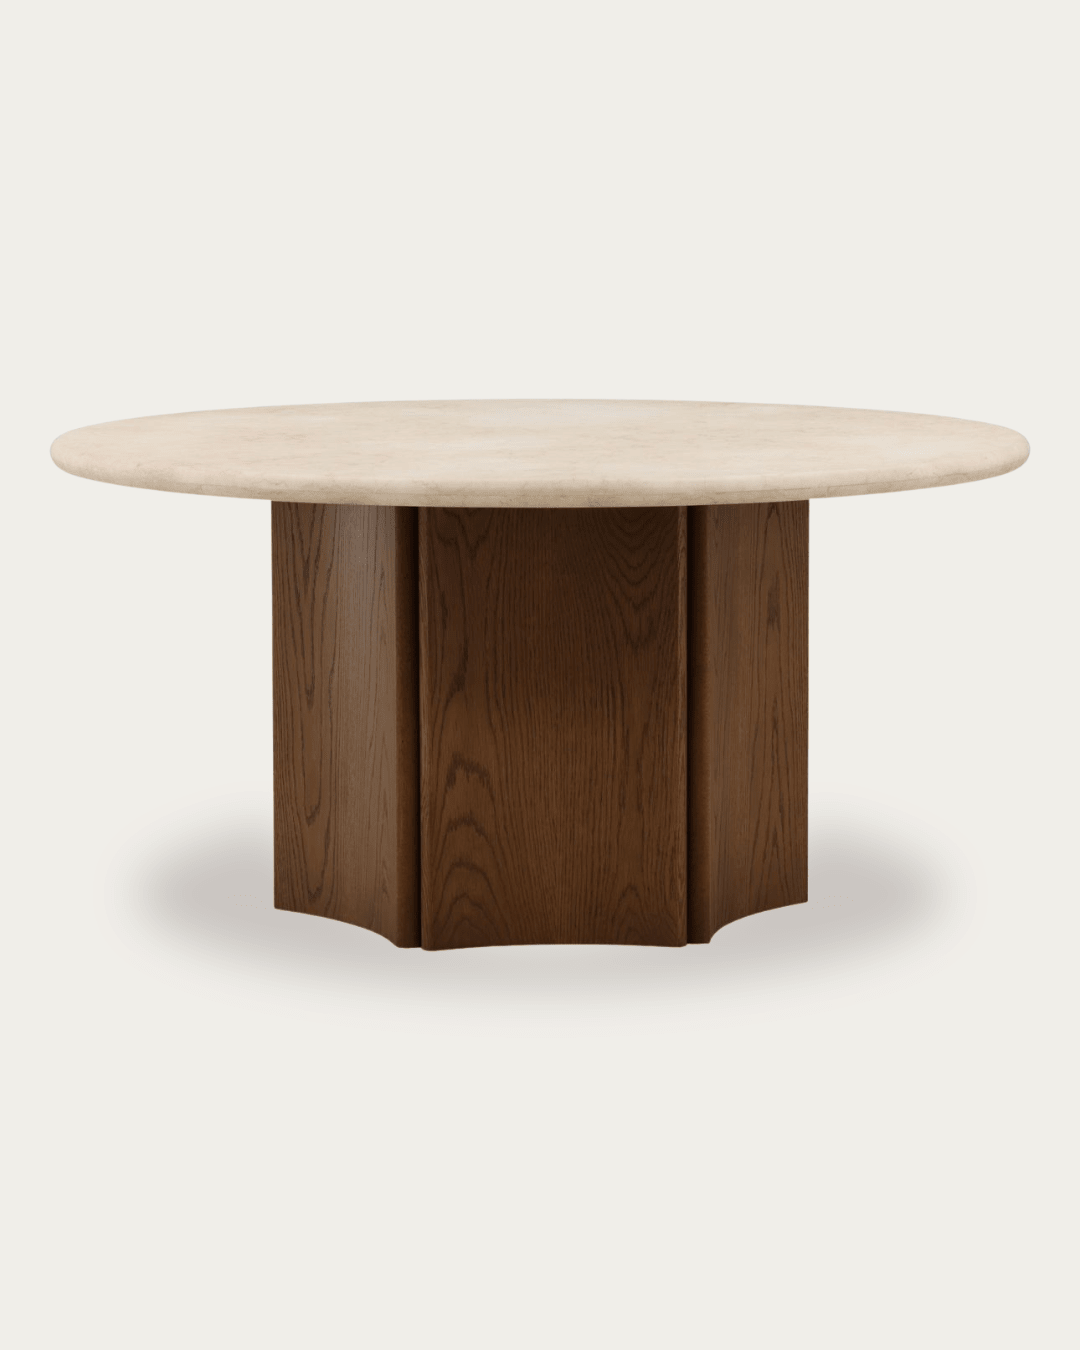
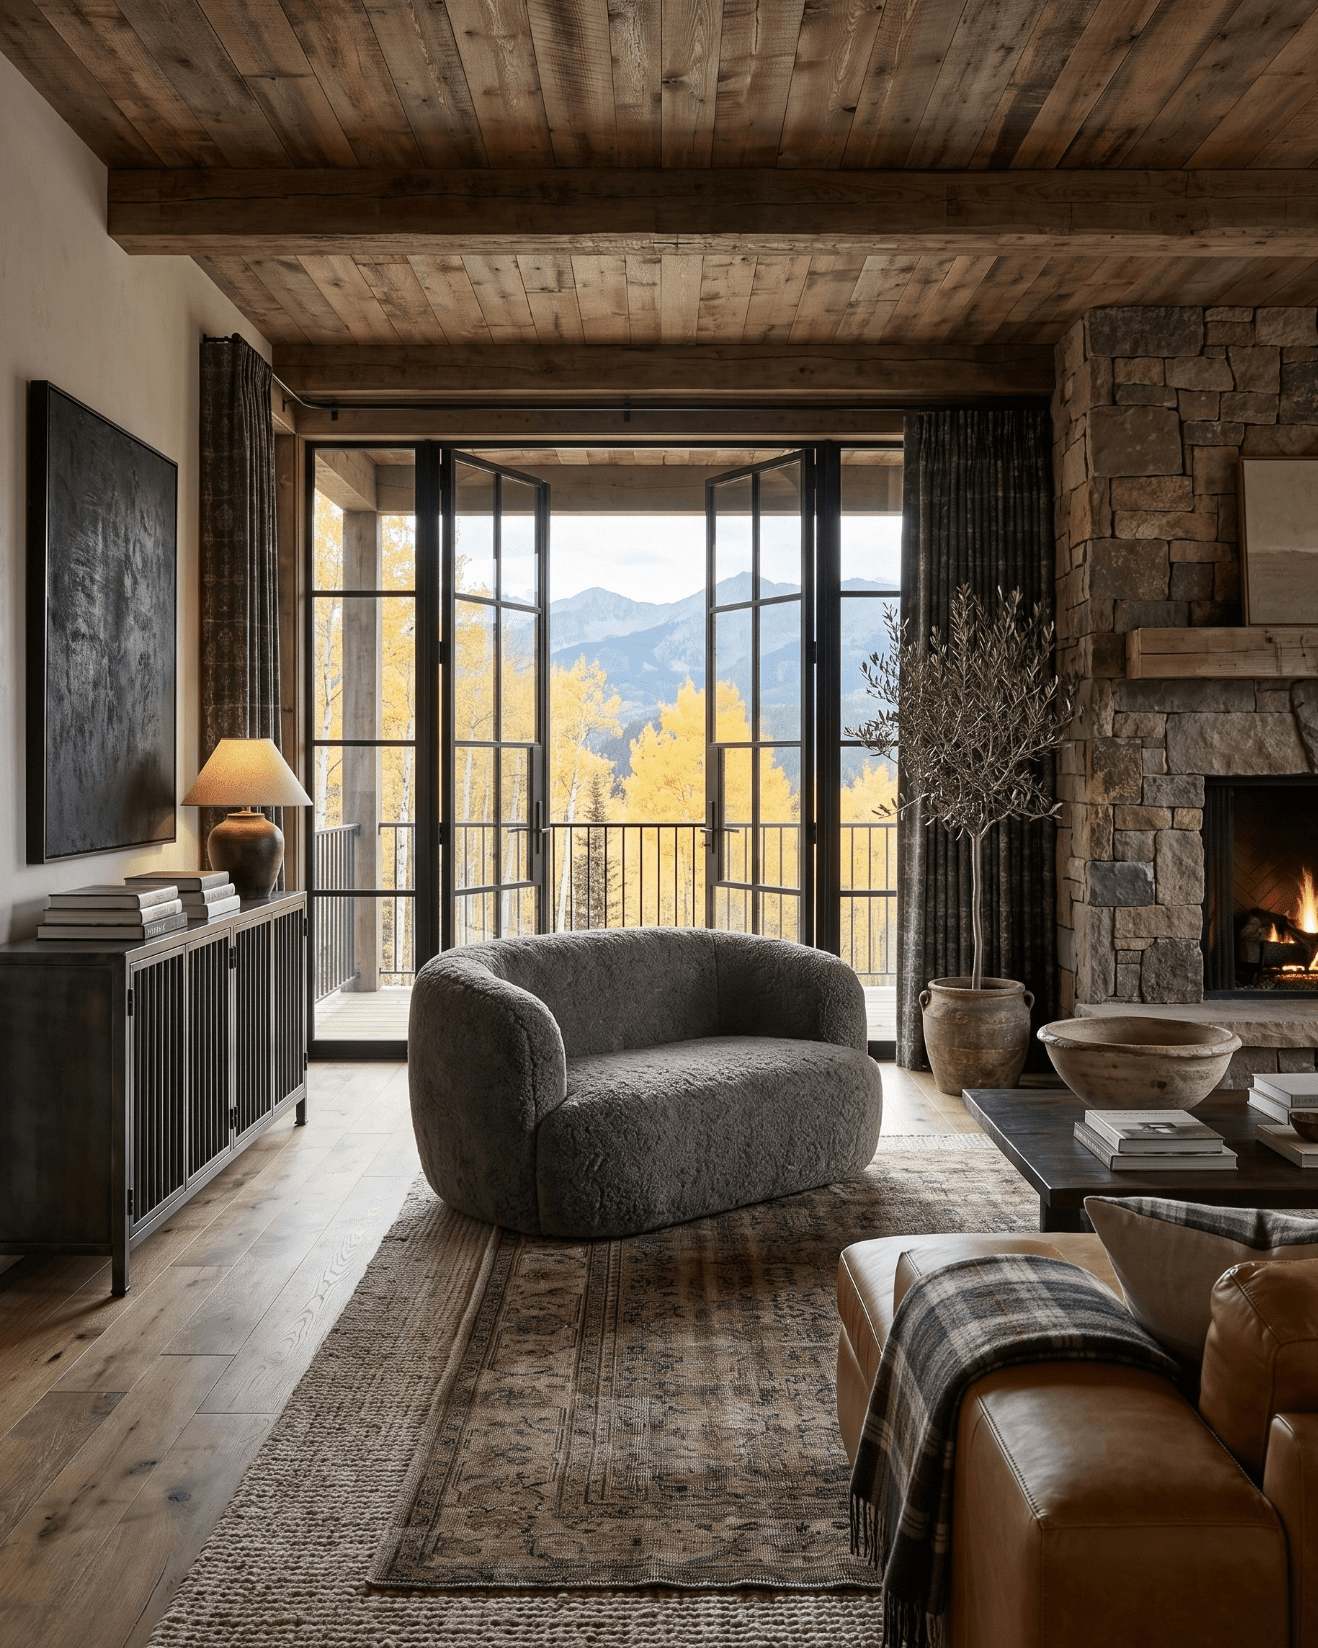
Image by Sage E Imagery

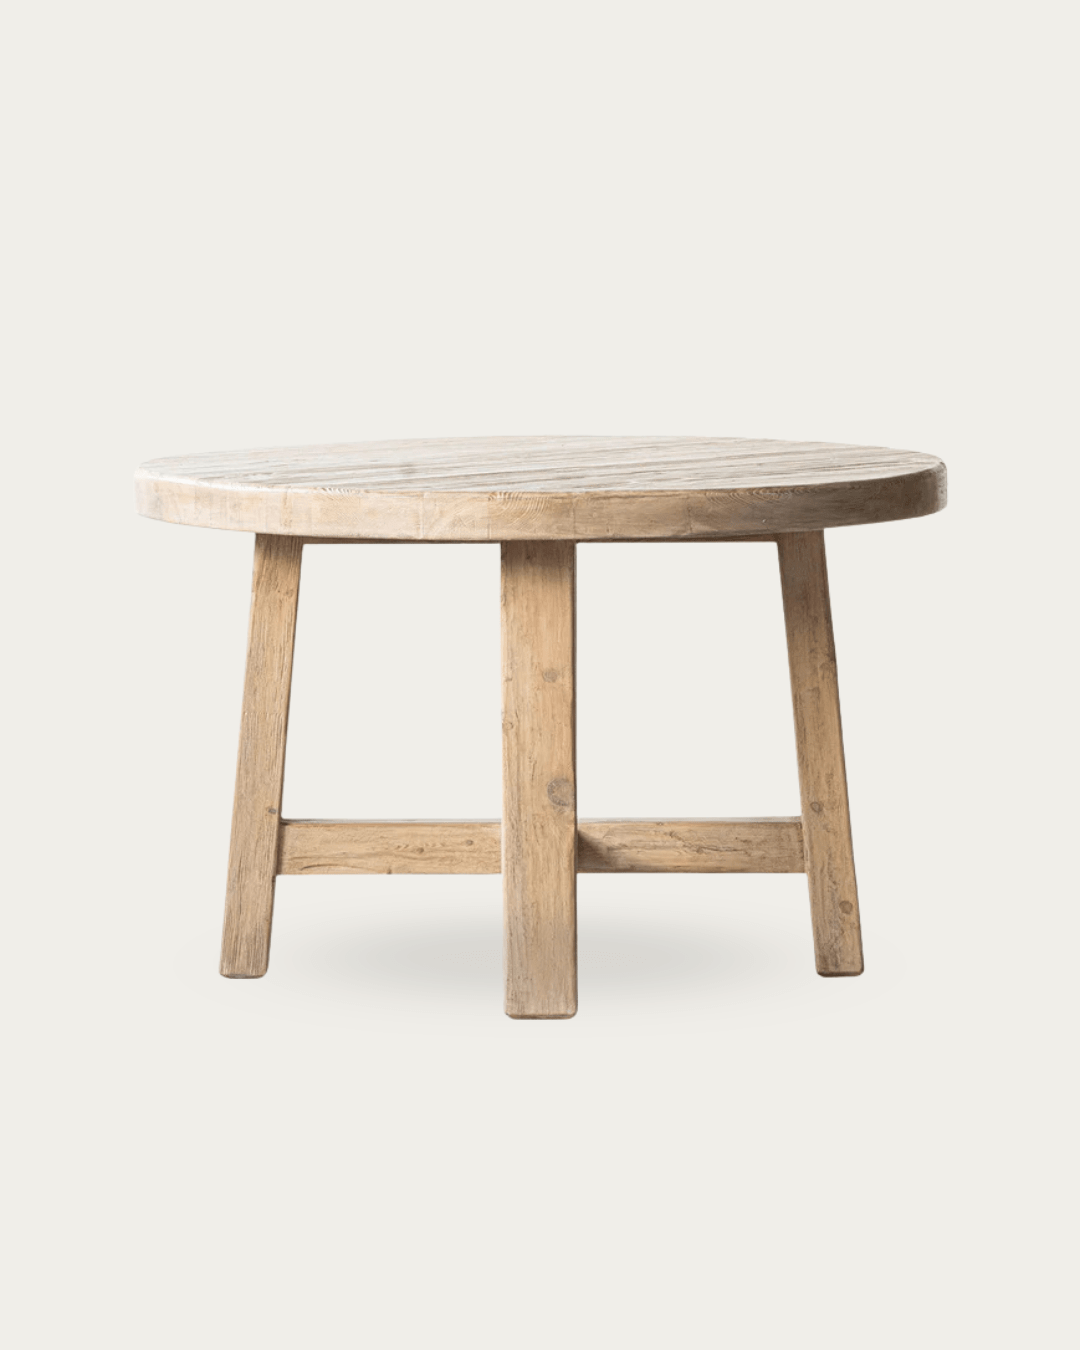
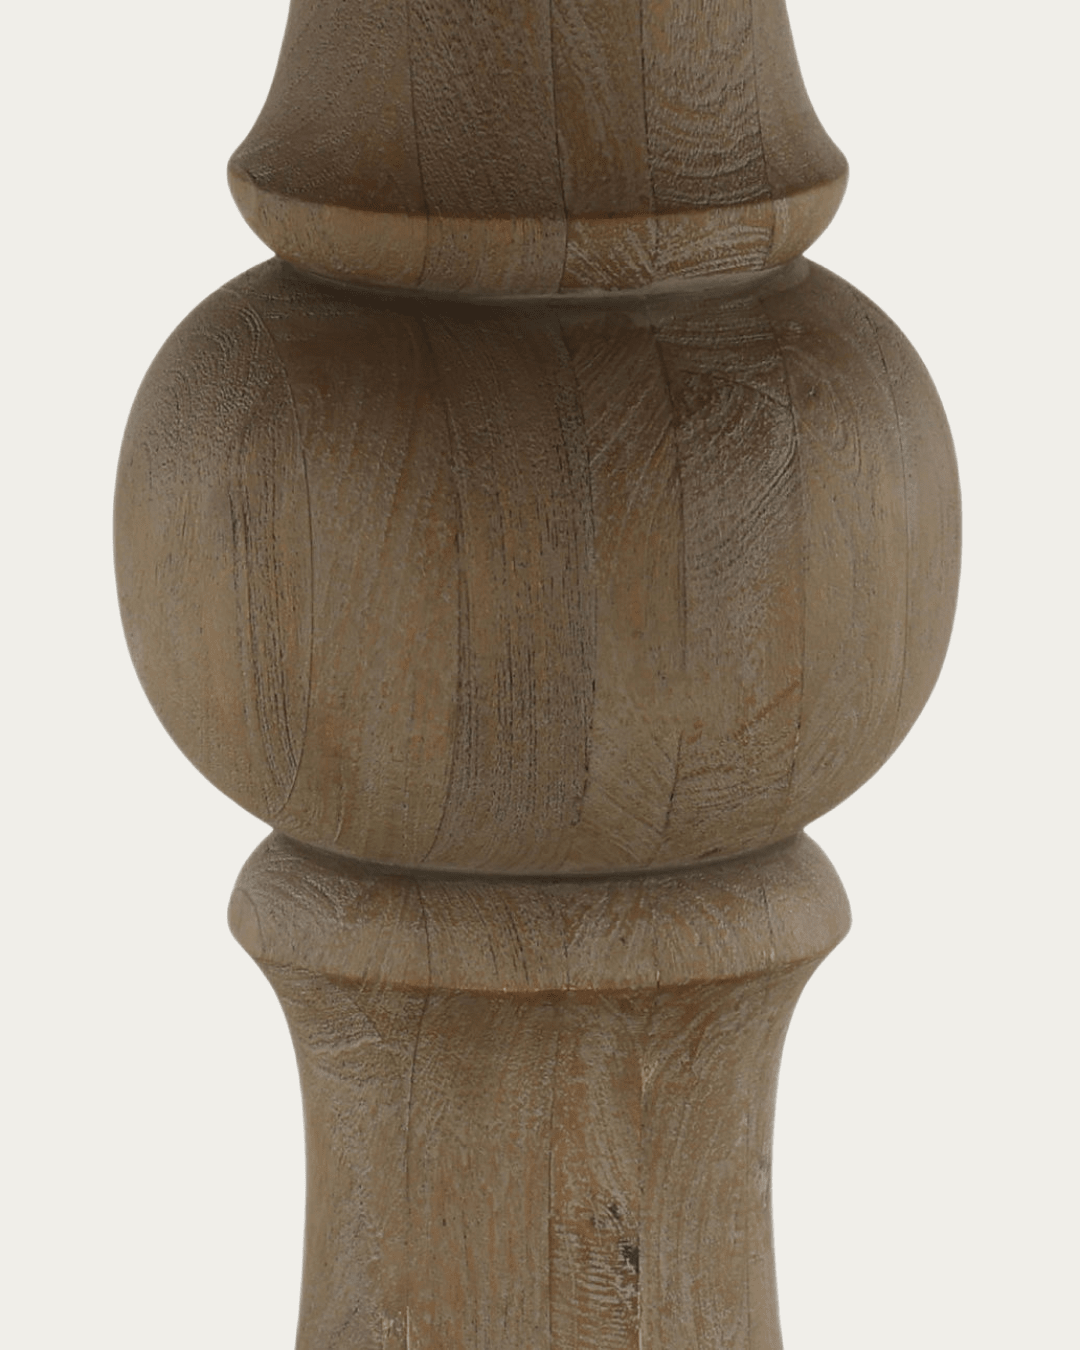
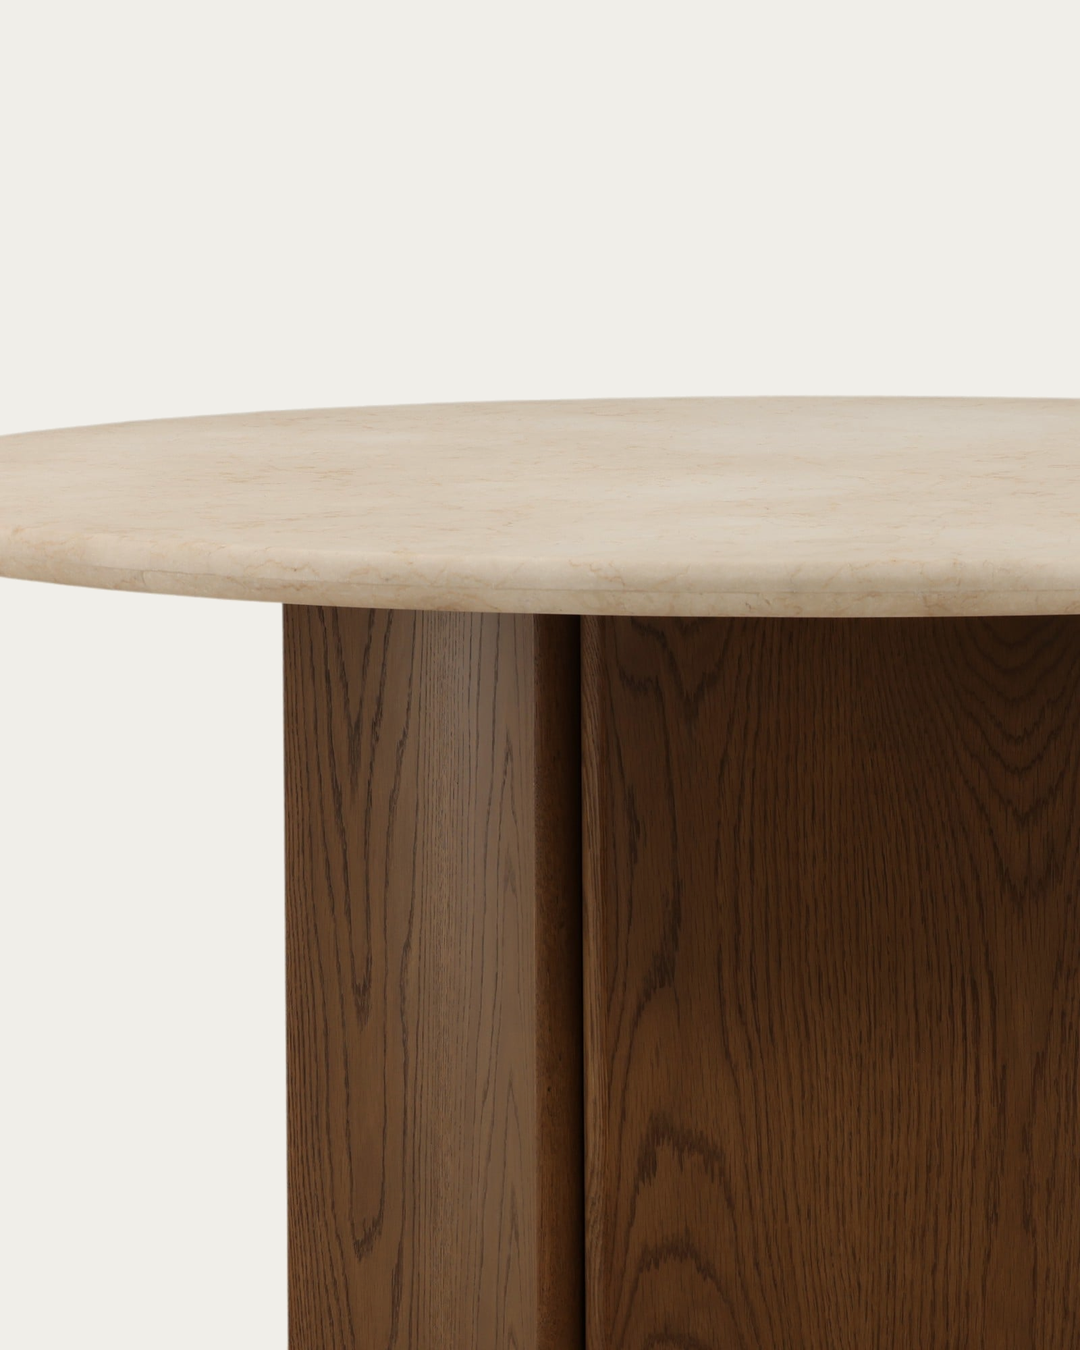
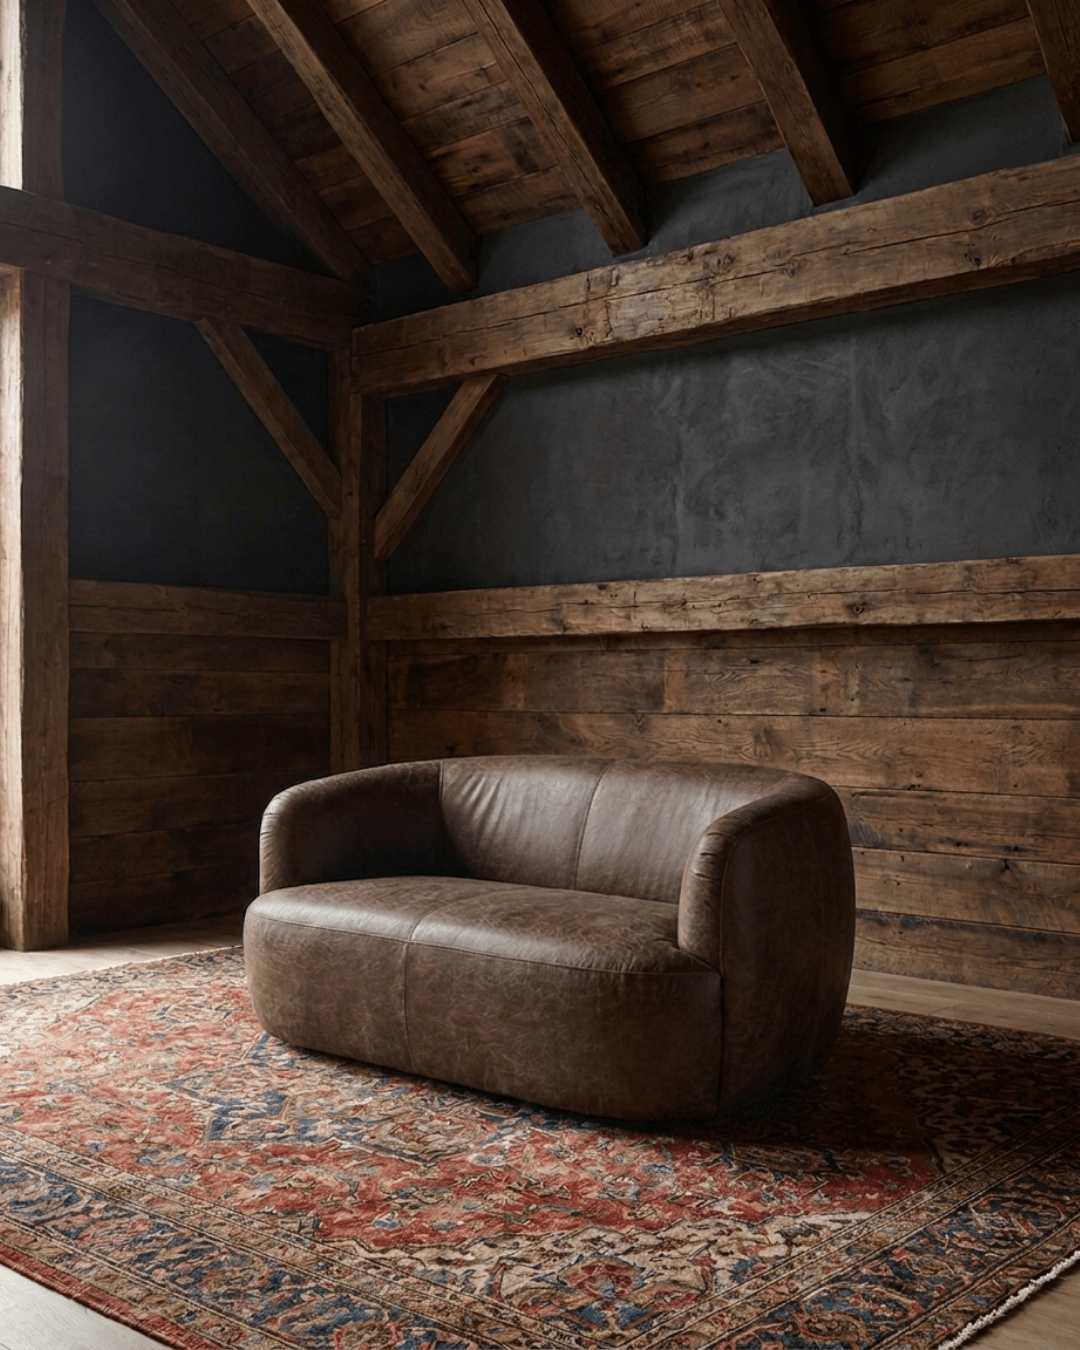
Image by Sage E Imagery
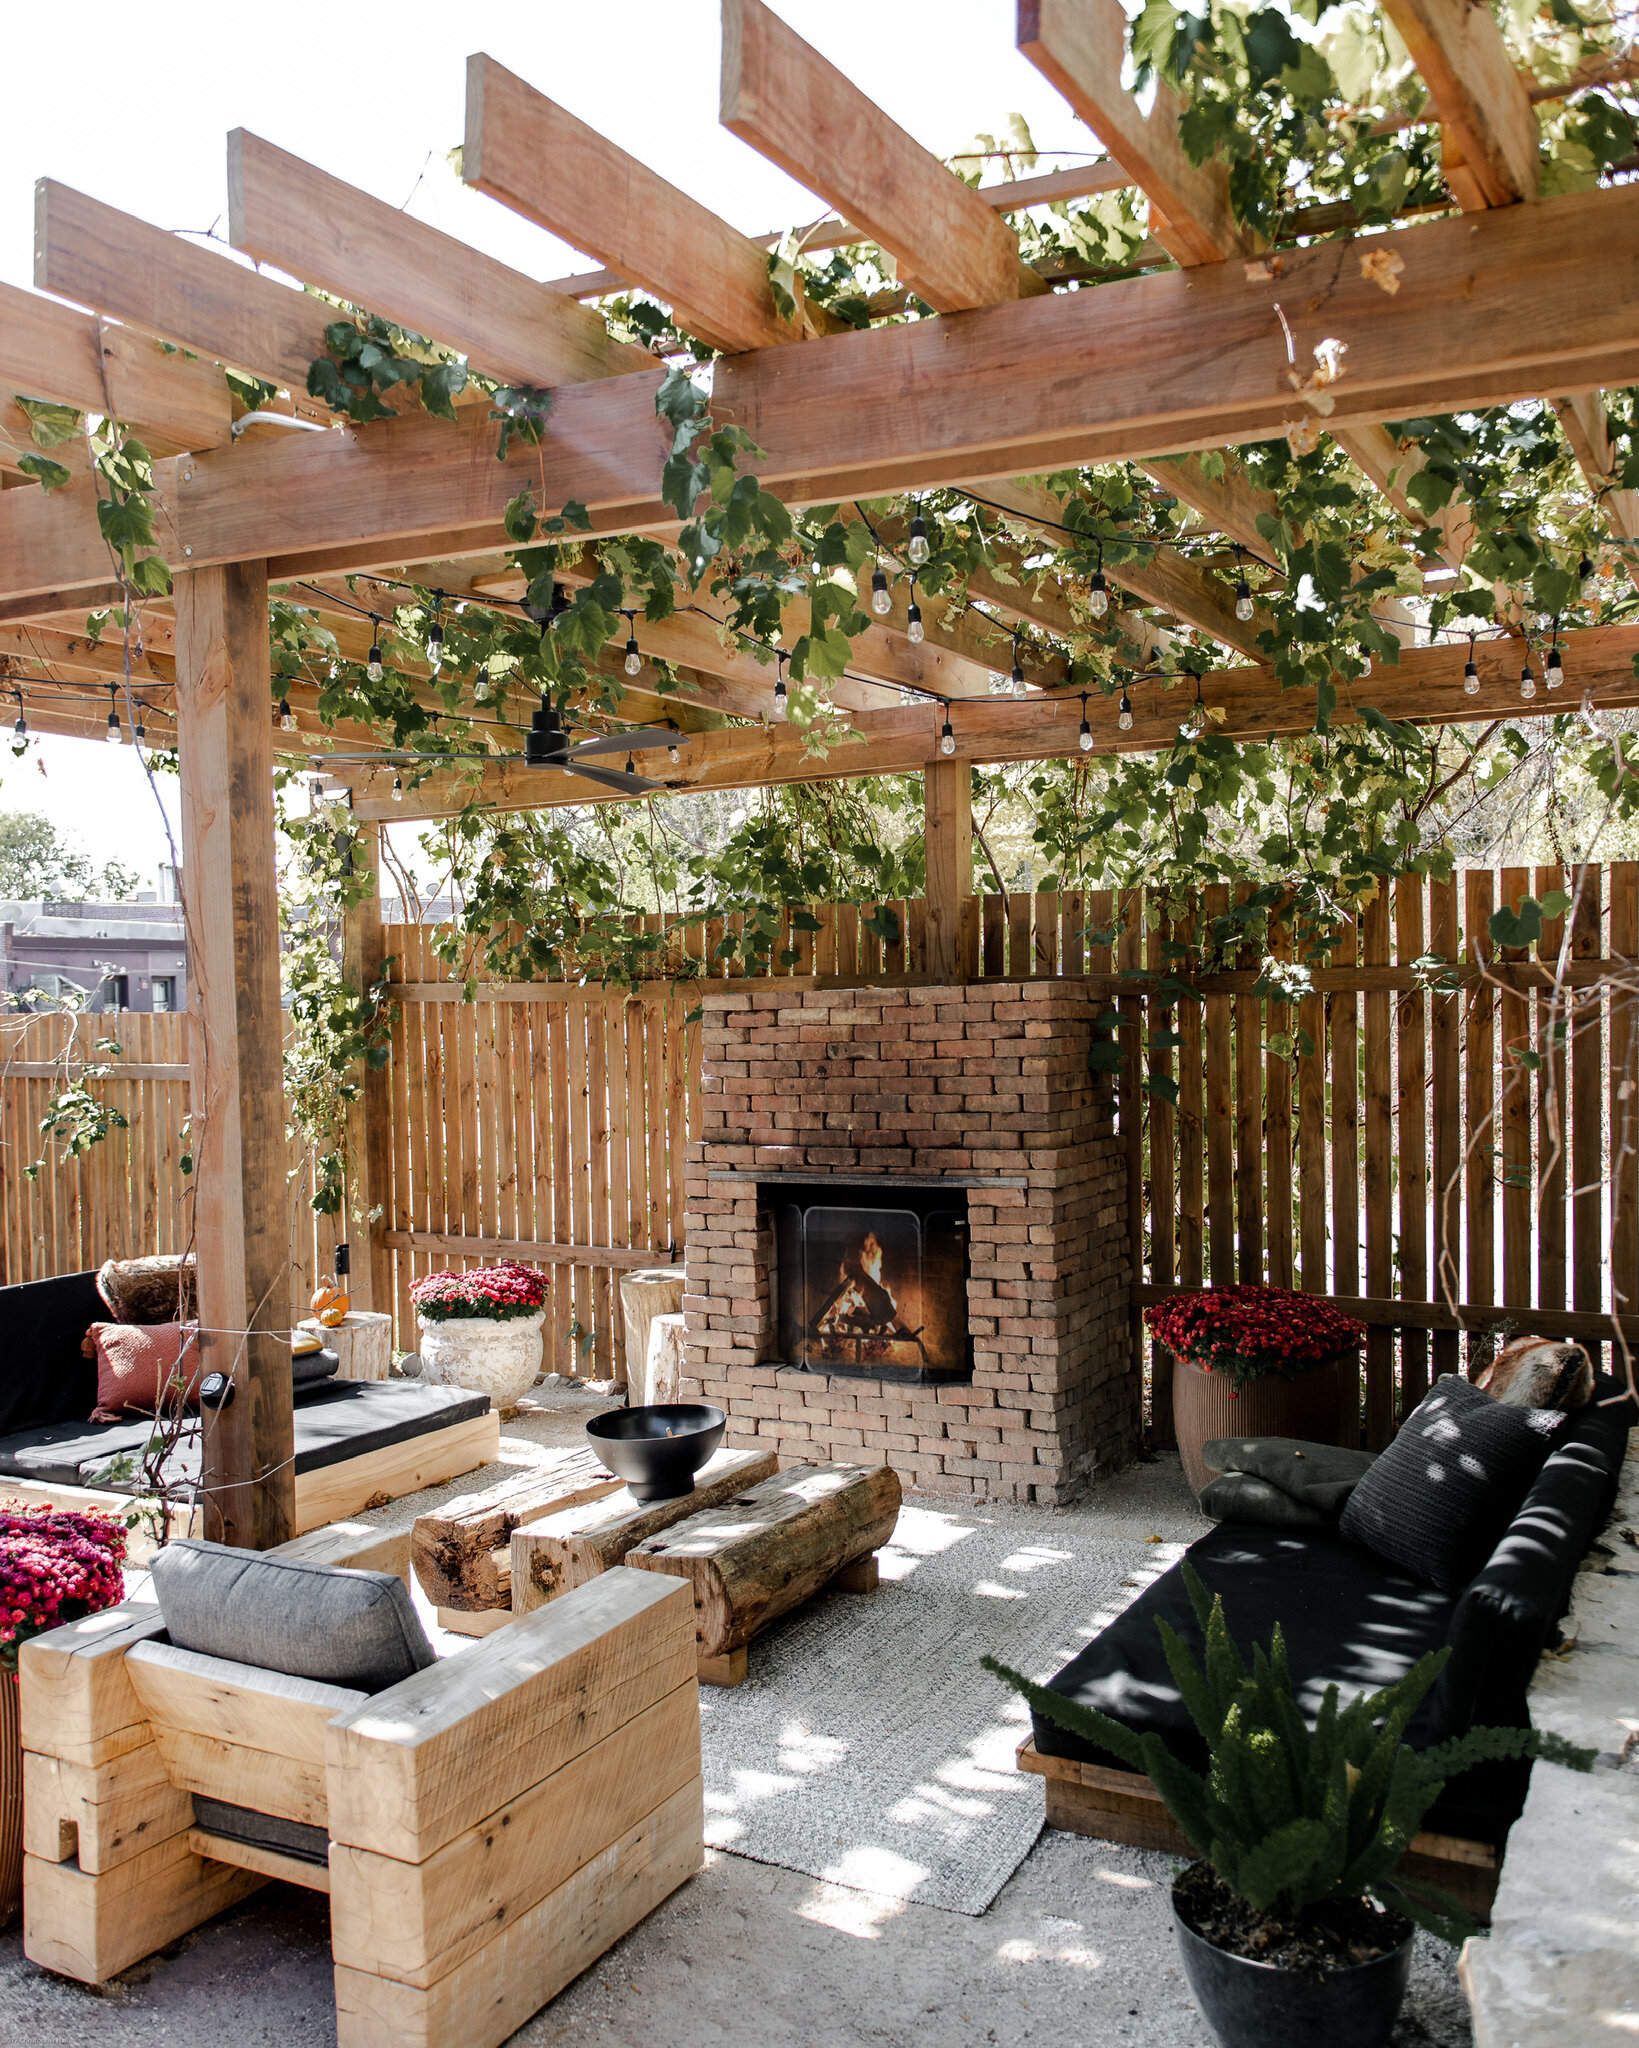
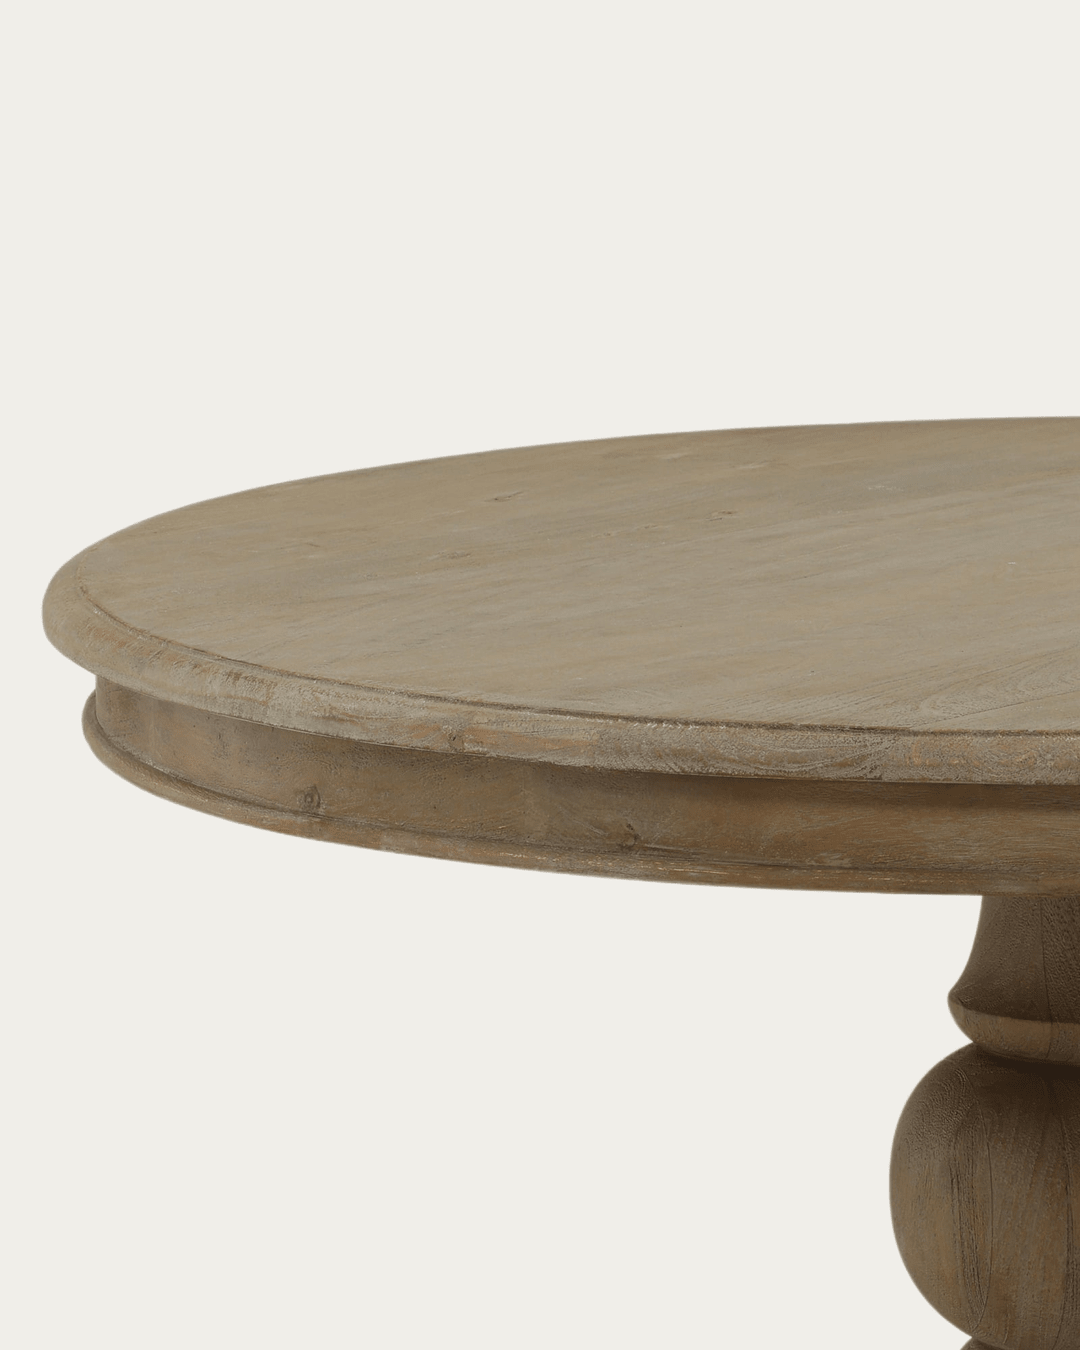
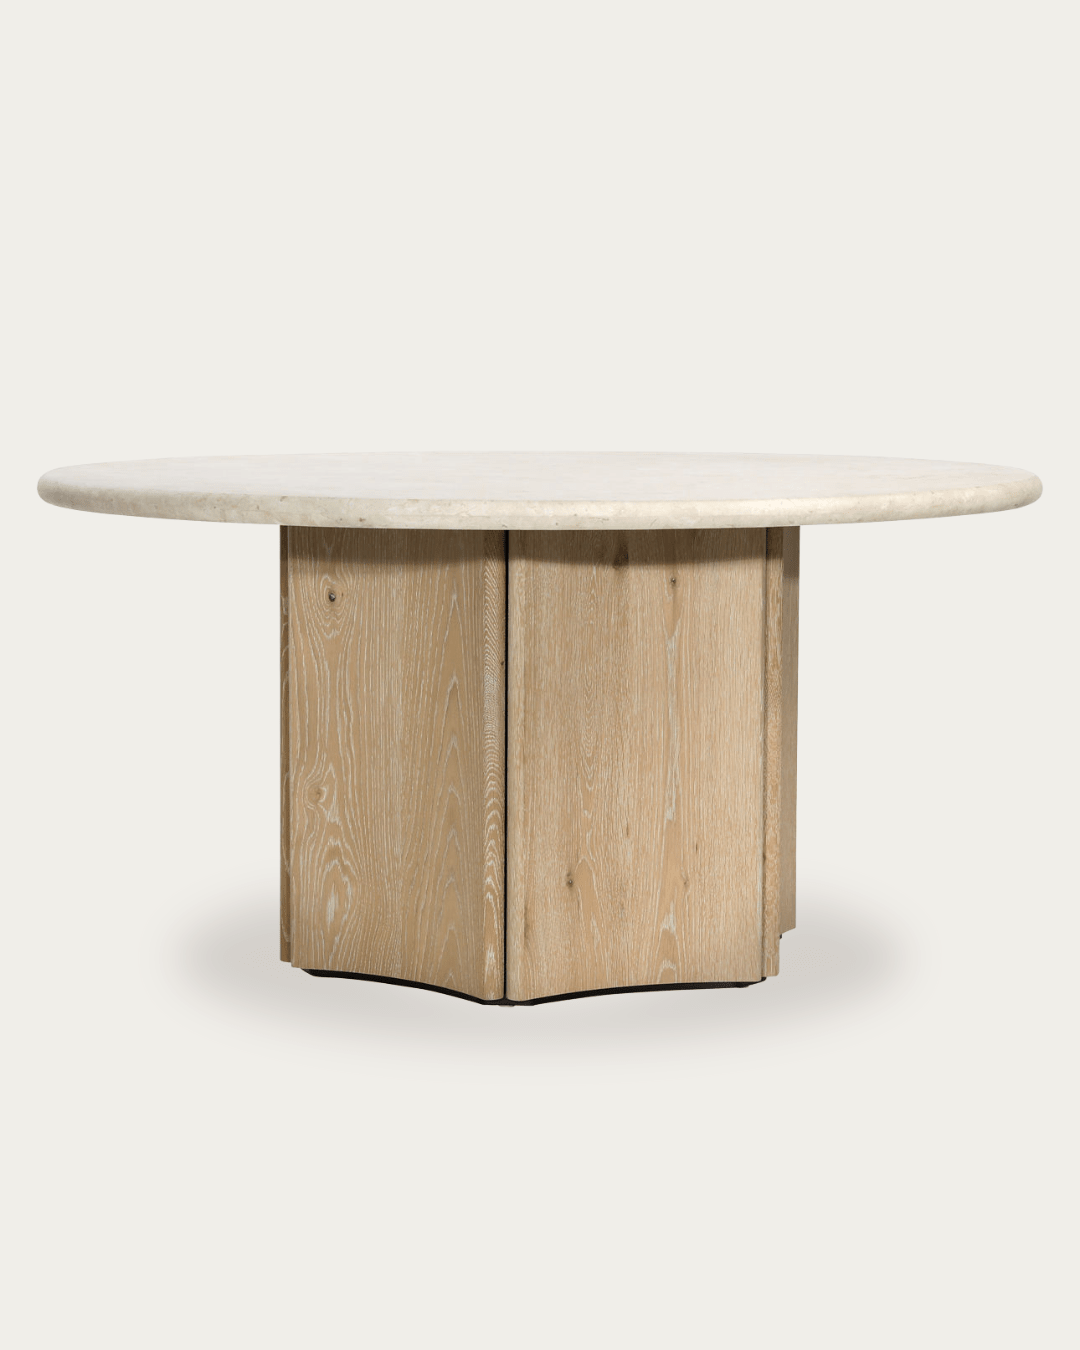
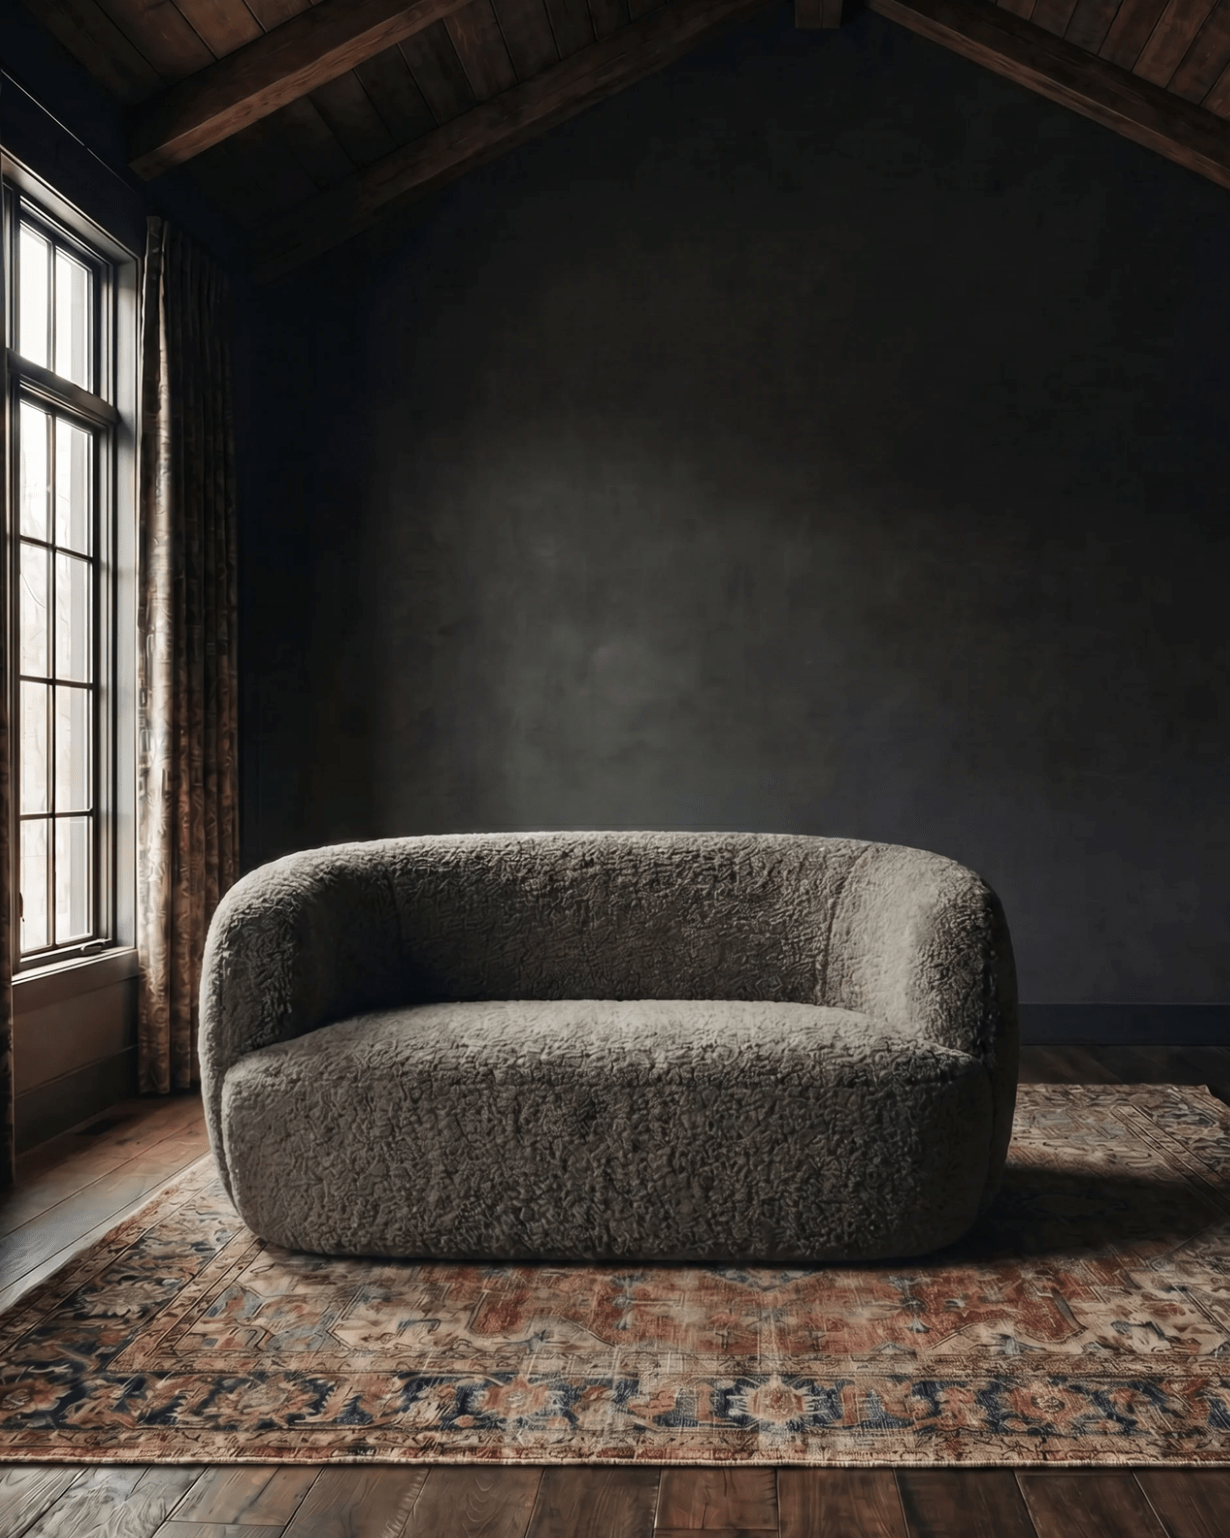
Image by Sage E Imagery