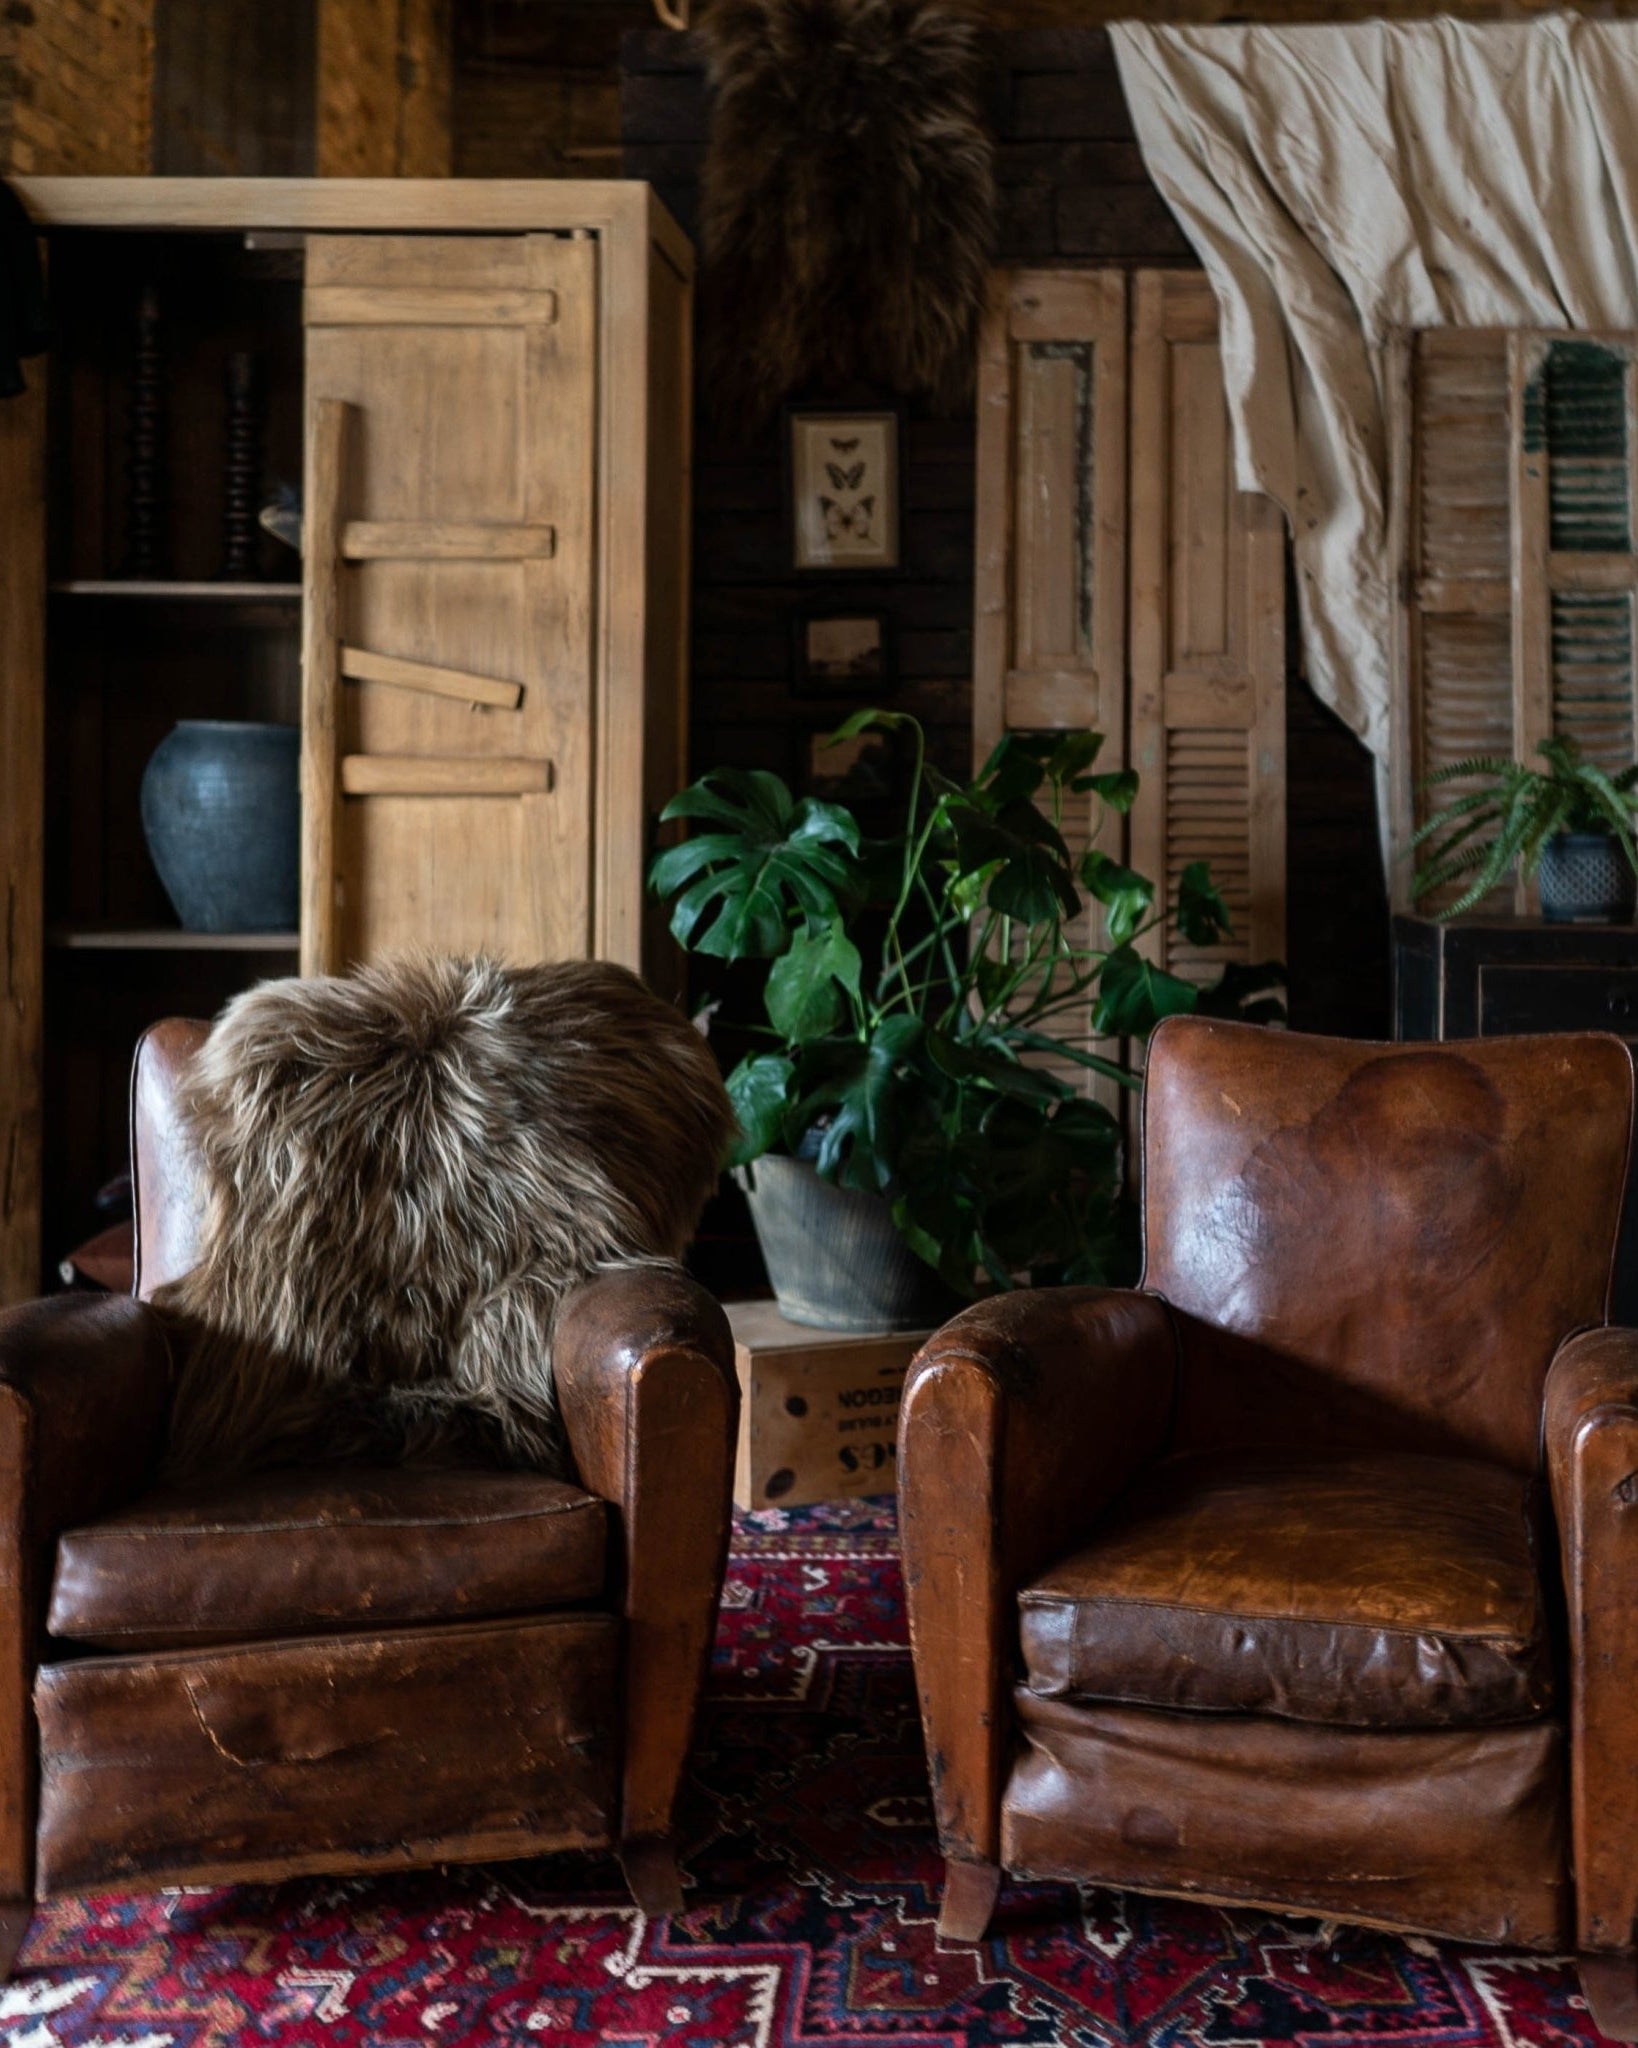


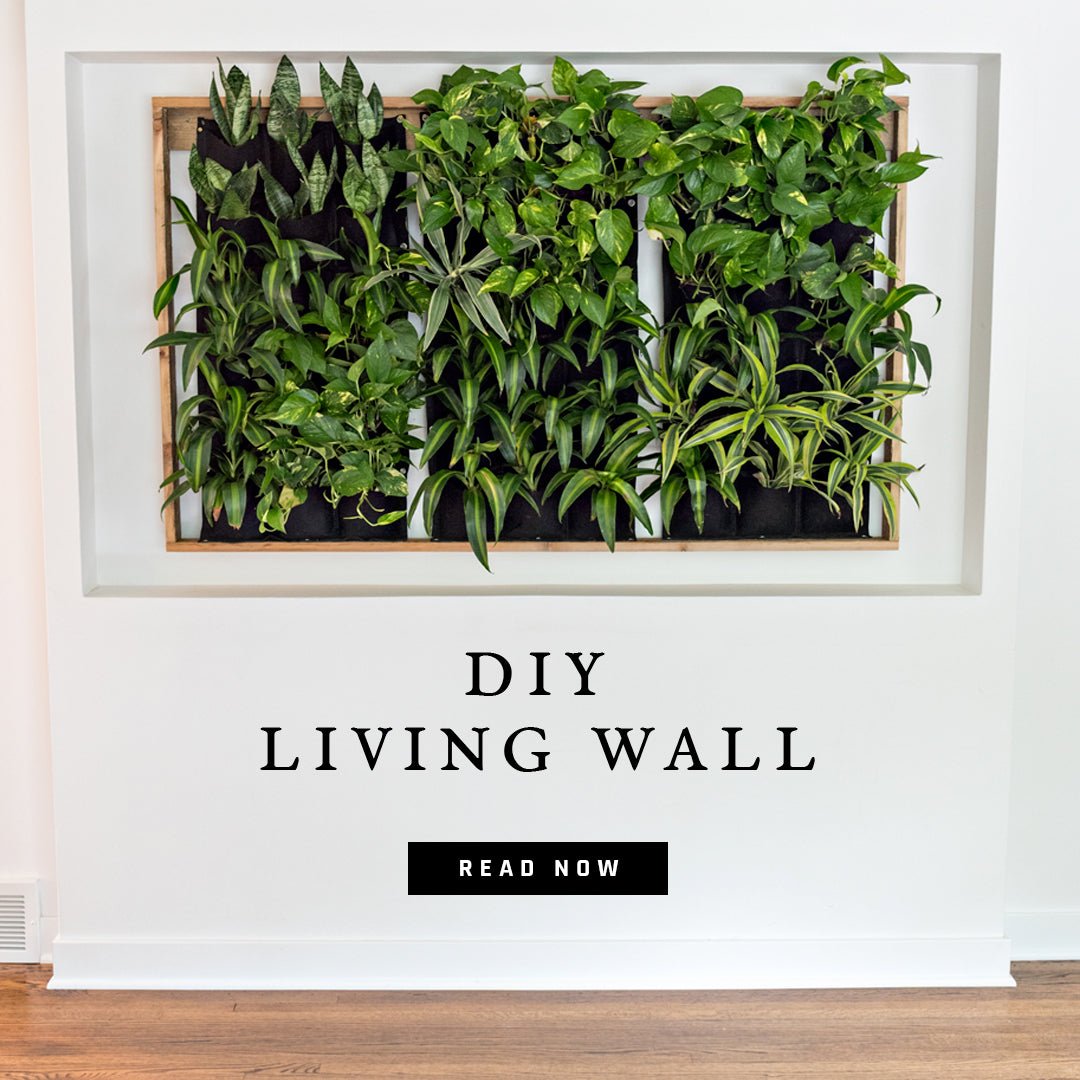
Does your space lack wow-factor? And are you ready to do something about it? Today’s DIY is all about creating your own living wall. But first, a little designer tip.
Designer Tip : We can’t impress this one upon folks enough. Each room needs a focal point, which we like to call your “wow-factor”. Instead of having a bunch of stuff around the room, focus your eye on one area by doing something bold. And in this case, a wall of plants!
Ready to create your own living wall? Get at it!
Materials: 1x3" or 1x4" wood, wood screws, wall screws and/or anchors, hooks, screw gun, drill, felt pockets, plants, soil.


1) Begin by creating a wooden frame and fasten it to your wall. Apologies that we don't have more photos of this step. We created it so fast that we forgot!
-
Cut your wood to length. We use reclaimed wood left over from another project. Use any wood that matches your space. You can even paint or stain it. You'll want the frame a few inches wider than your felt pockets so that you see the frame past the plants. And then make sure it's a good 3-4" longer than the felt pockets as they stretch when wet! Something we learned after the fact.
- 2 pieces for the top and bottom, same length.
- 2 pieces for the sides, same length
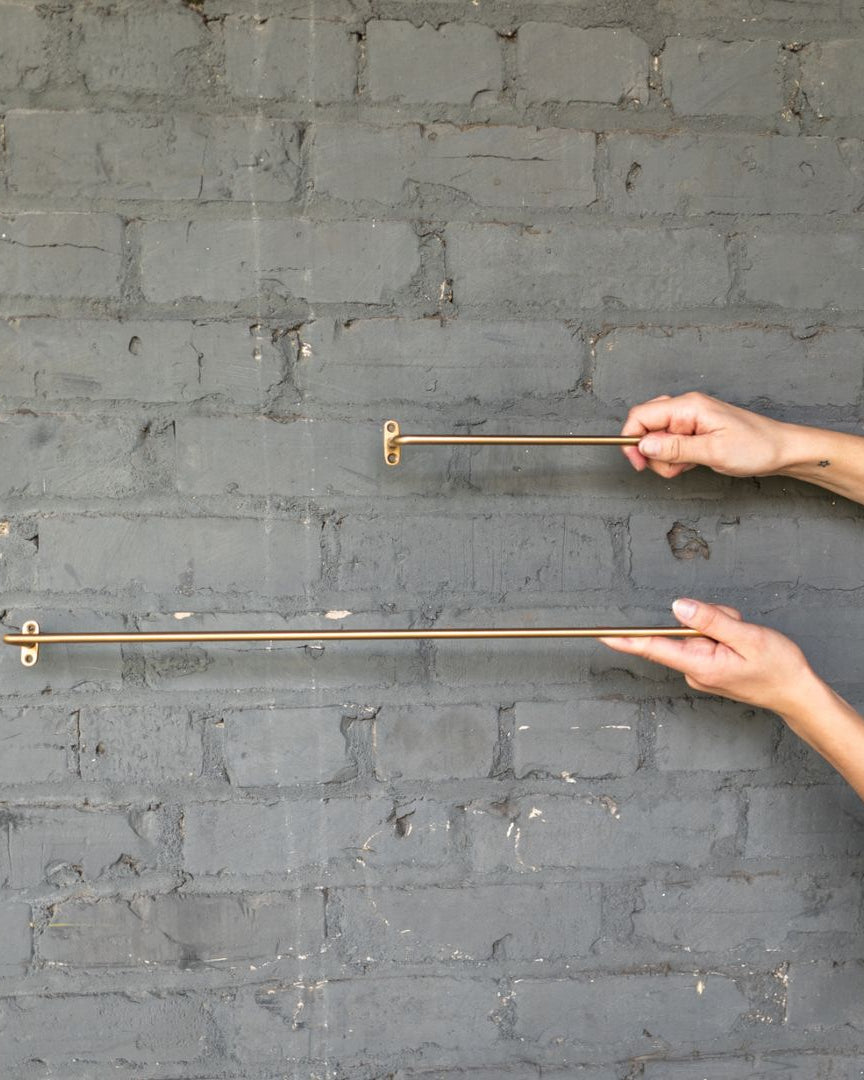
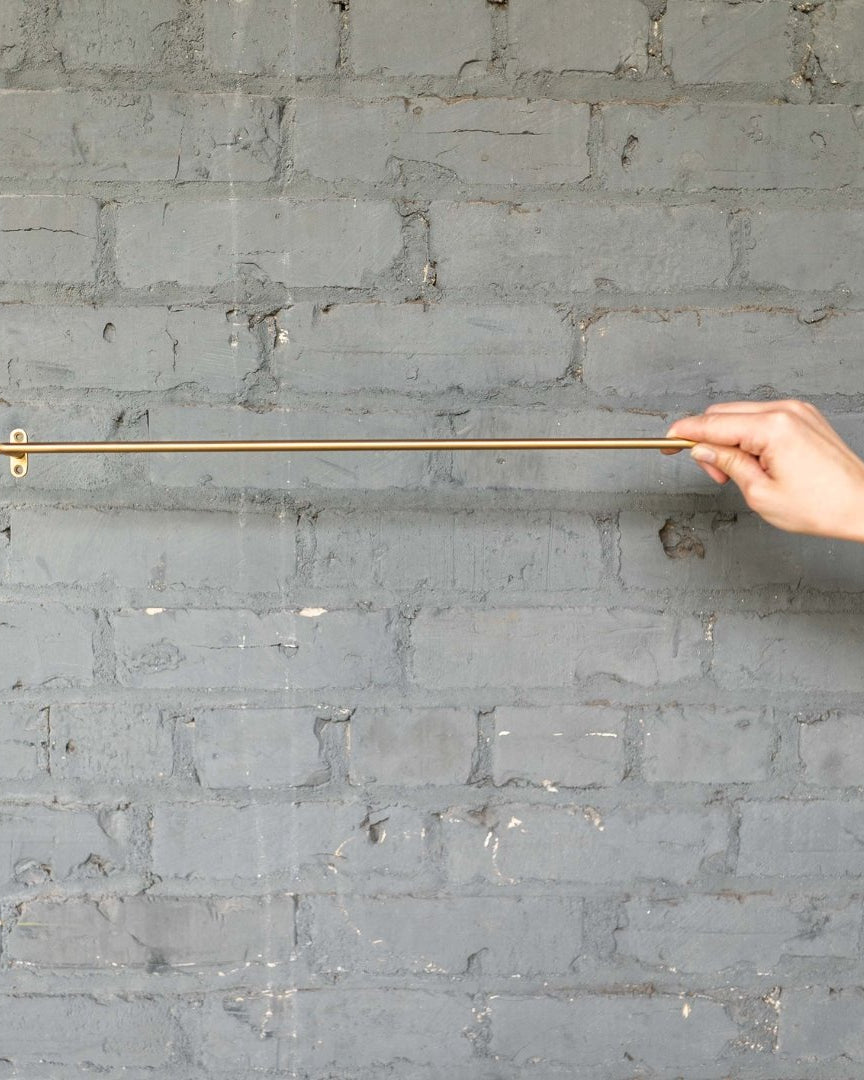
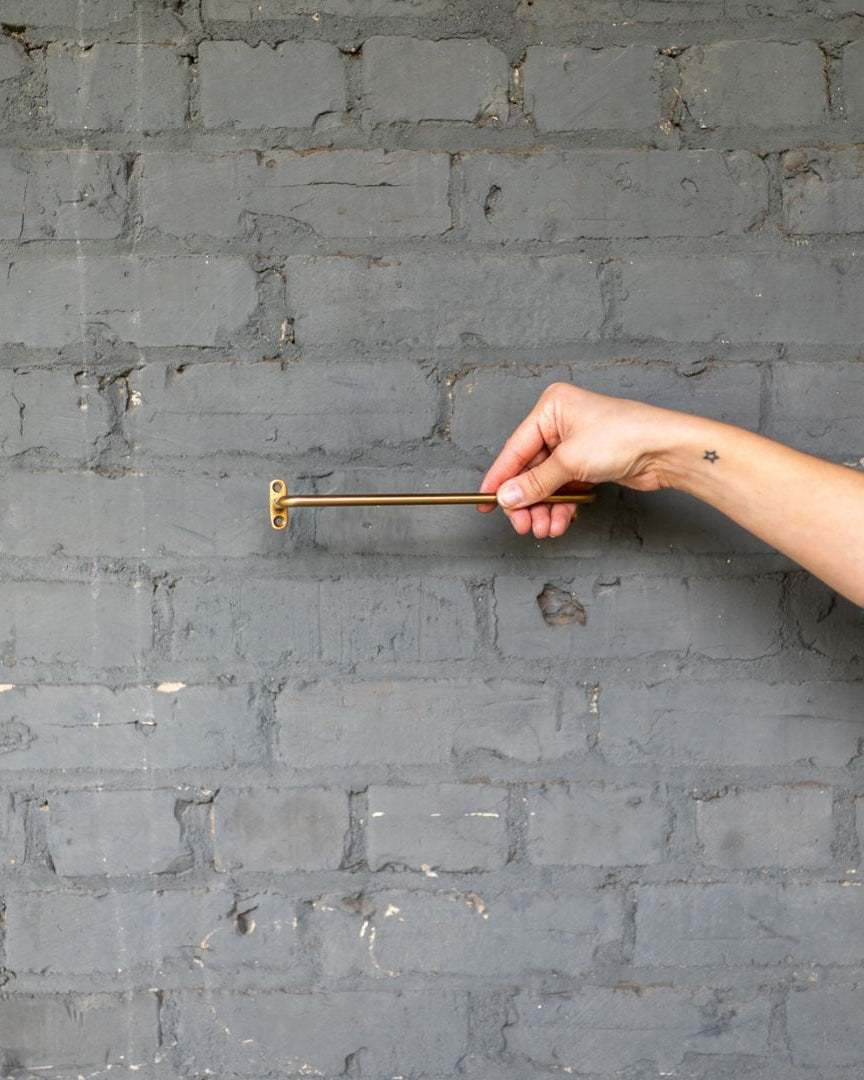
- 1 piece that runs along the top/back that will provide strength to the frame but also a space for the felt pockets to hang from and for you to hang the frame on the wall.
- Assemble the frame. We kept it simple and cut the pieces with straight ends and then screwed them together. You could mitre the edges and/or glue/nail the corners. Just depends on how polished you want your frame to look.
- Hang the frame. Use whatever method is required by your walls. We had plaster so used anchors and screws. This will get heavy so make sure you're using anchors or going into studs.
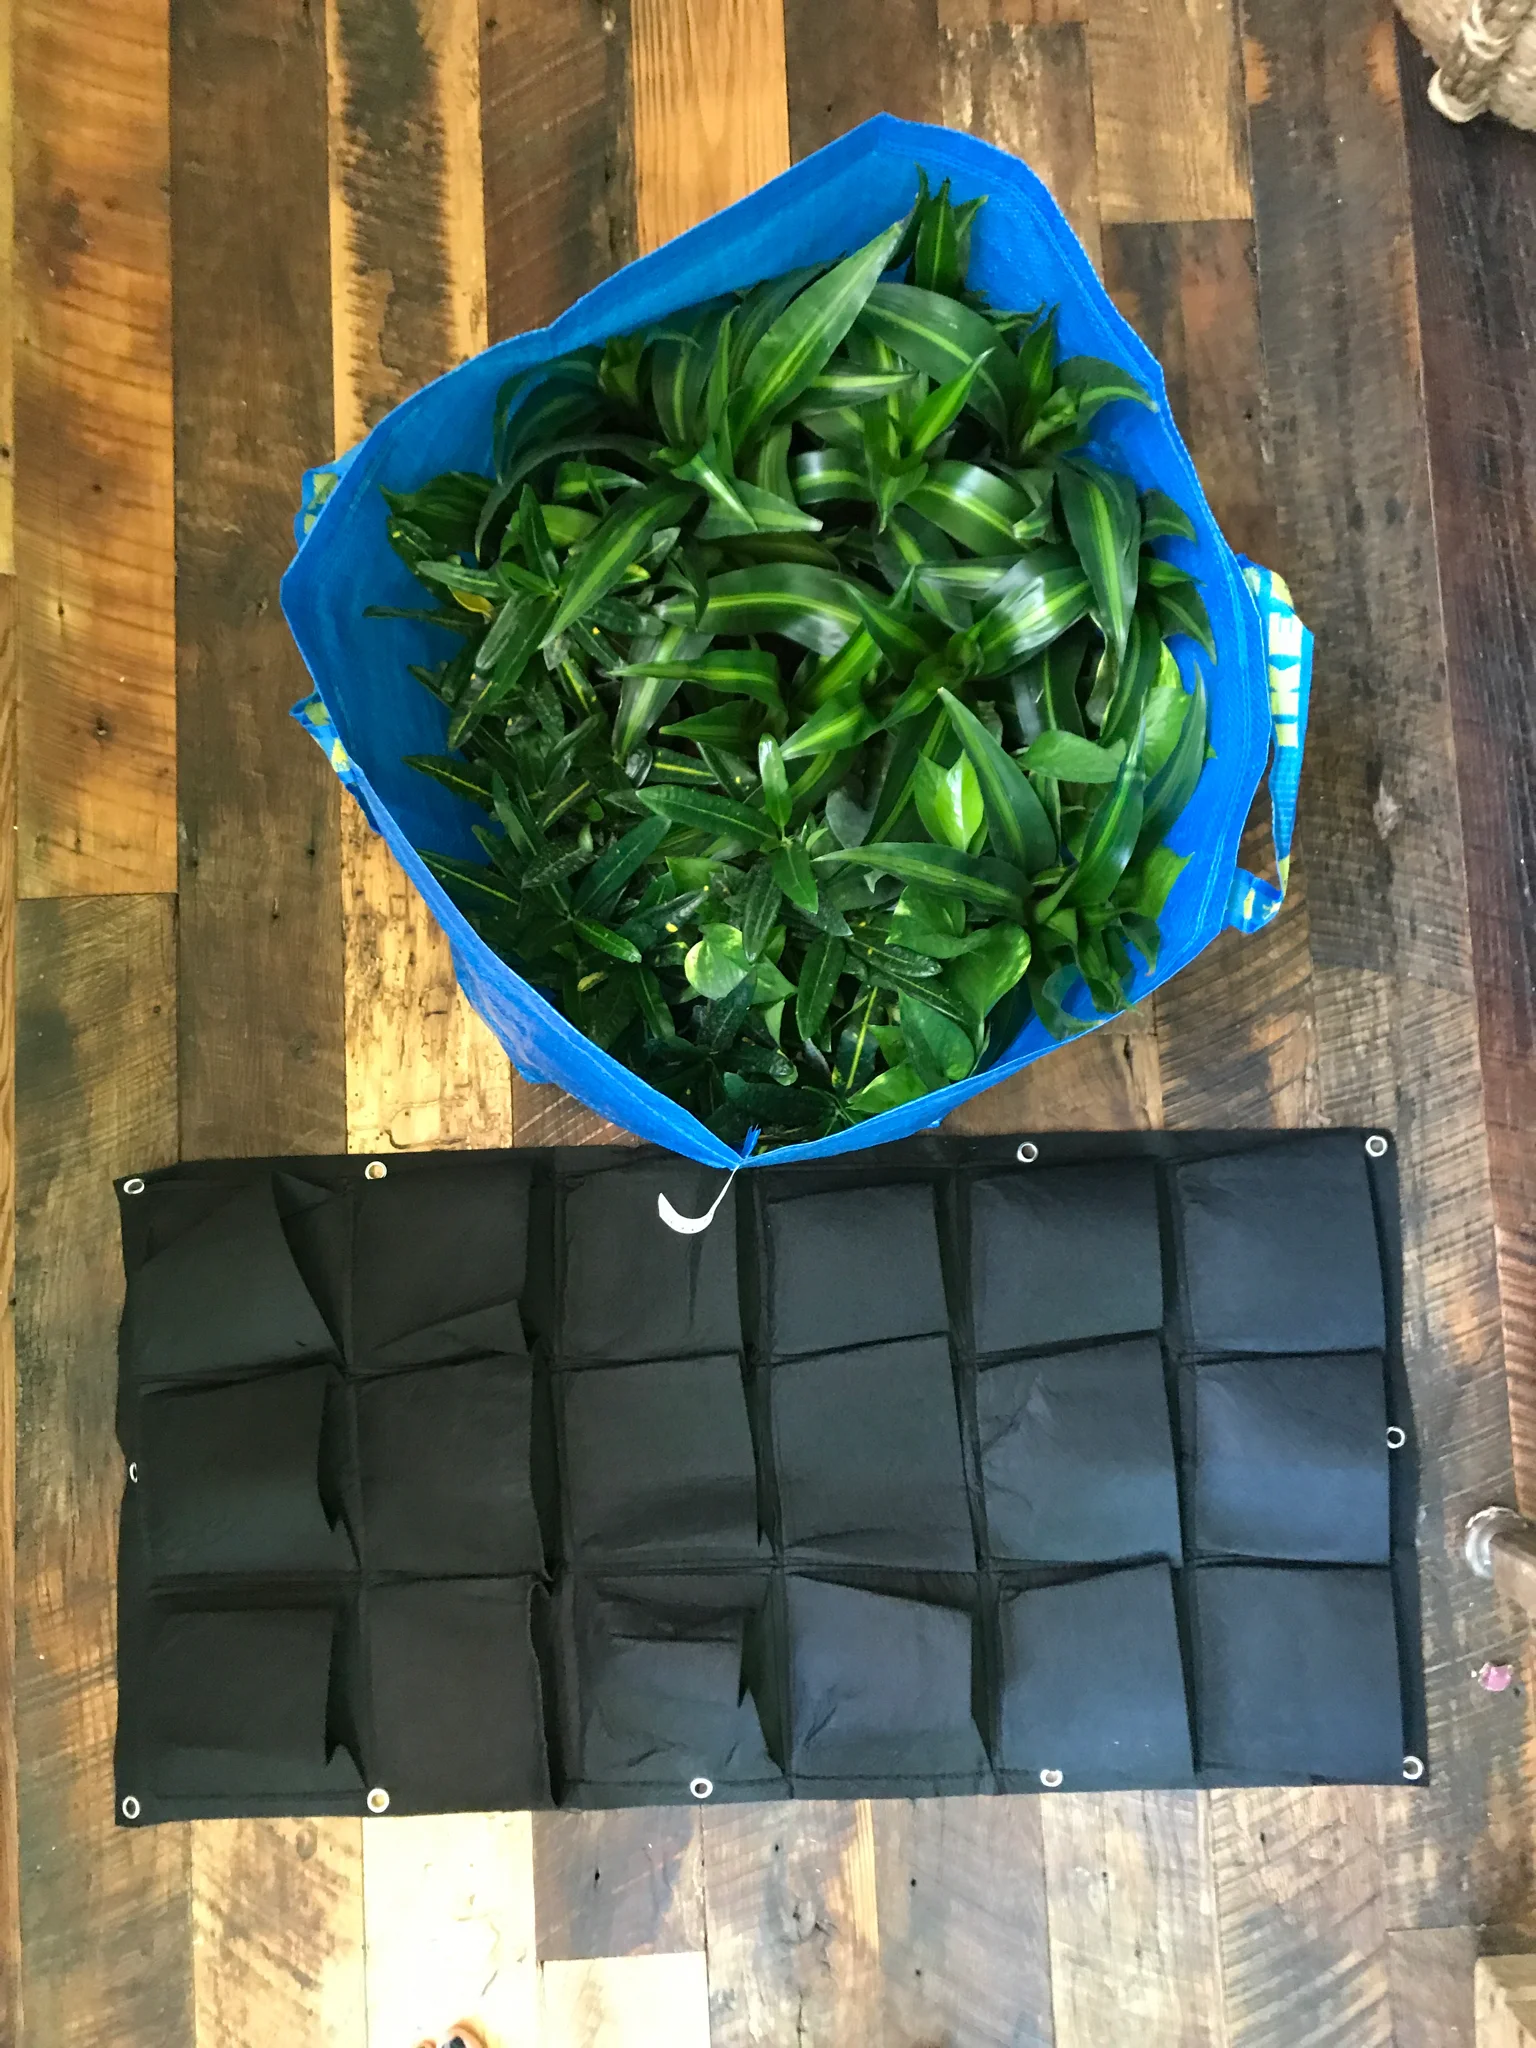
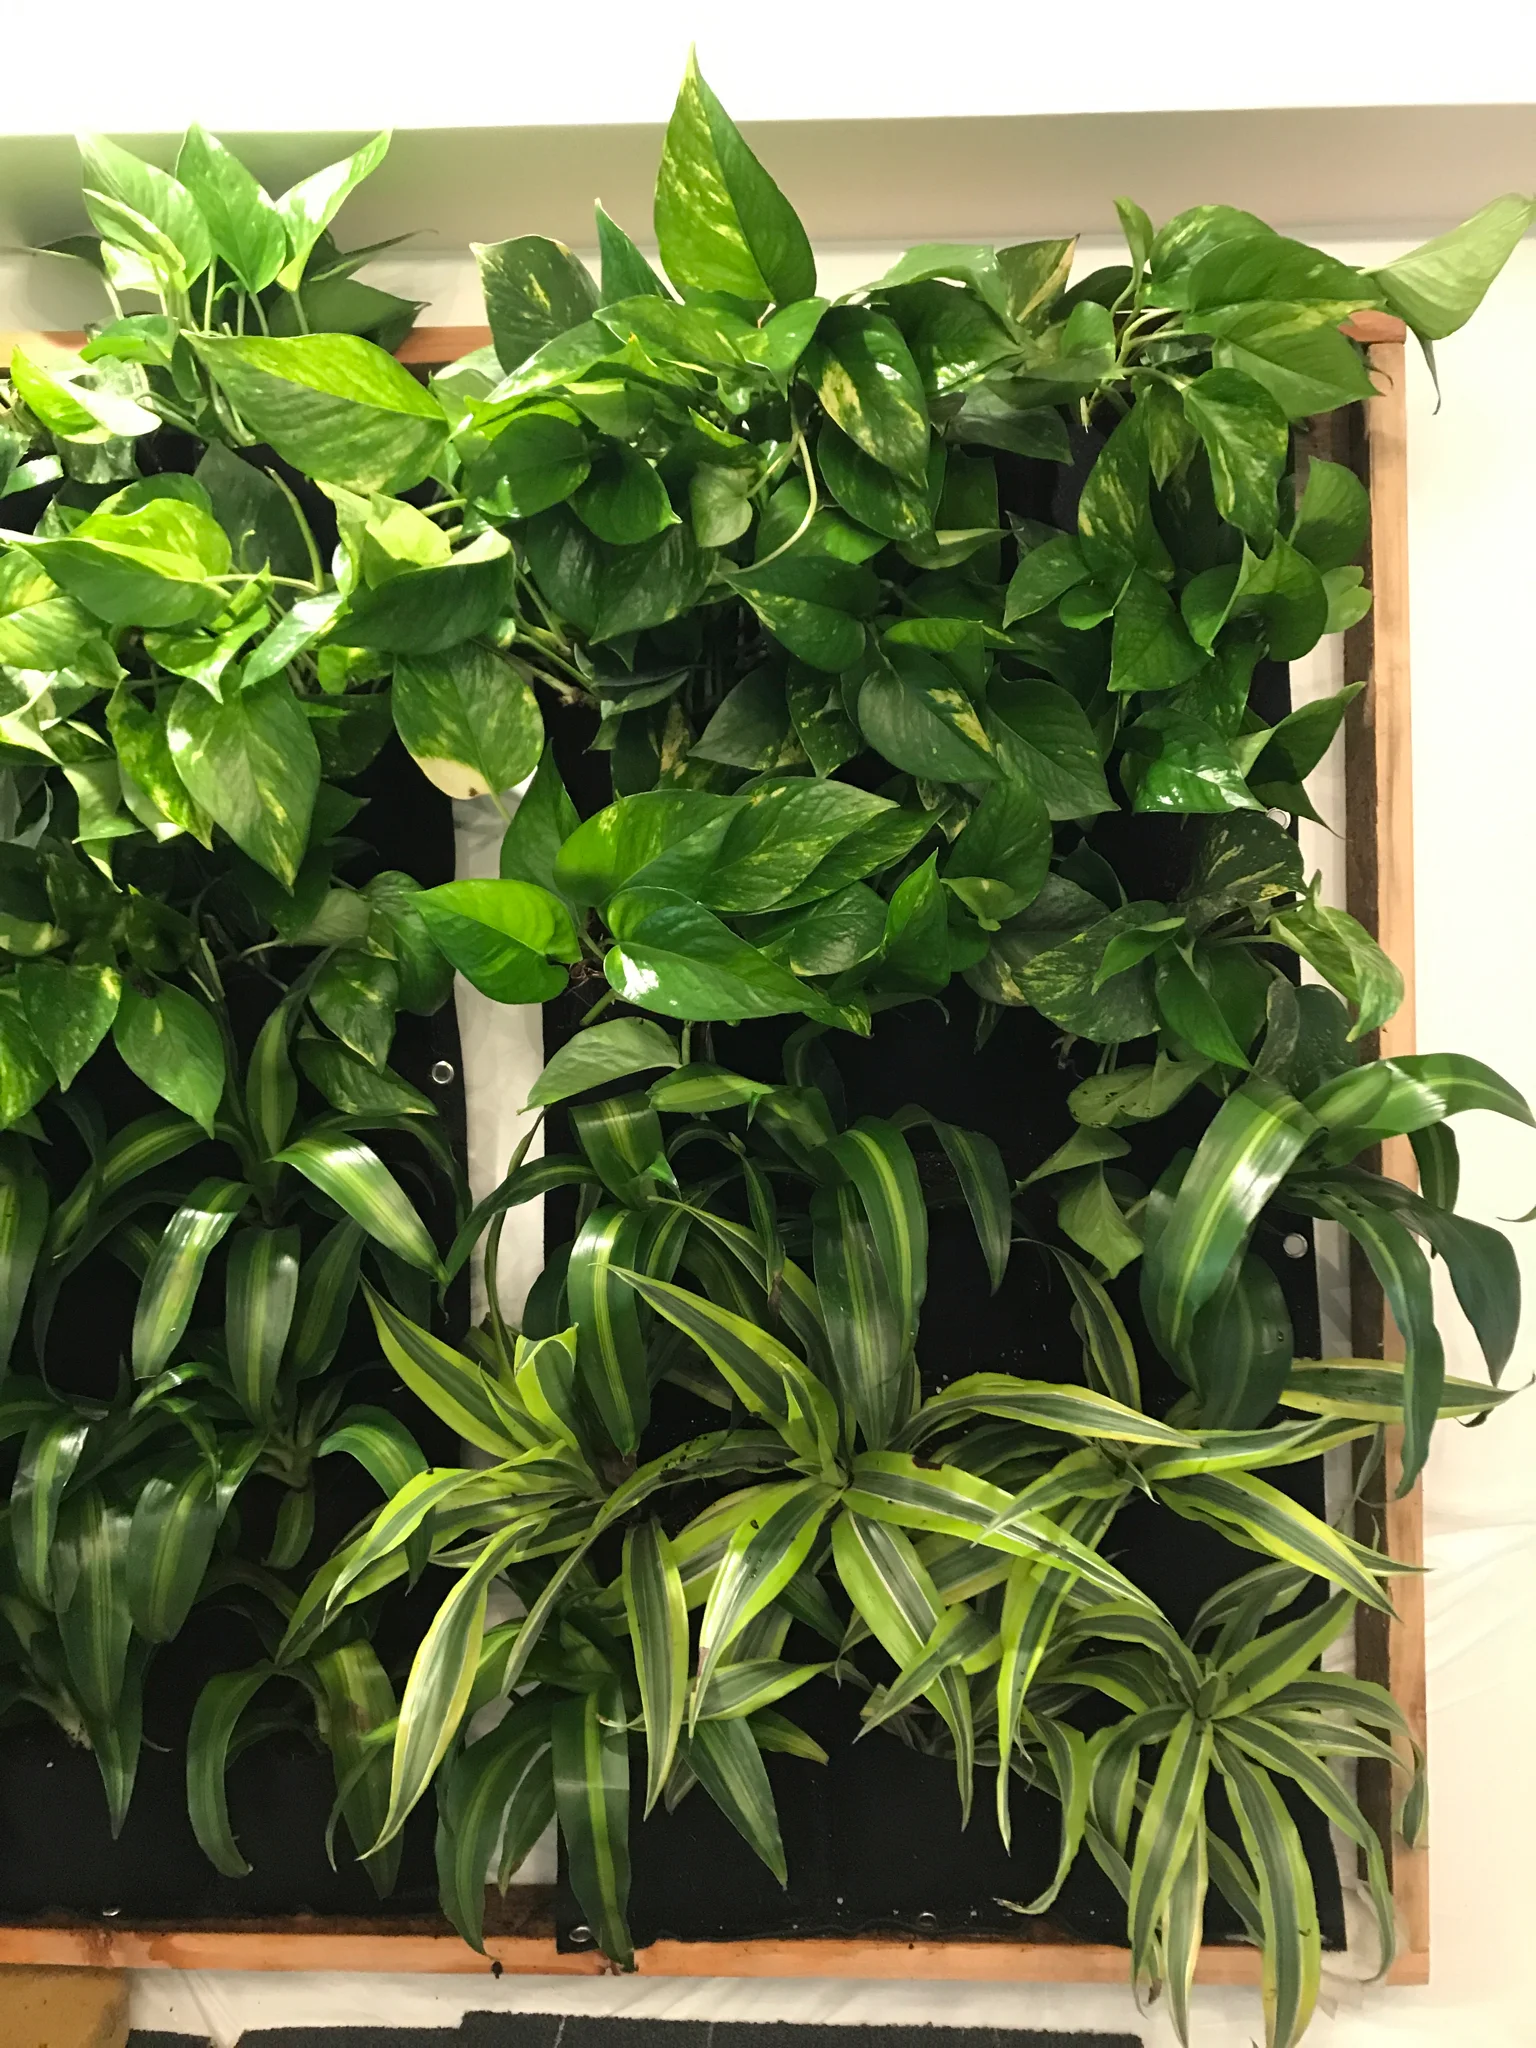
2) Plant your plants!
- Soil. Fill each felt pocket about half way with soil.
- Plant! Have fun with your plants by creating a pattern (like we did here) or use herbs so that your living wall is both beautiful and functional.
- Soil. Add another layer of soil so that the pockets are about 2/3rds full. You don't want them too full as you need space for water.
- Water. Once everything is planted give them a good soak. We found that a small watering can with a skinny and long spout worked best as these pockets are pretty small. Water will go everywhere so it takes a bit of practice to nail down just how much water you need. Start from the top and work your way down.
3) Attach the felt pockets to the wood frame.
- Screws or Hooks. Place your screws or hooks where the grommets on the felt pockets will touch the back horizontal piece of the frame. Once the plants are in the felt it'll make the pockets narrower so it's important to do this step AFTER the plants are in.
- Hang and voila. Put those bad boys up. Stand back, give yourself a pat on the back then instagram your masterpiece.

Create your own living wall...
- 9 pocket hanging wall planter (72cm x72cm)
- 2 pocket hanging wall planter (2 pack)
- 12 pocket vertical hanging wall planter
Photos: Kassina Folstad of Hello Norden and Lucy over at Shuttersmack, and found on Insta @lucy612